Let me walk you through my most epic failure in the cyanotype on glass process. It takes at lot of practice to have a clean plate, with an even coating, and a controlled result. Well it took me some time 😅 To save yours, learn from my mistakes with these 11 tips.
1. Gelatin fragility
Let’s start with a common issue.
Until the end of the process, everything was fine, and while you are rinsing your print, draperies start to form in the gelatin. If you’re lucky they’ll stay on the glass, but most of the time they dissolve in the water or rip off.
What happened here ? I think, two main reasons are the temperature of water (above 20°C, the gelatin starts to melt), and the quality of the gelatin. Food gelatin is fine for the first experiments, but it’s not strong enough. Photographic gelatin is better : you can put it under running water, it won’t flinch!


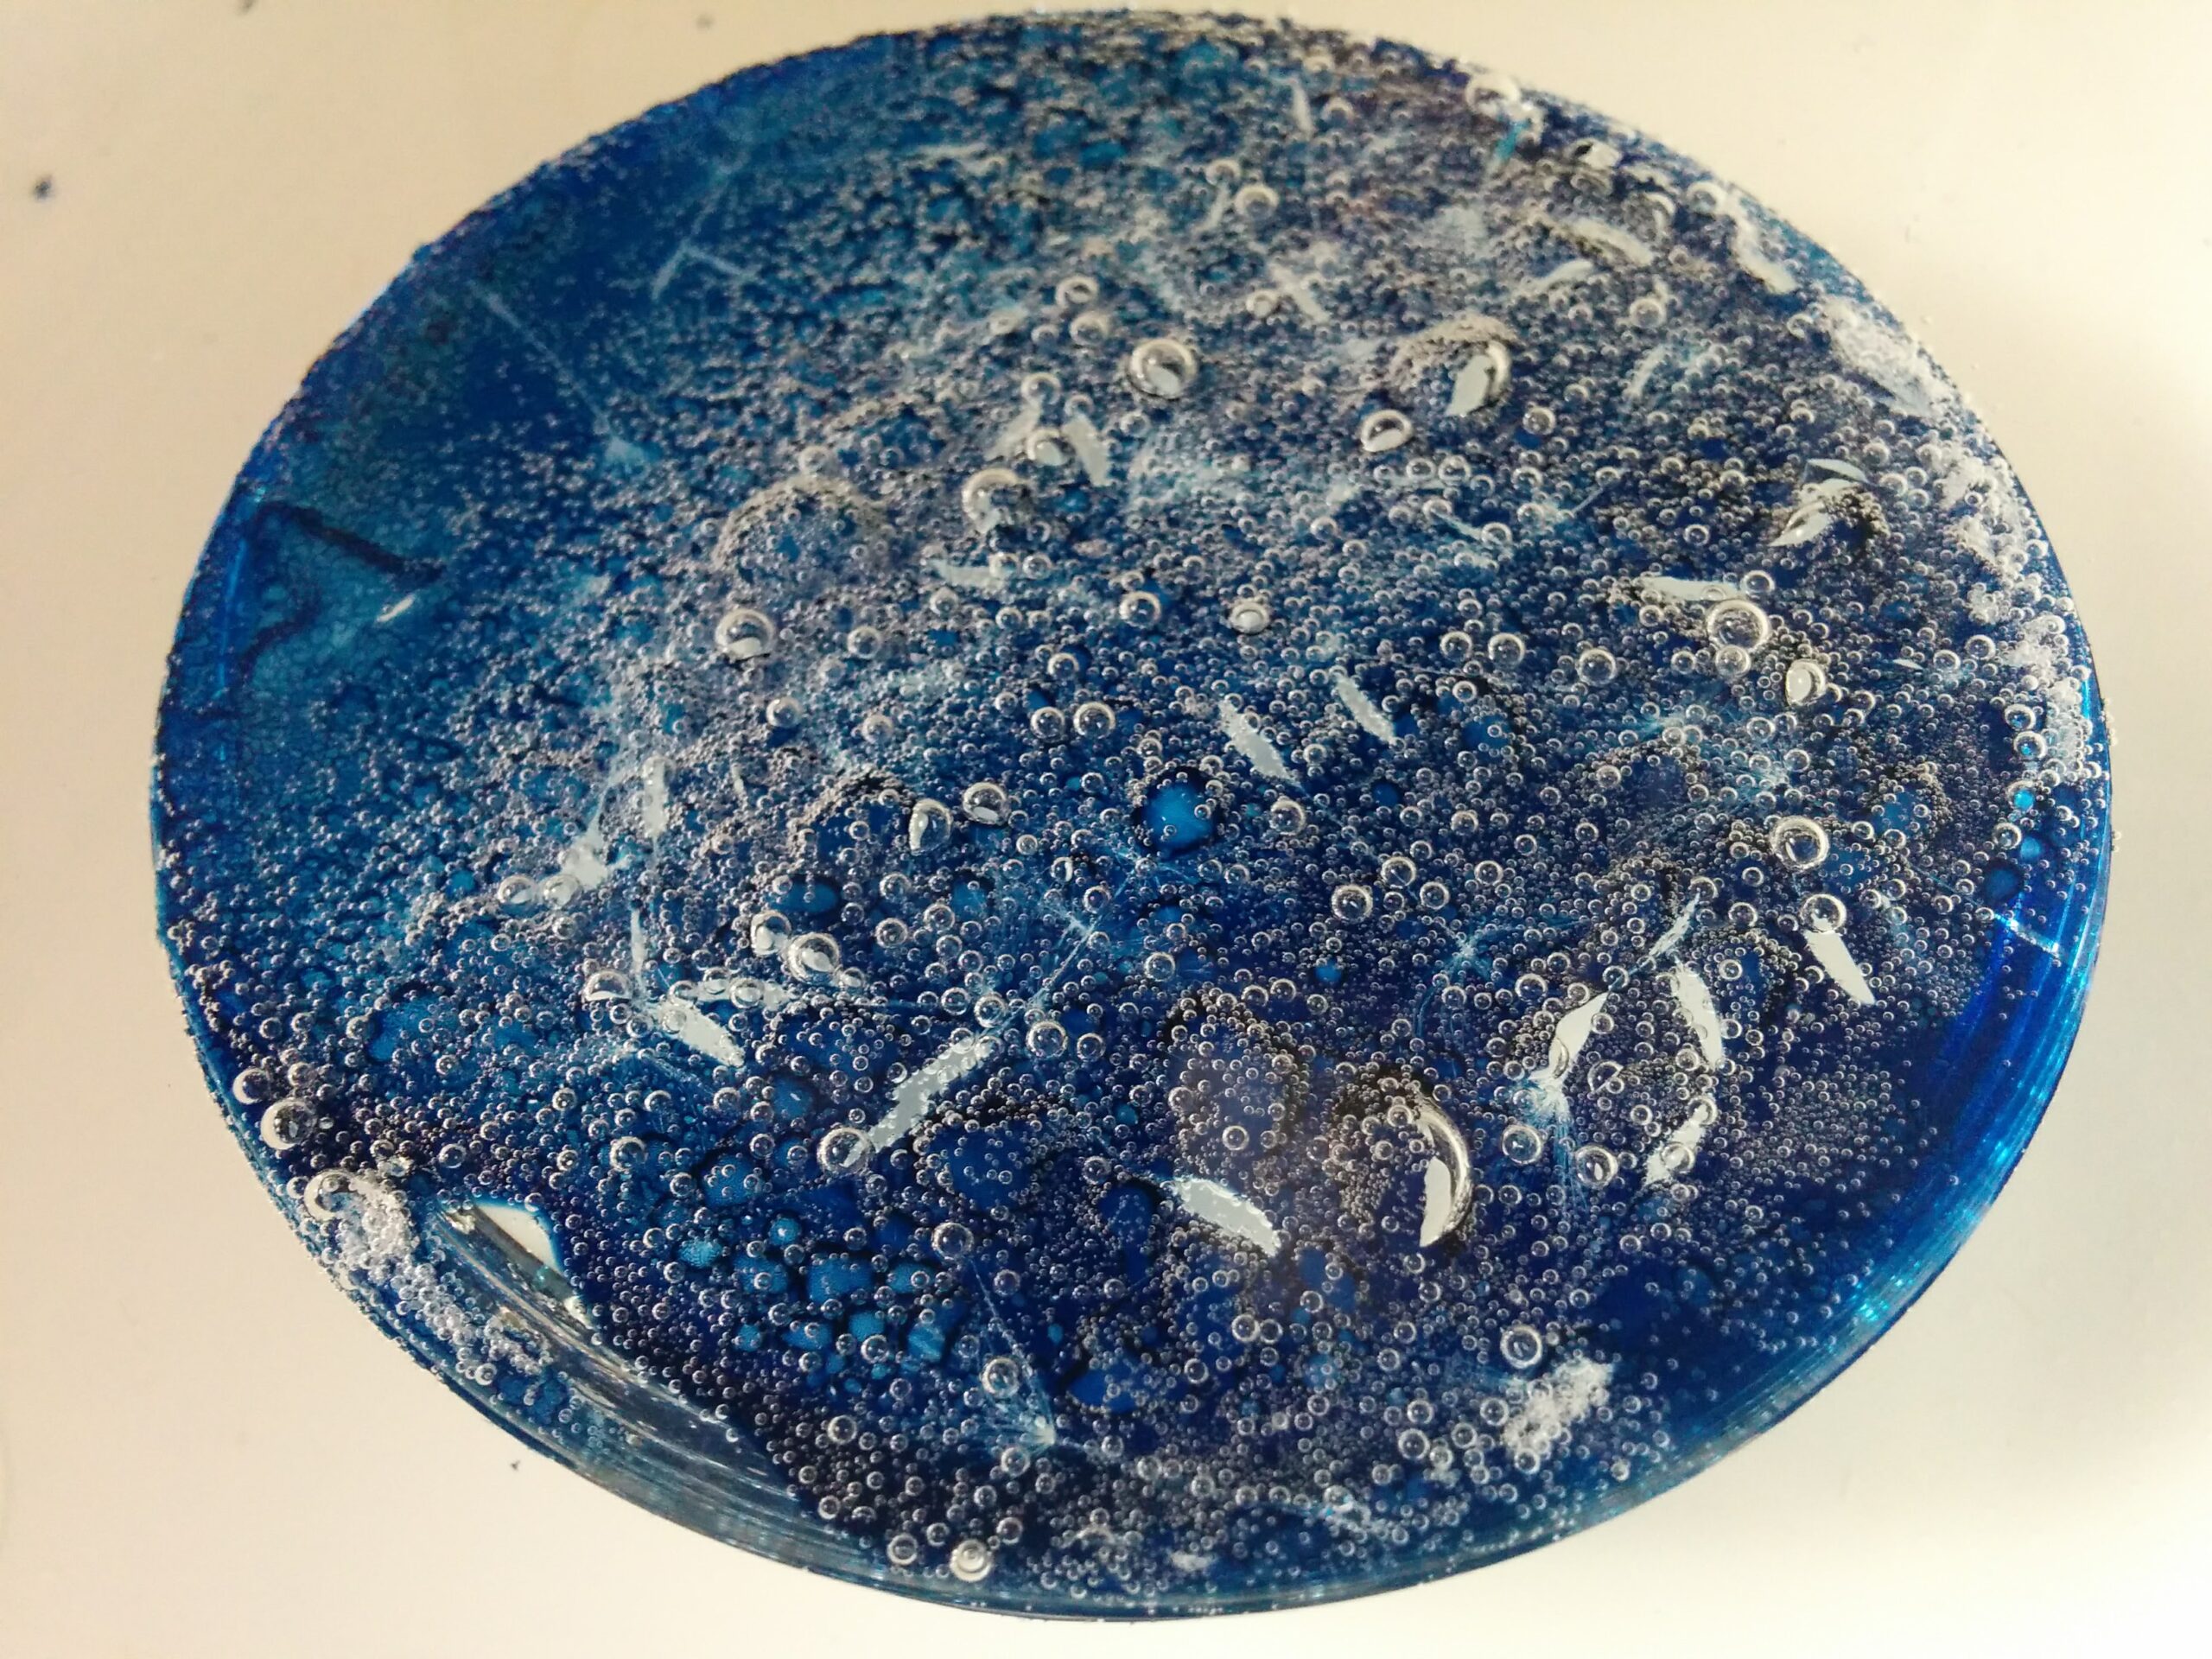
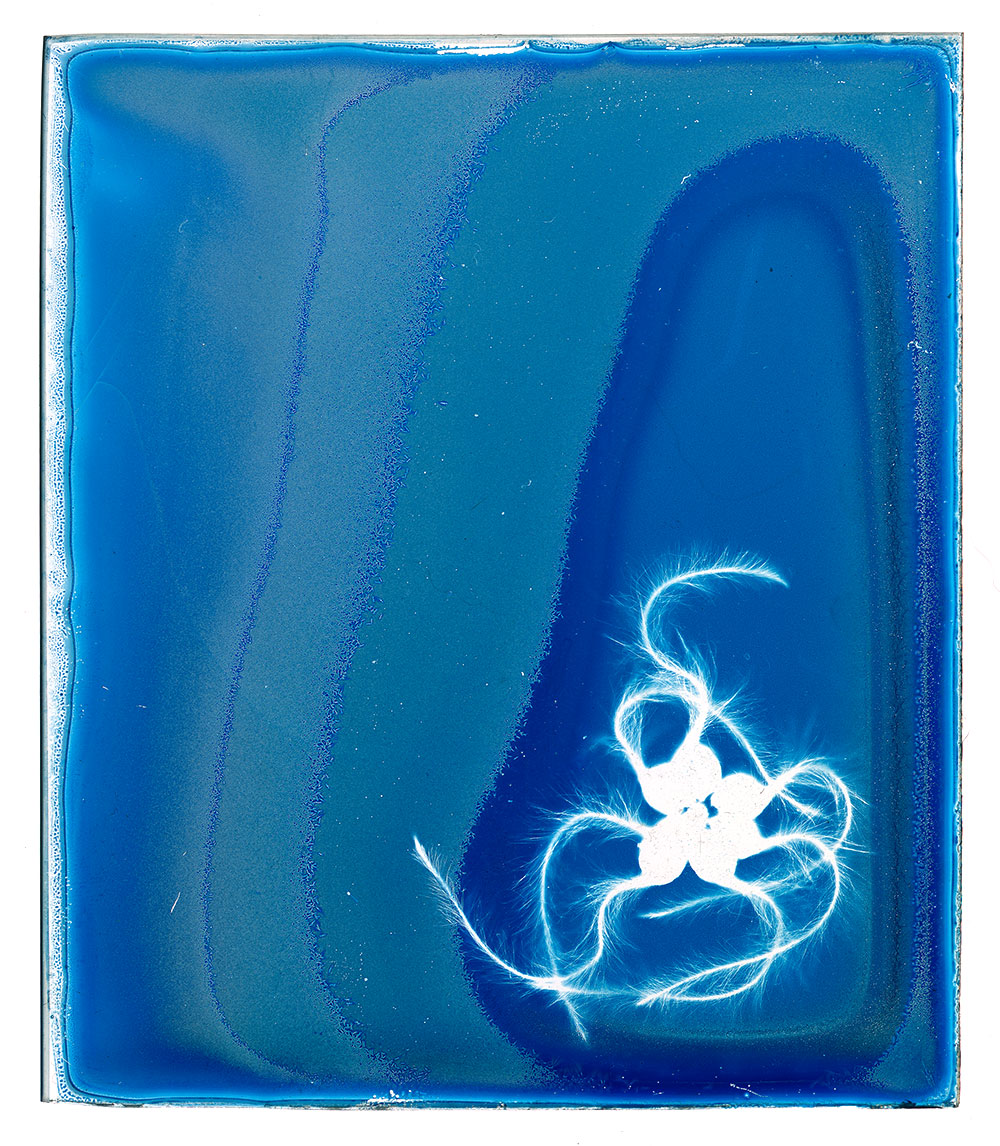
2. Bubbles
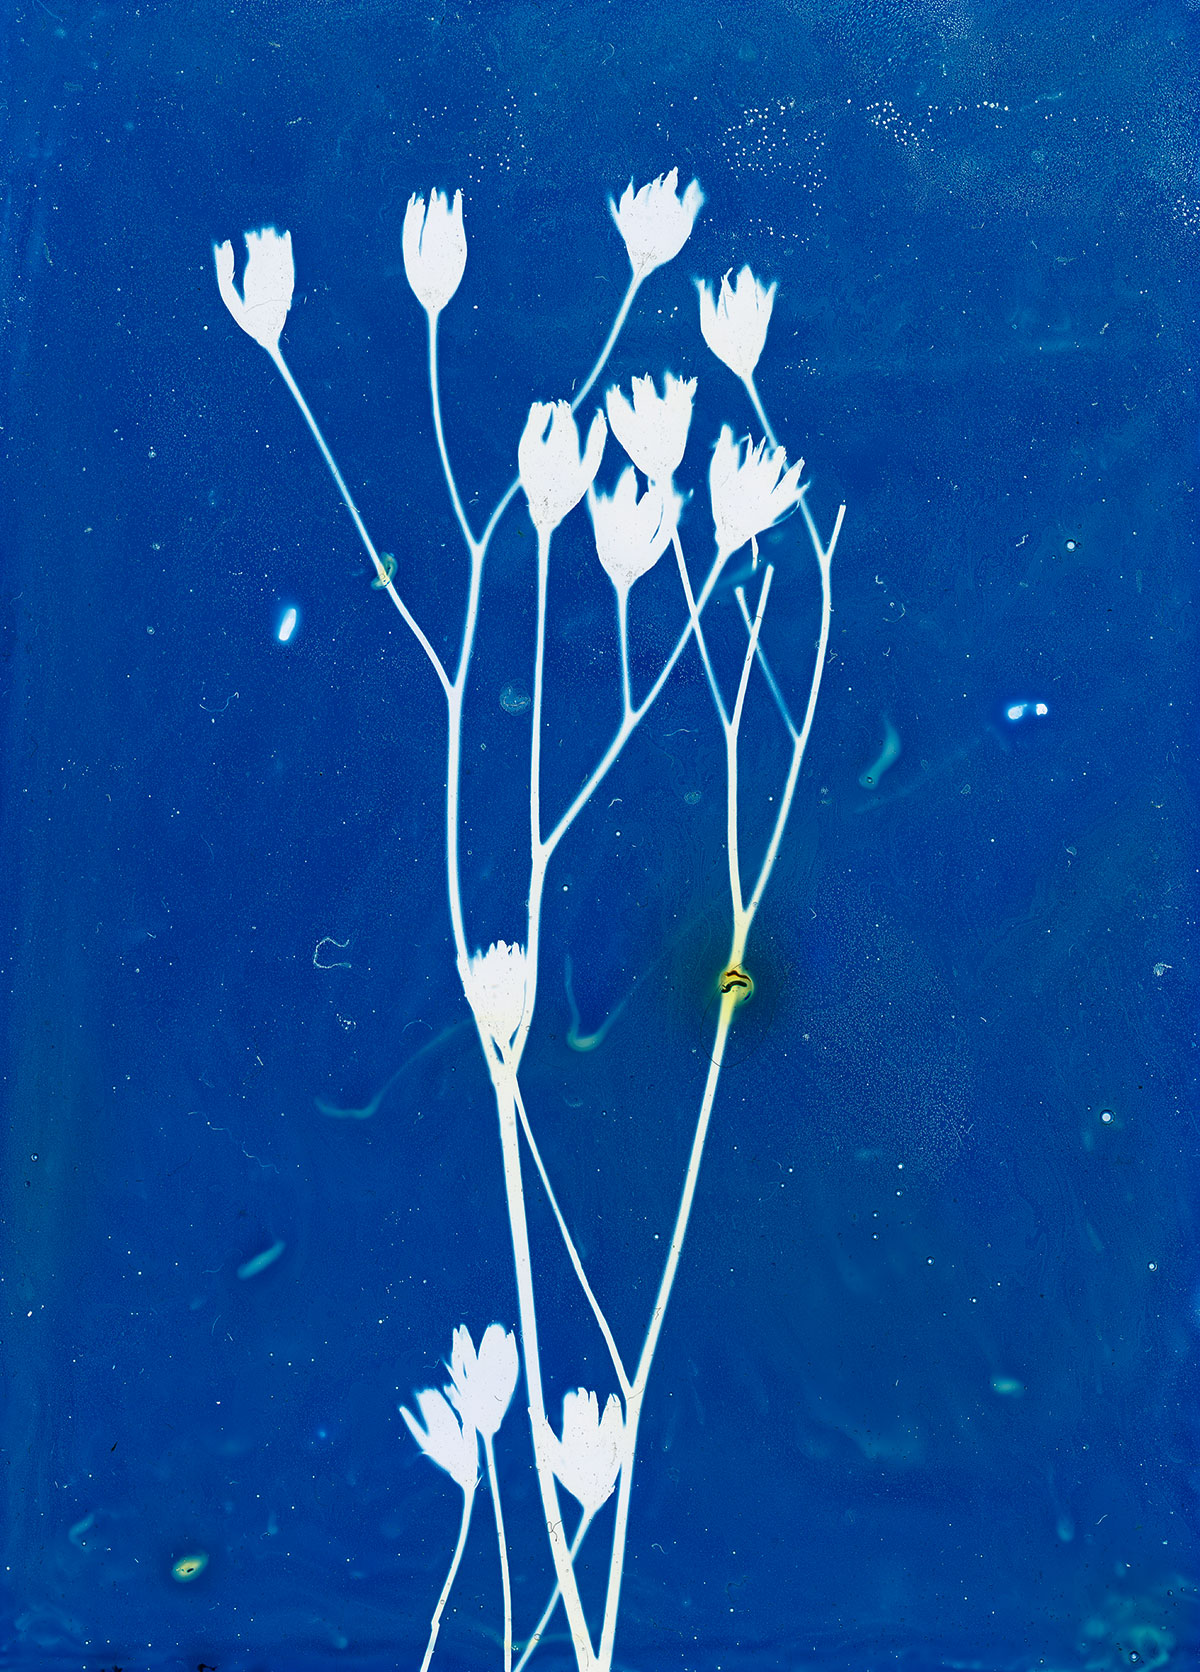
This one is a classic, most of the time avoidable, sometimes wanted. Going thru my old plates, bubbles were there all the time. There were so many bubbles on some plates that there was more air than gelatin!
Small bubbles and large bubbles have different sources. What could cause that ? I don’t really know for my earliest cyanotypes on glass. The whole process is so sensitive to temperature, humidity, the kind of gelatin used, etc. For the latest it’s definitely the magnetic stirrer I use for preparation that adds large air bubbles. To avoid that, you can put a drop (really, ONE drop) of alcohol (I use isopropyl alcohol). When your cyanotype is well mixed with the gelatin, remove it from the bain-Marie and let it cool until the gelatin sets. Then gently re-heat.
One last thing : when I pour the excess of gelatin from the corner of the plate, I let it slide on a glass rod into the becher, to avoid creating new bubbles.
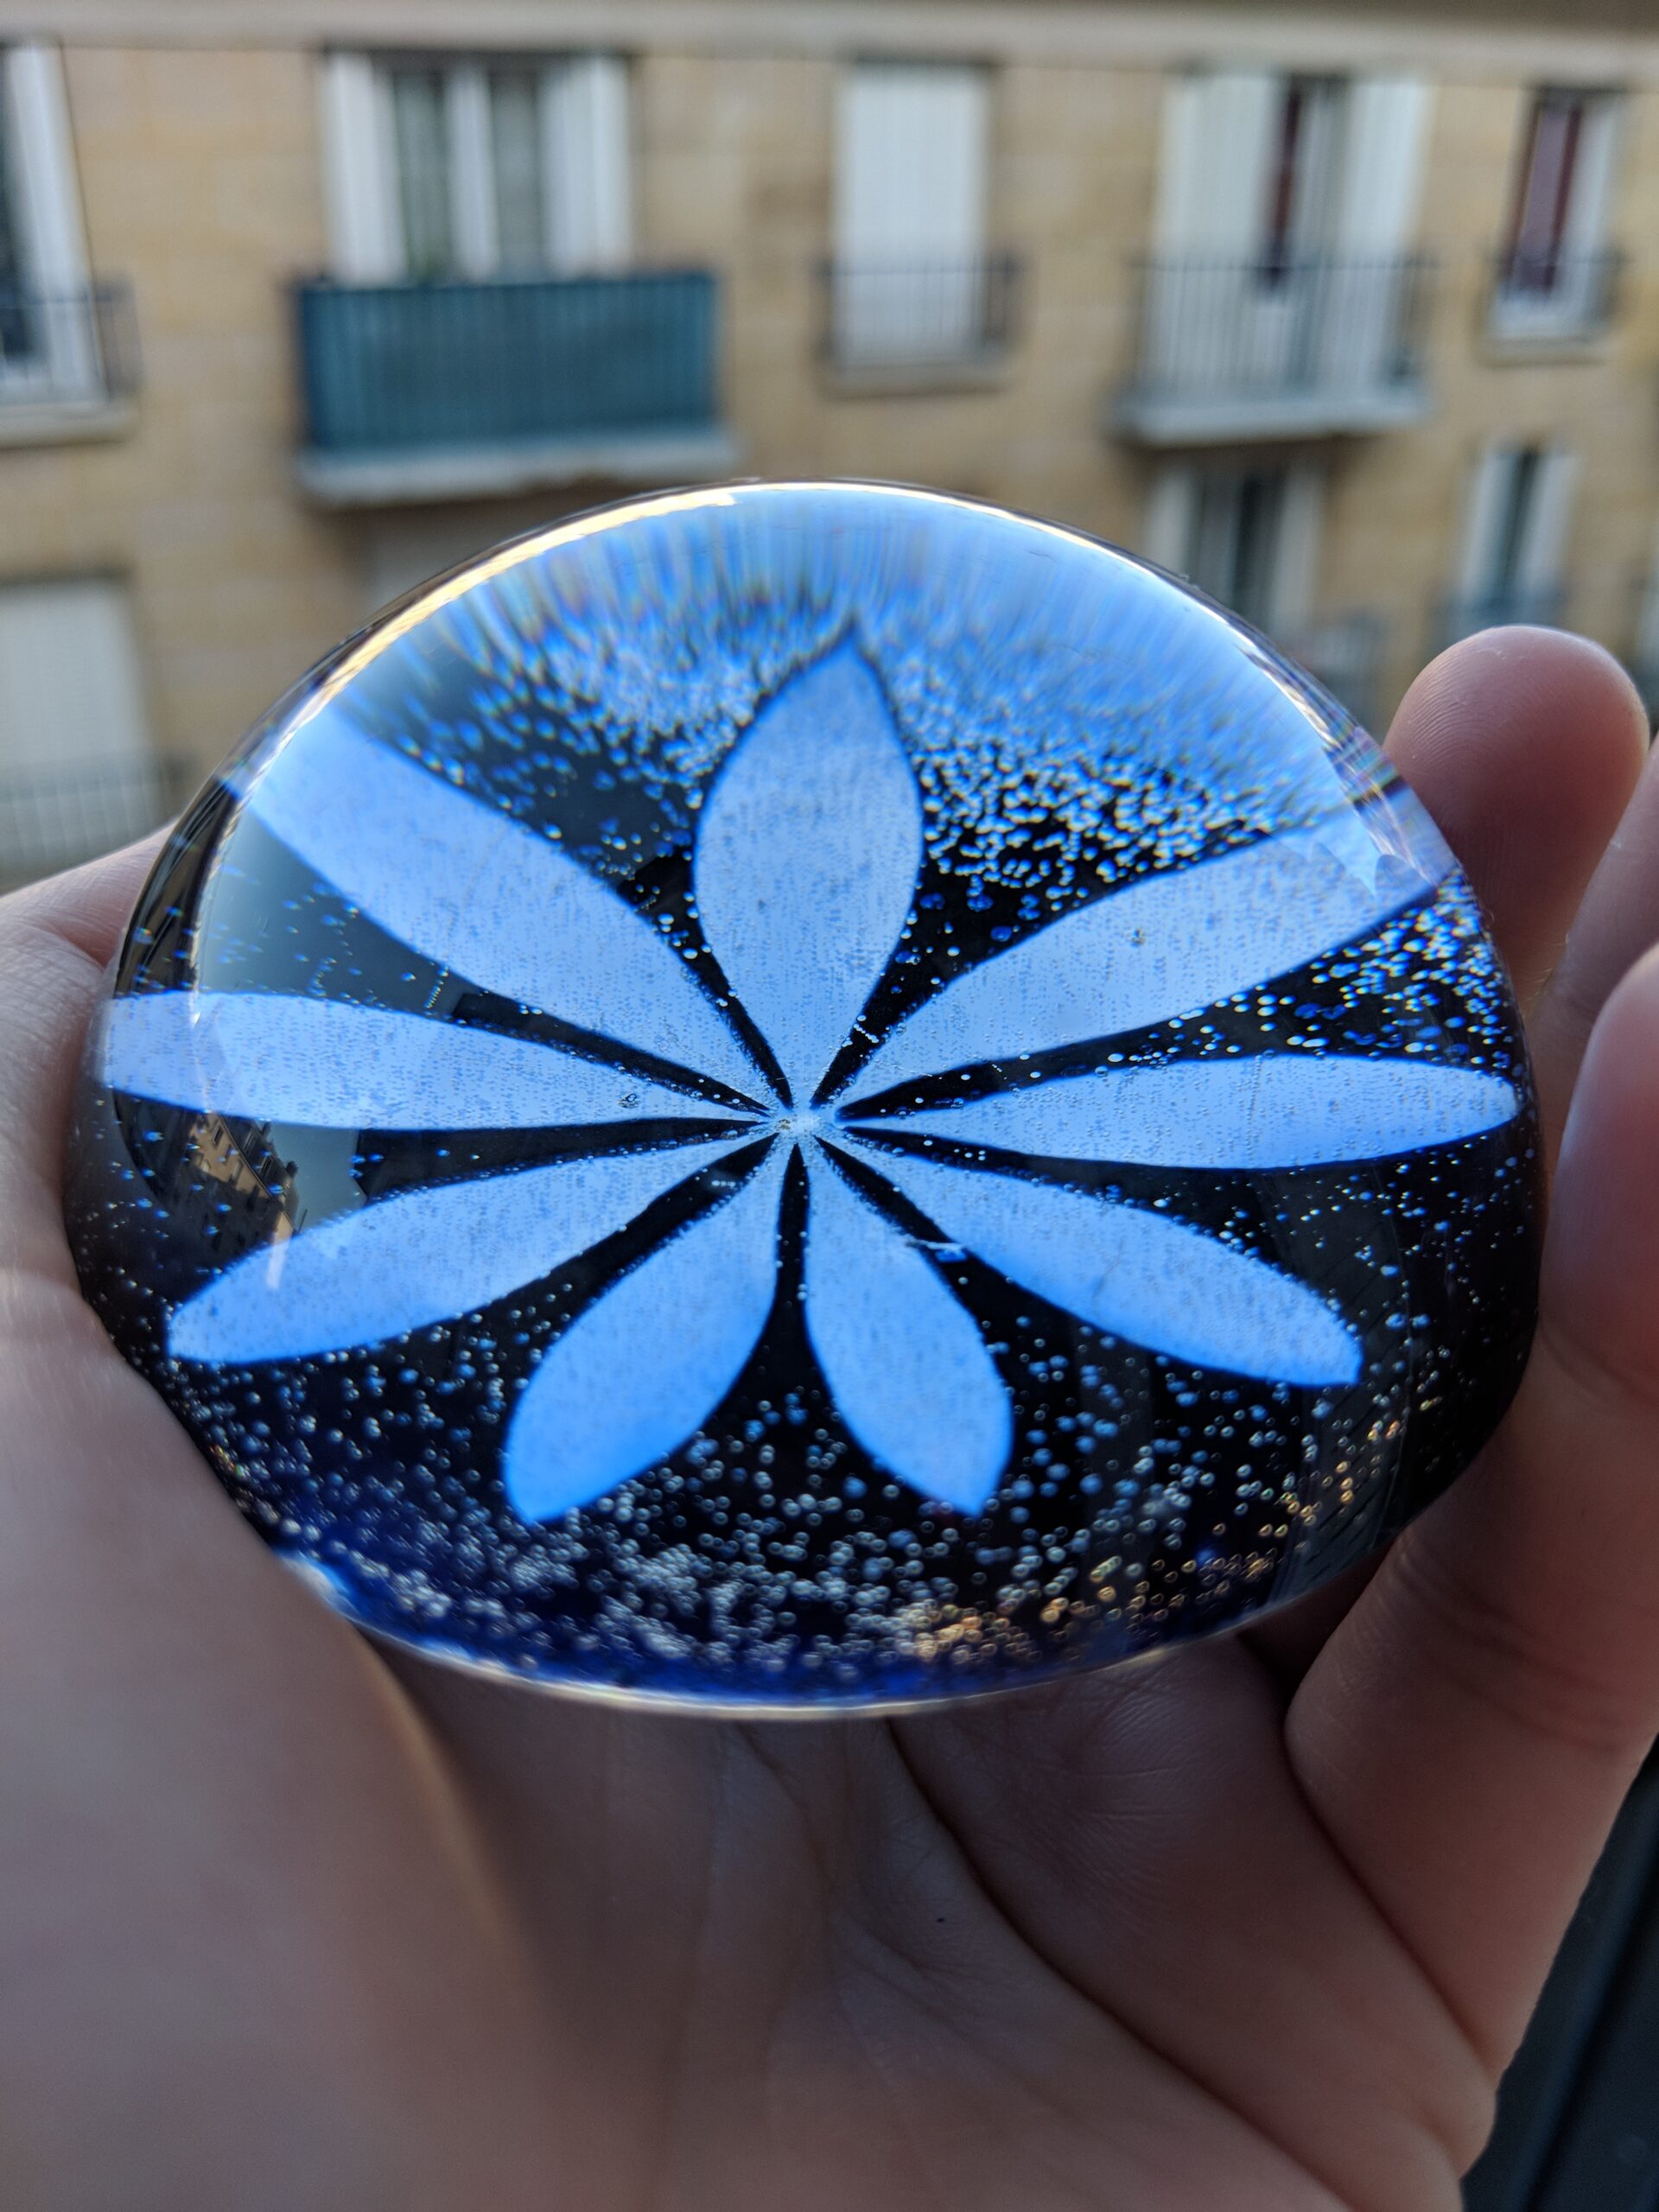
That said, bubbles can make really great effect in the cyanotype on glass. Last pic is one of my favourite bubble


3. Hydrogen peroxide
This one is fun. You are very impatient, you want to get the deep blue right away and not wait until it’s dry. So you put in your rinsing bath a splach of hydrogen peroxide. Well, the gelatin is not going to like that. Remember, gelatin is made from living tissue and cyanotype is a ferric process. I’m not sure which one make that reaction, but it’s like when you fell and Mommy put hydrogen peroxide on your bloodied knees…
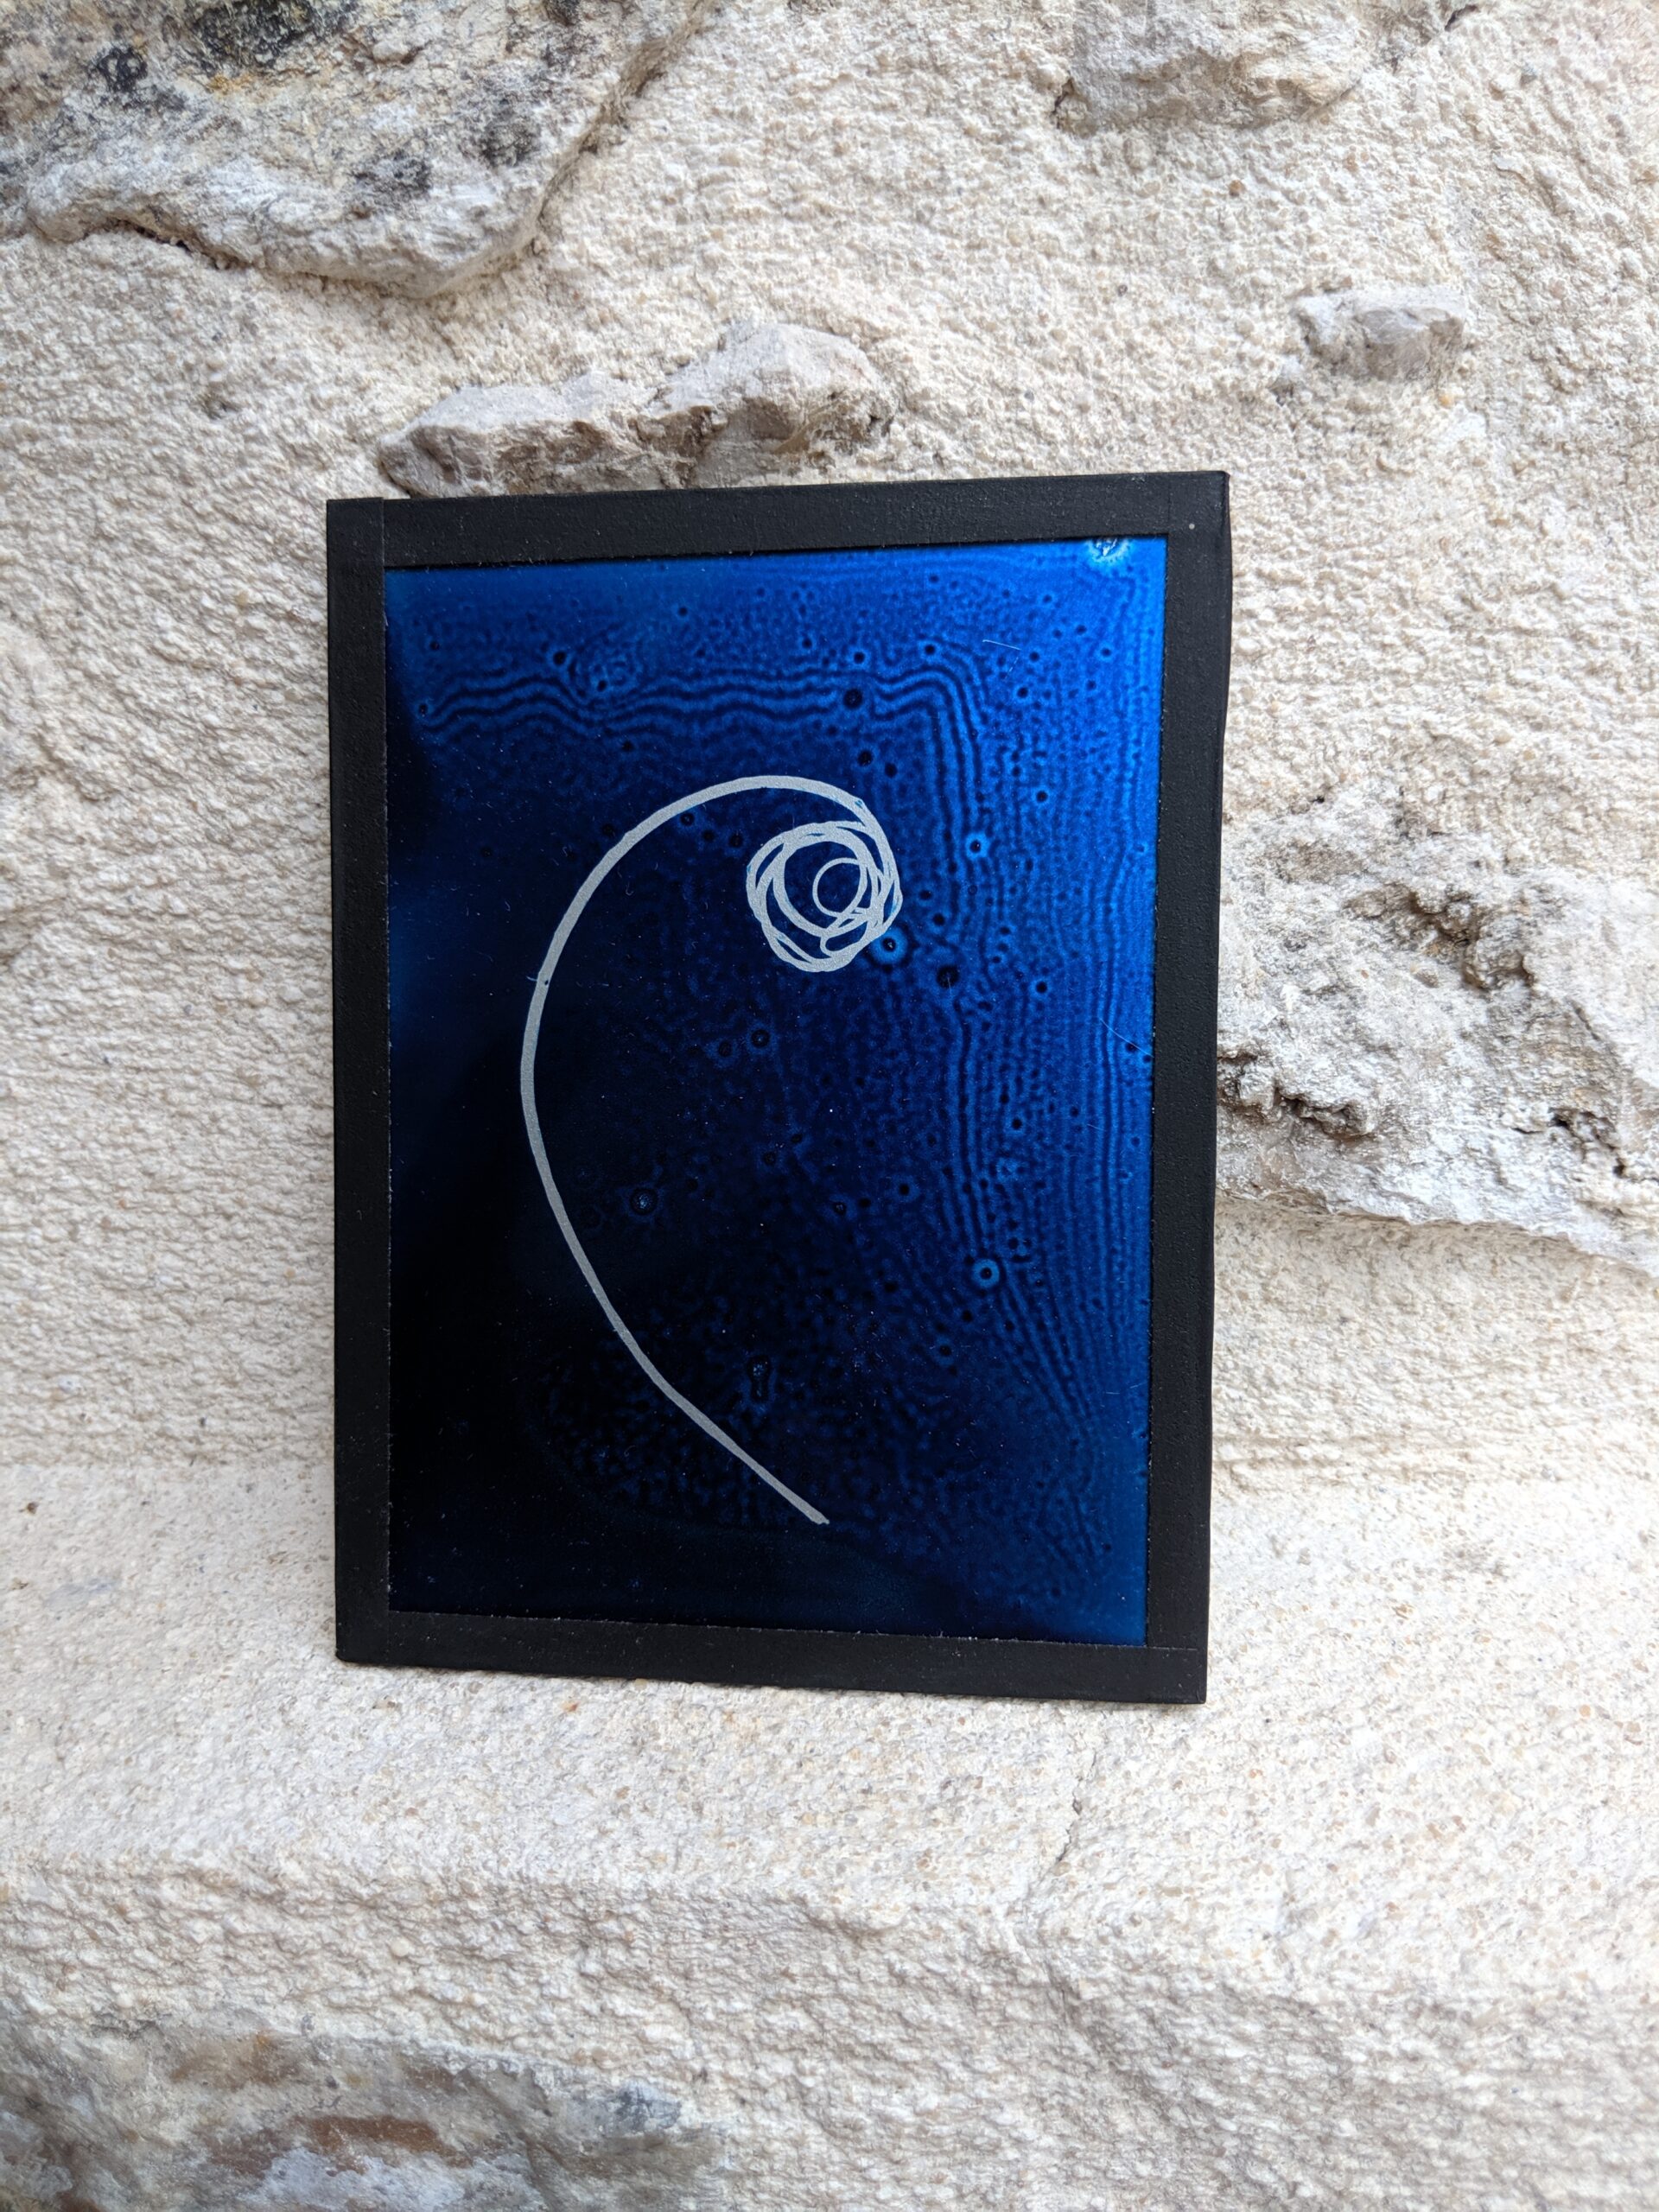
4. Gradient and coating
Uneven coating was and still is my worst nightmare. Since most of my art work is about large plain blue, if the coating is not perfect, it shows. One usual reason is to let the gelatin dry vertically.
When I pour the gelatin, I quickly tilt the plate after the excess is poured out. Then I lay the plate flat. I know there are more elaborate contraptions to get an even coating (cf dry plate), but with practise (a lot), it can be done.


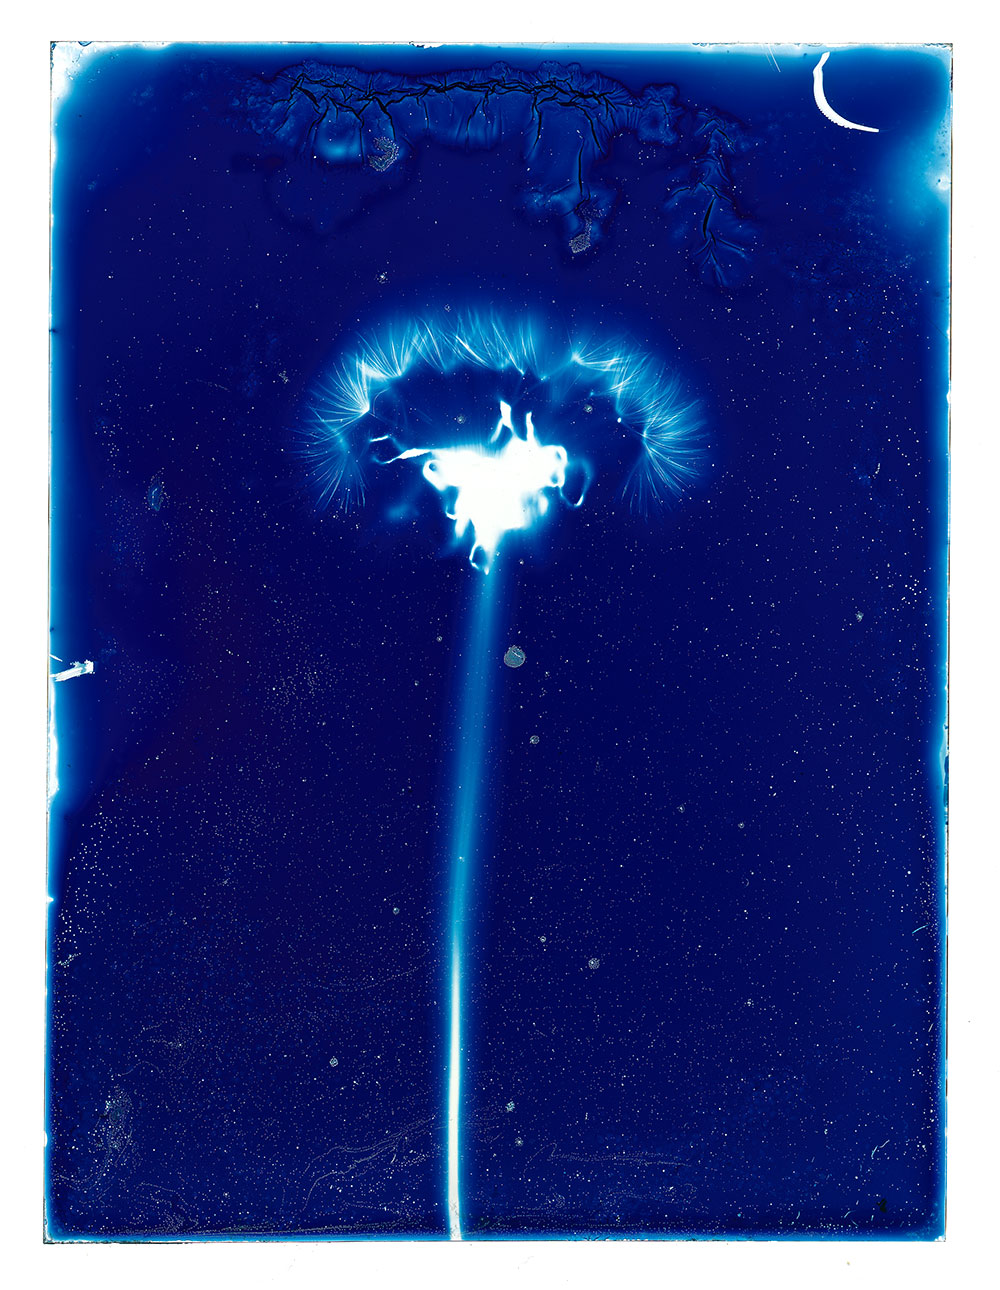
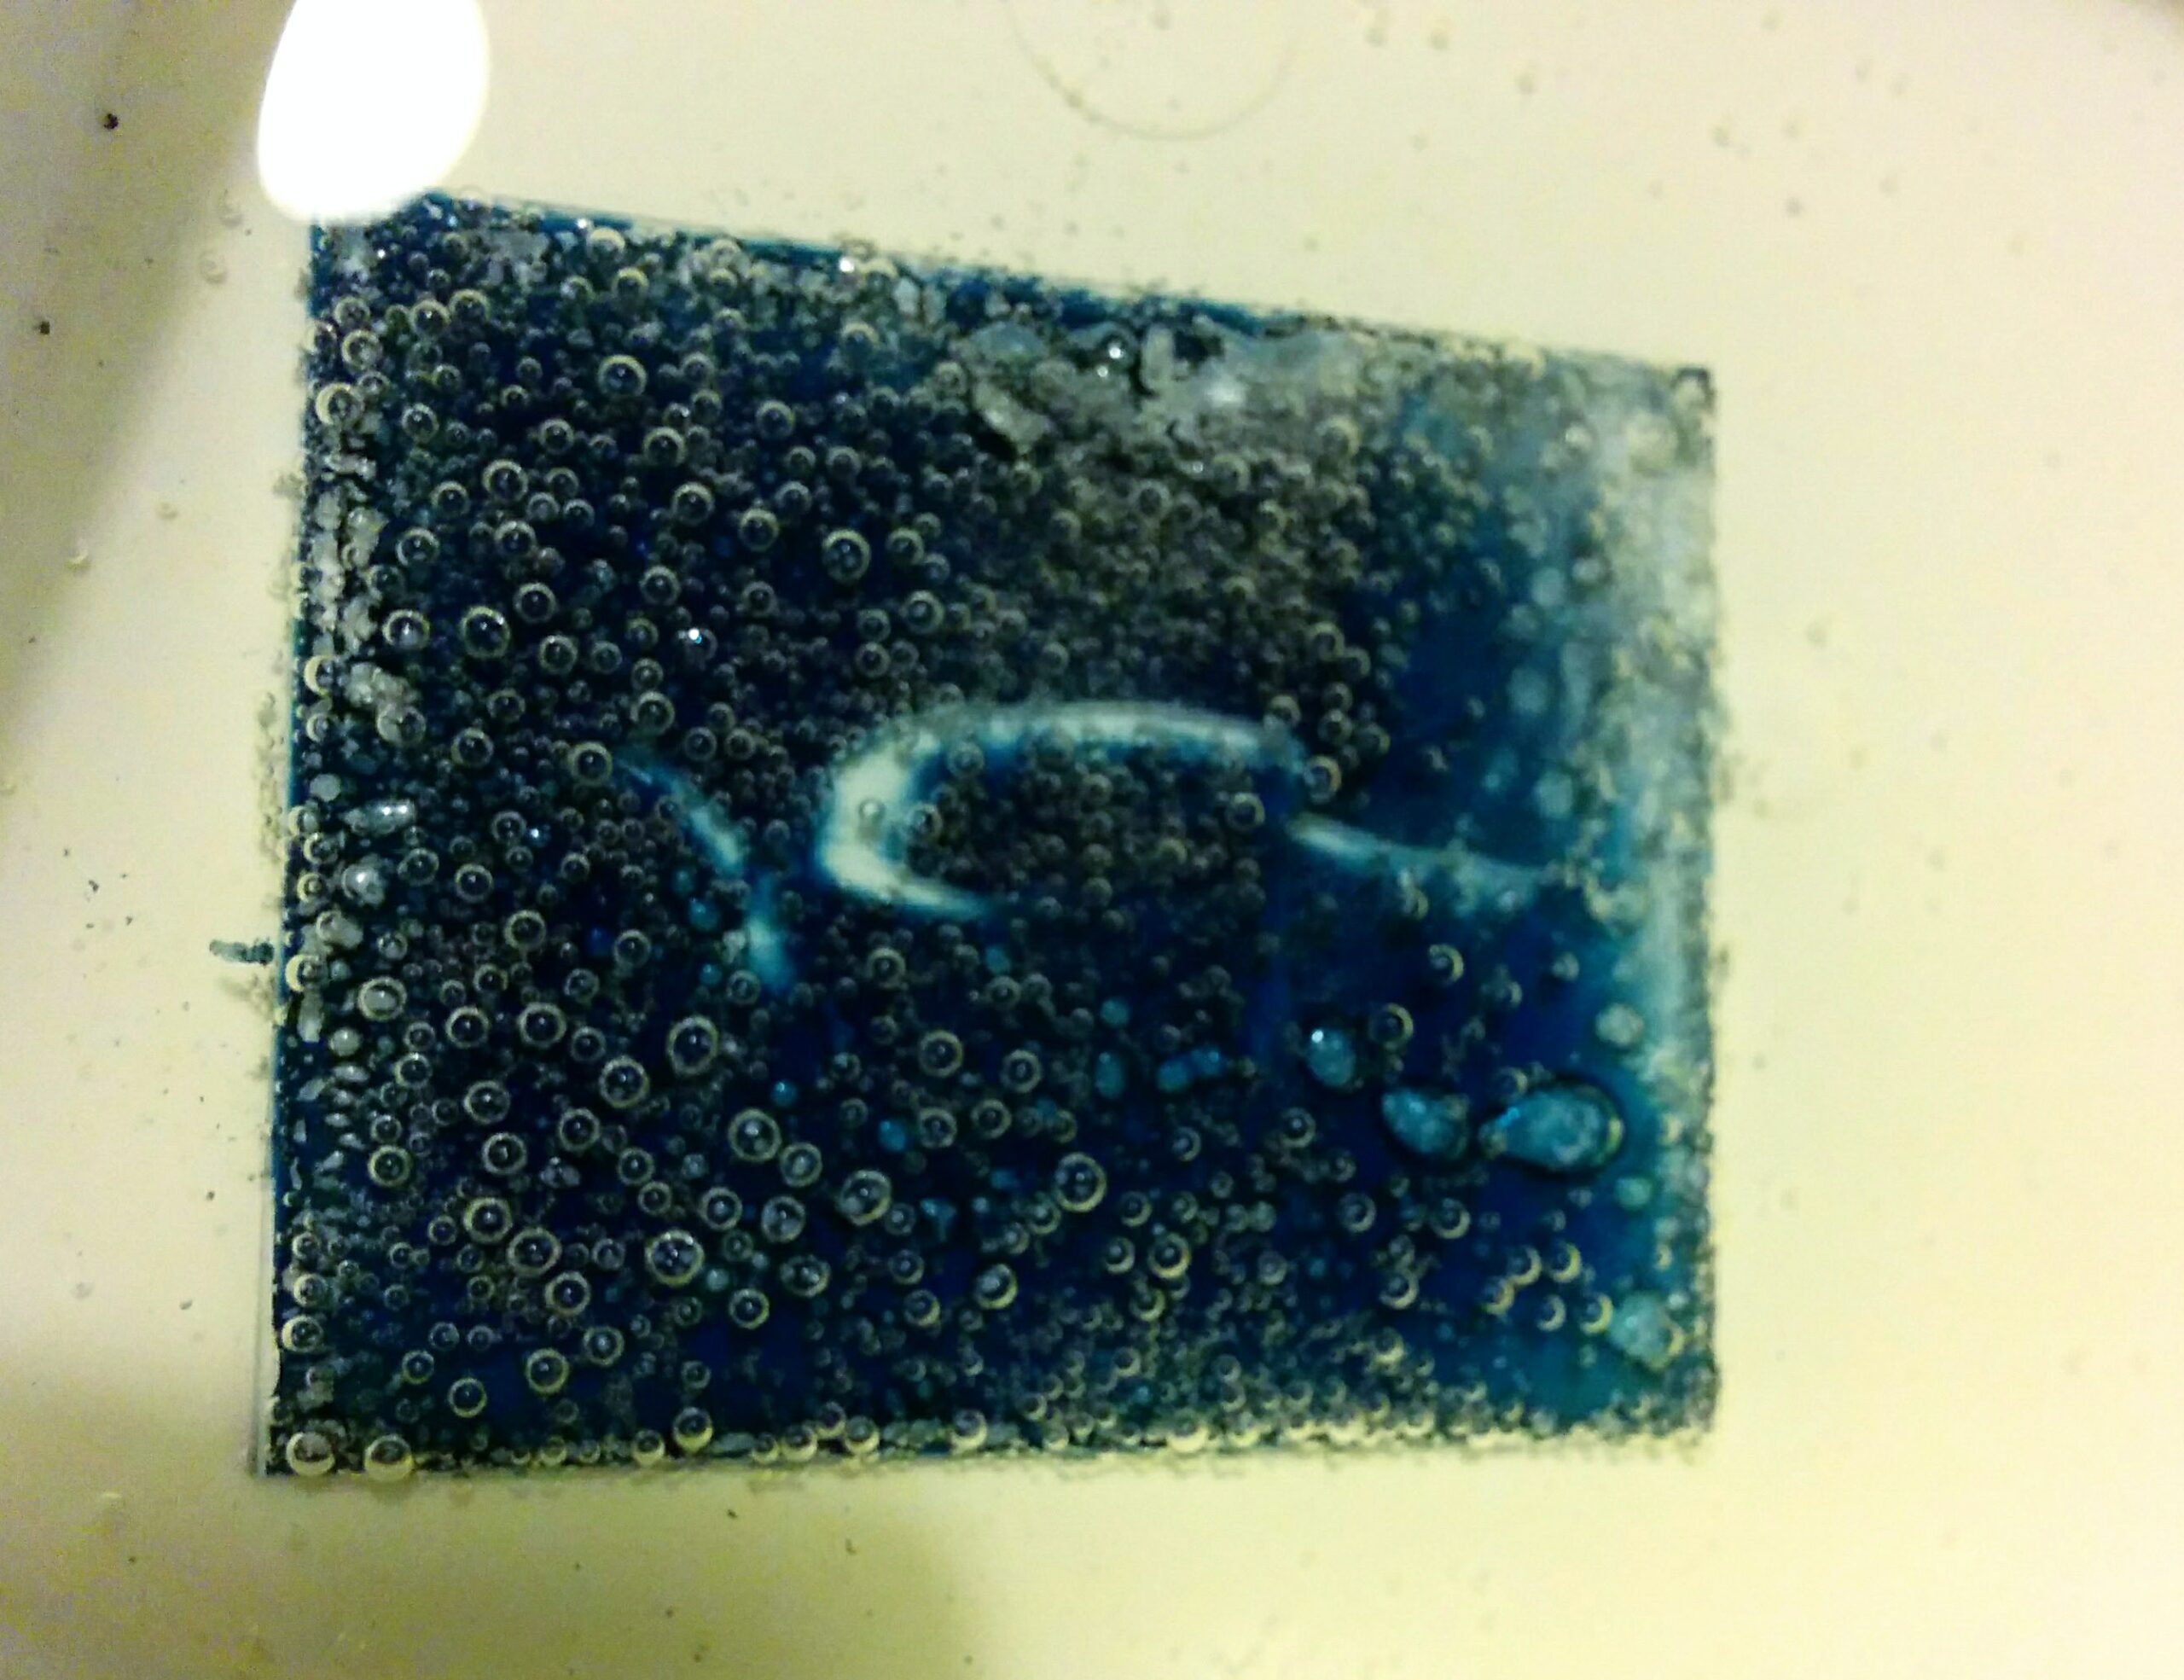
5. Wet gelatin
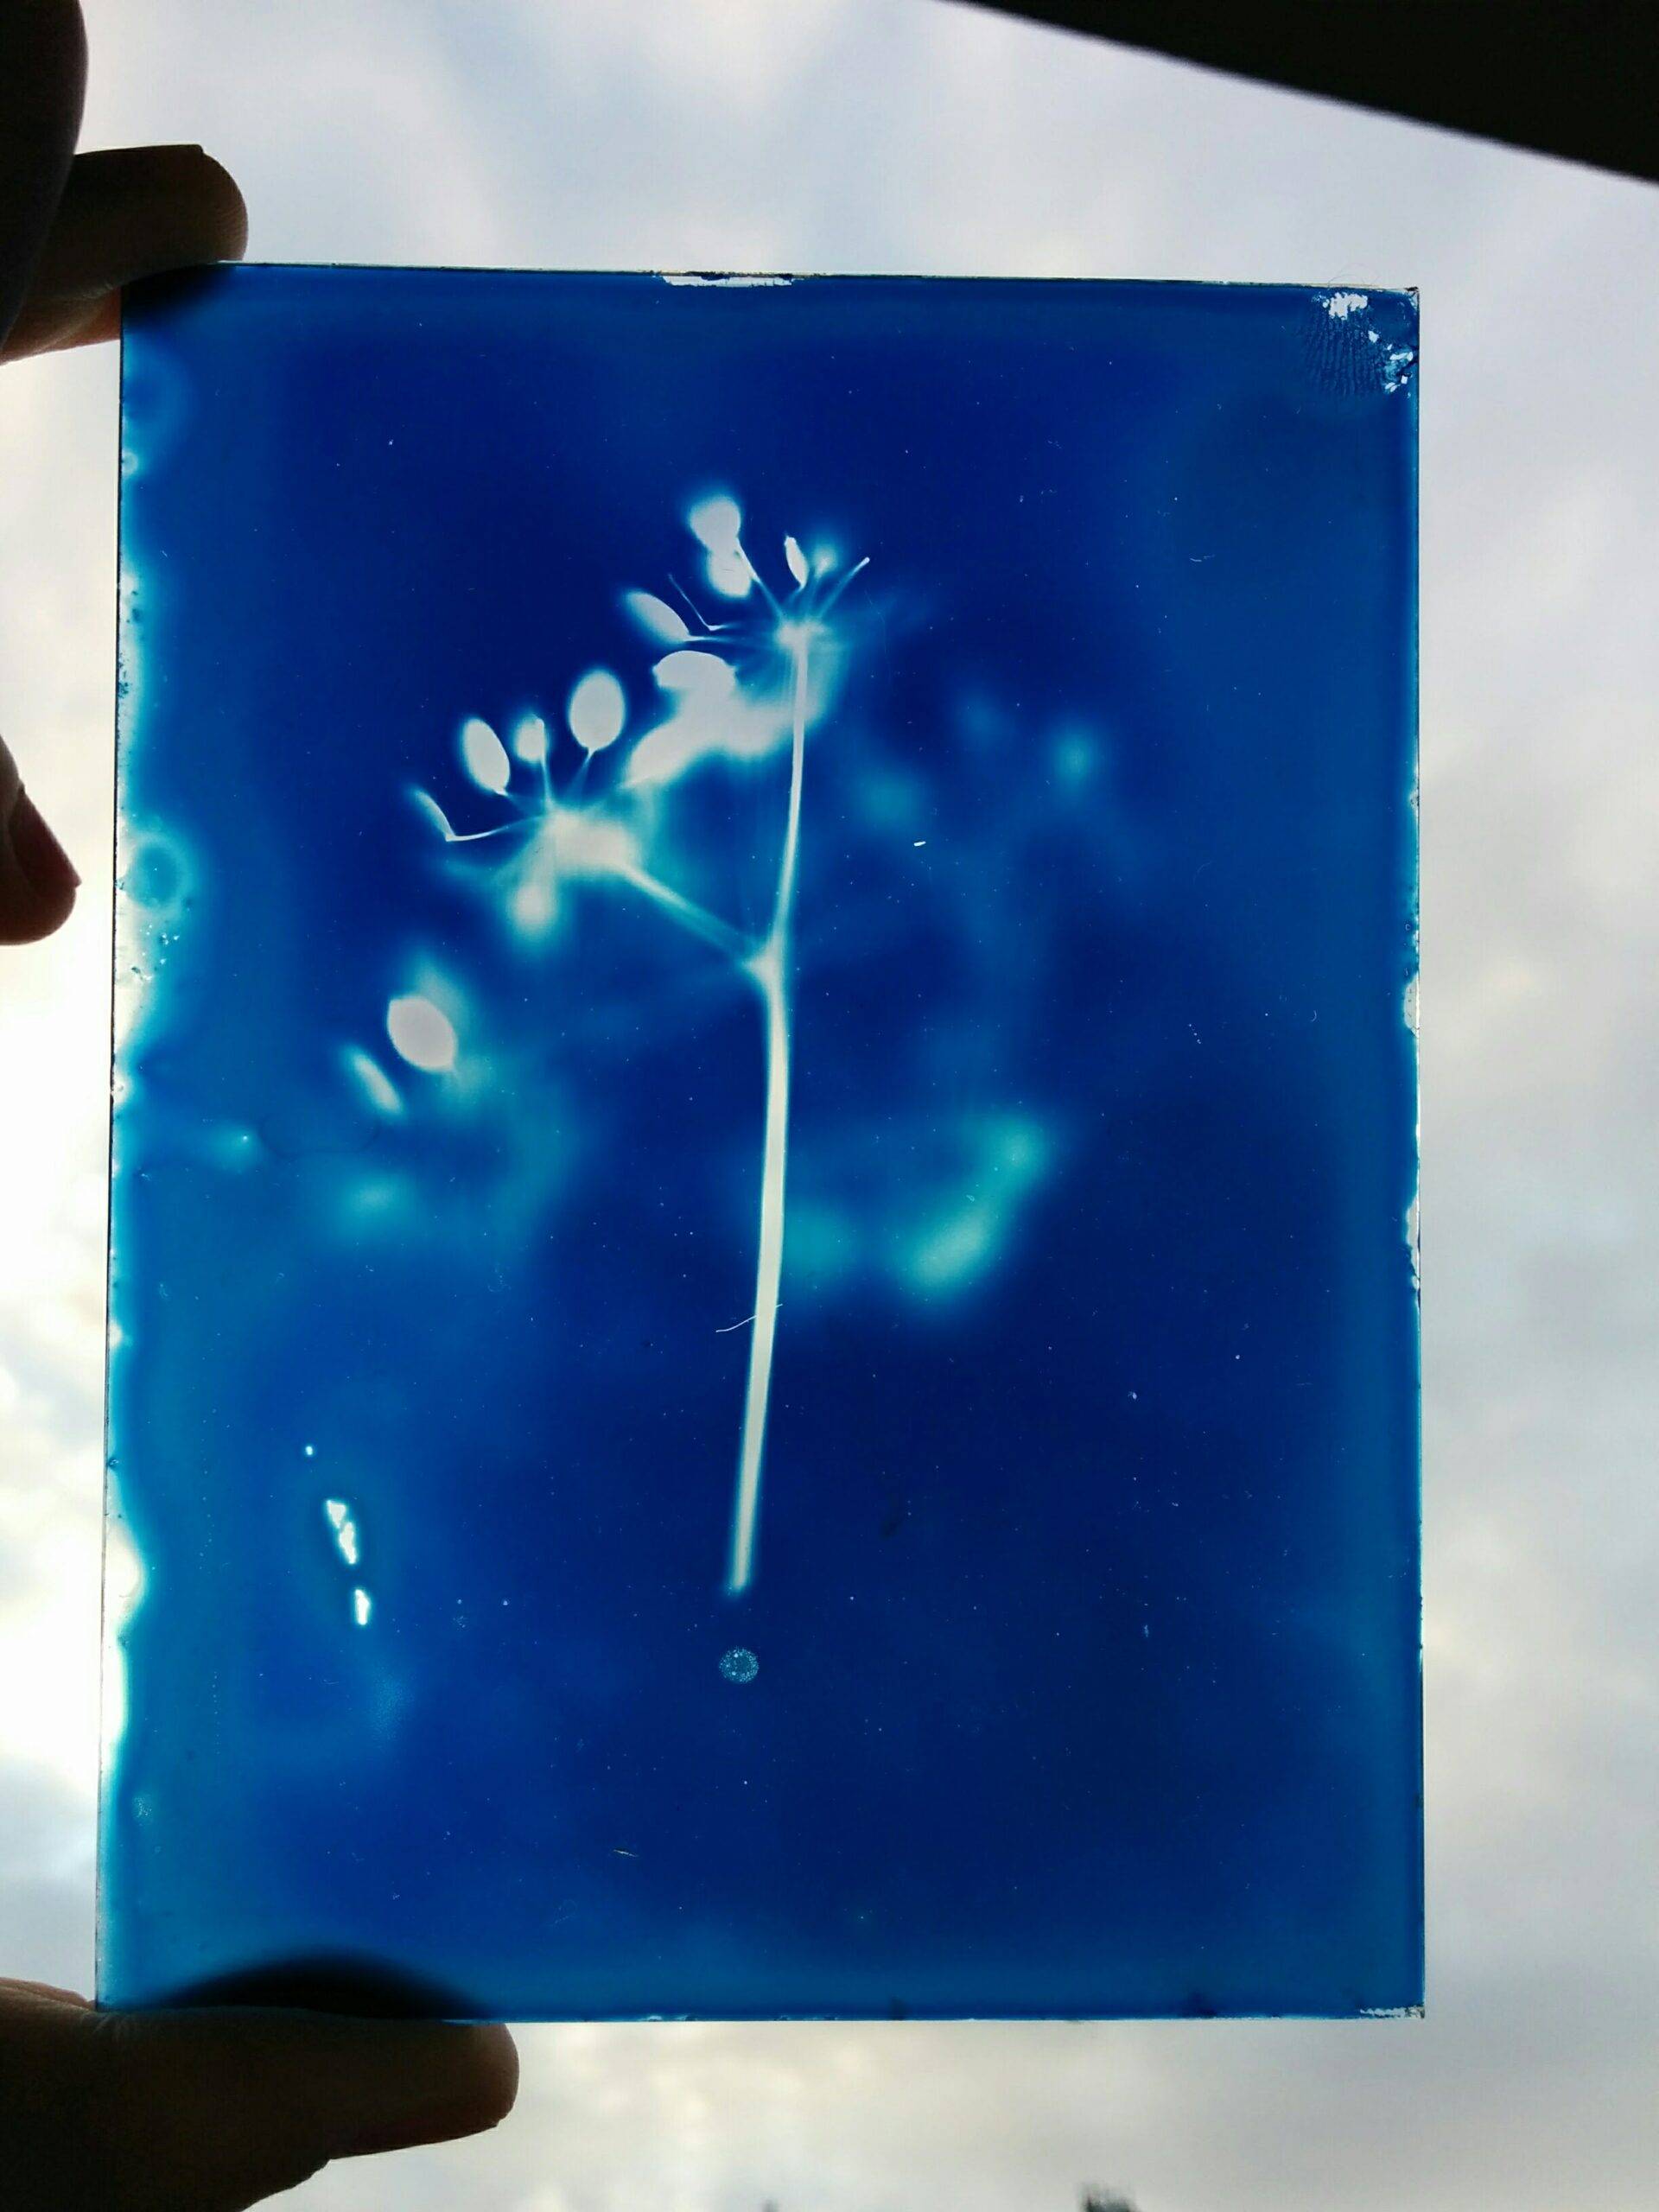
You know now that I use mainly gelatin mixed with the cyanotype solution. I live by a river, which means the level of humidity is a bit high. I don’t want to use a fan to dry my newly coated plates (because I don’t want to add dust), so it usually take 8-10 hours for the gelatin to dry. But sometimes it’s not enough…
First tip, avoid putting your fingers all over the gelatin to see if it’s dry!
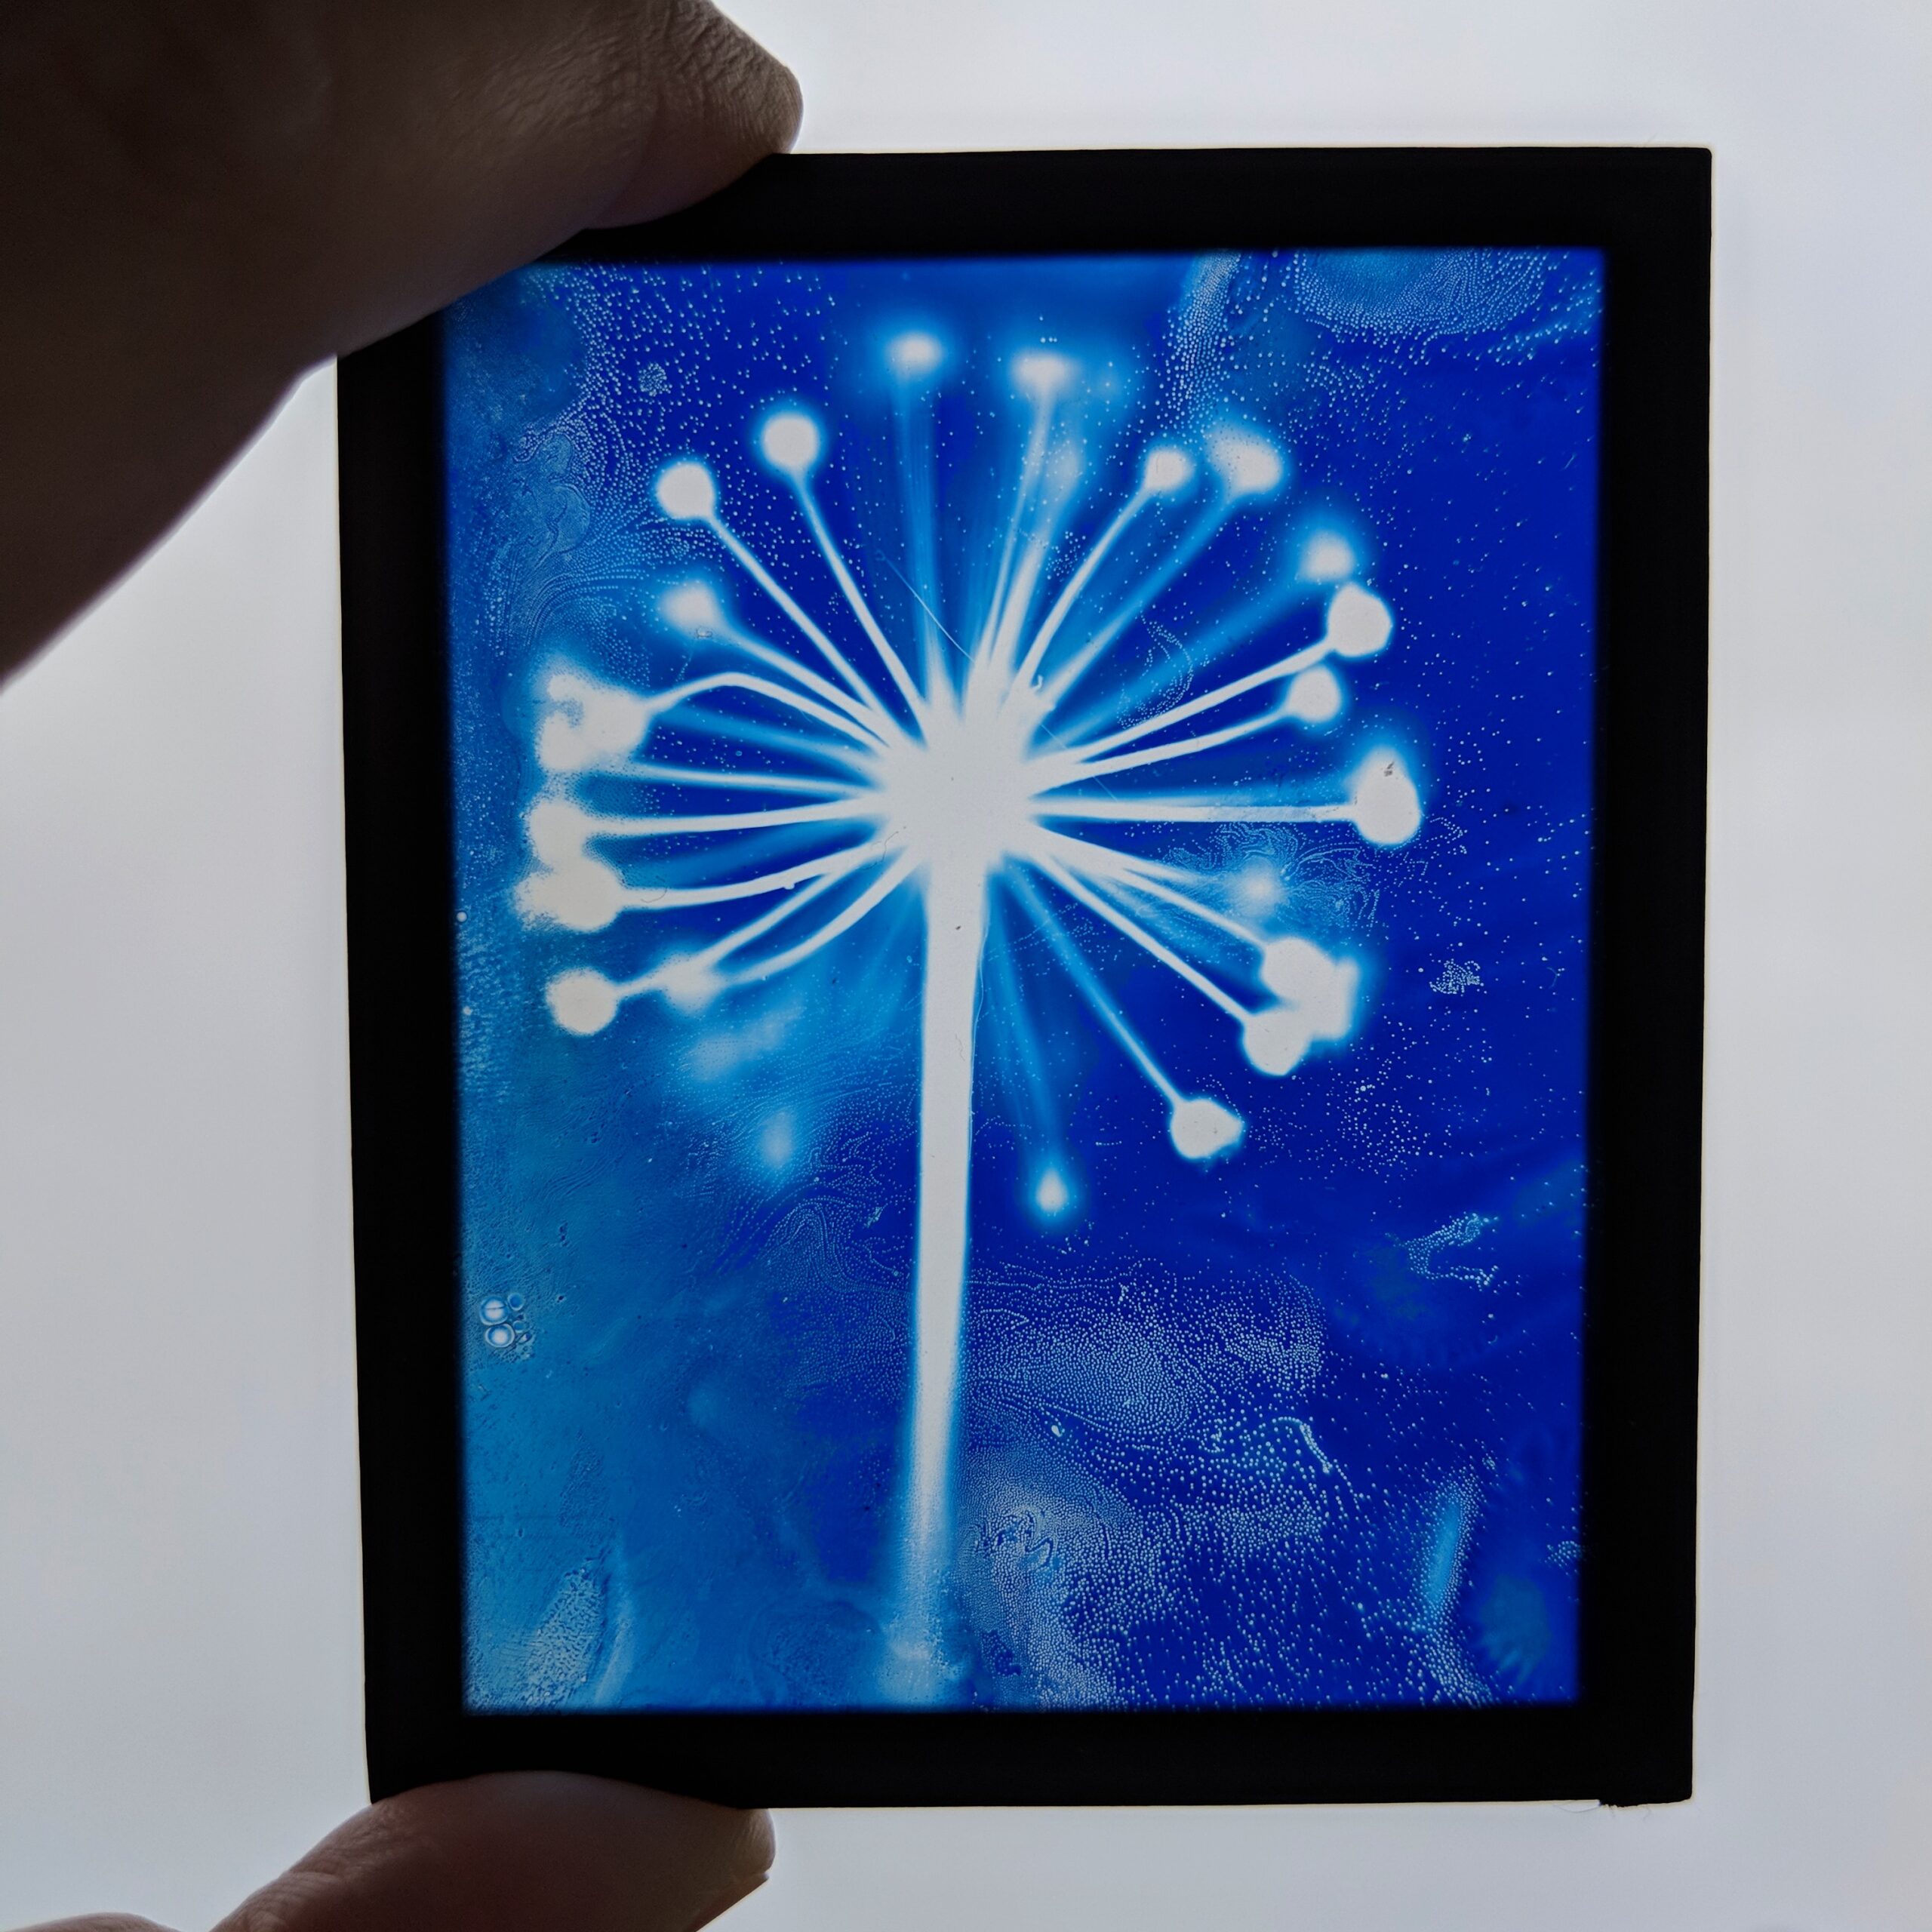
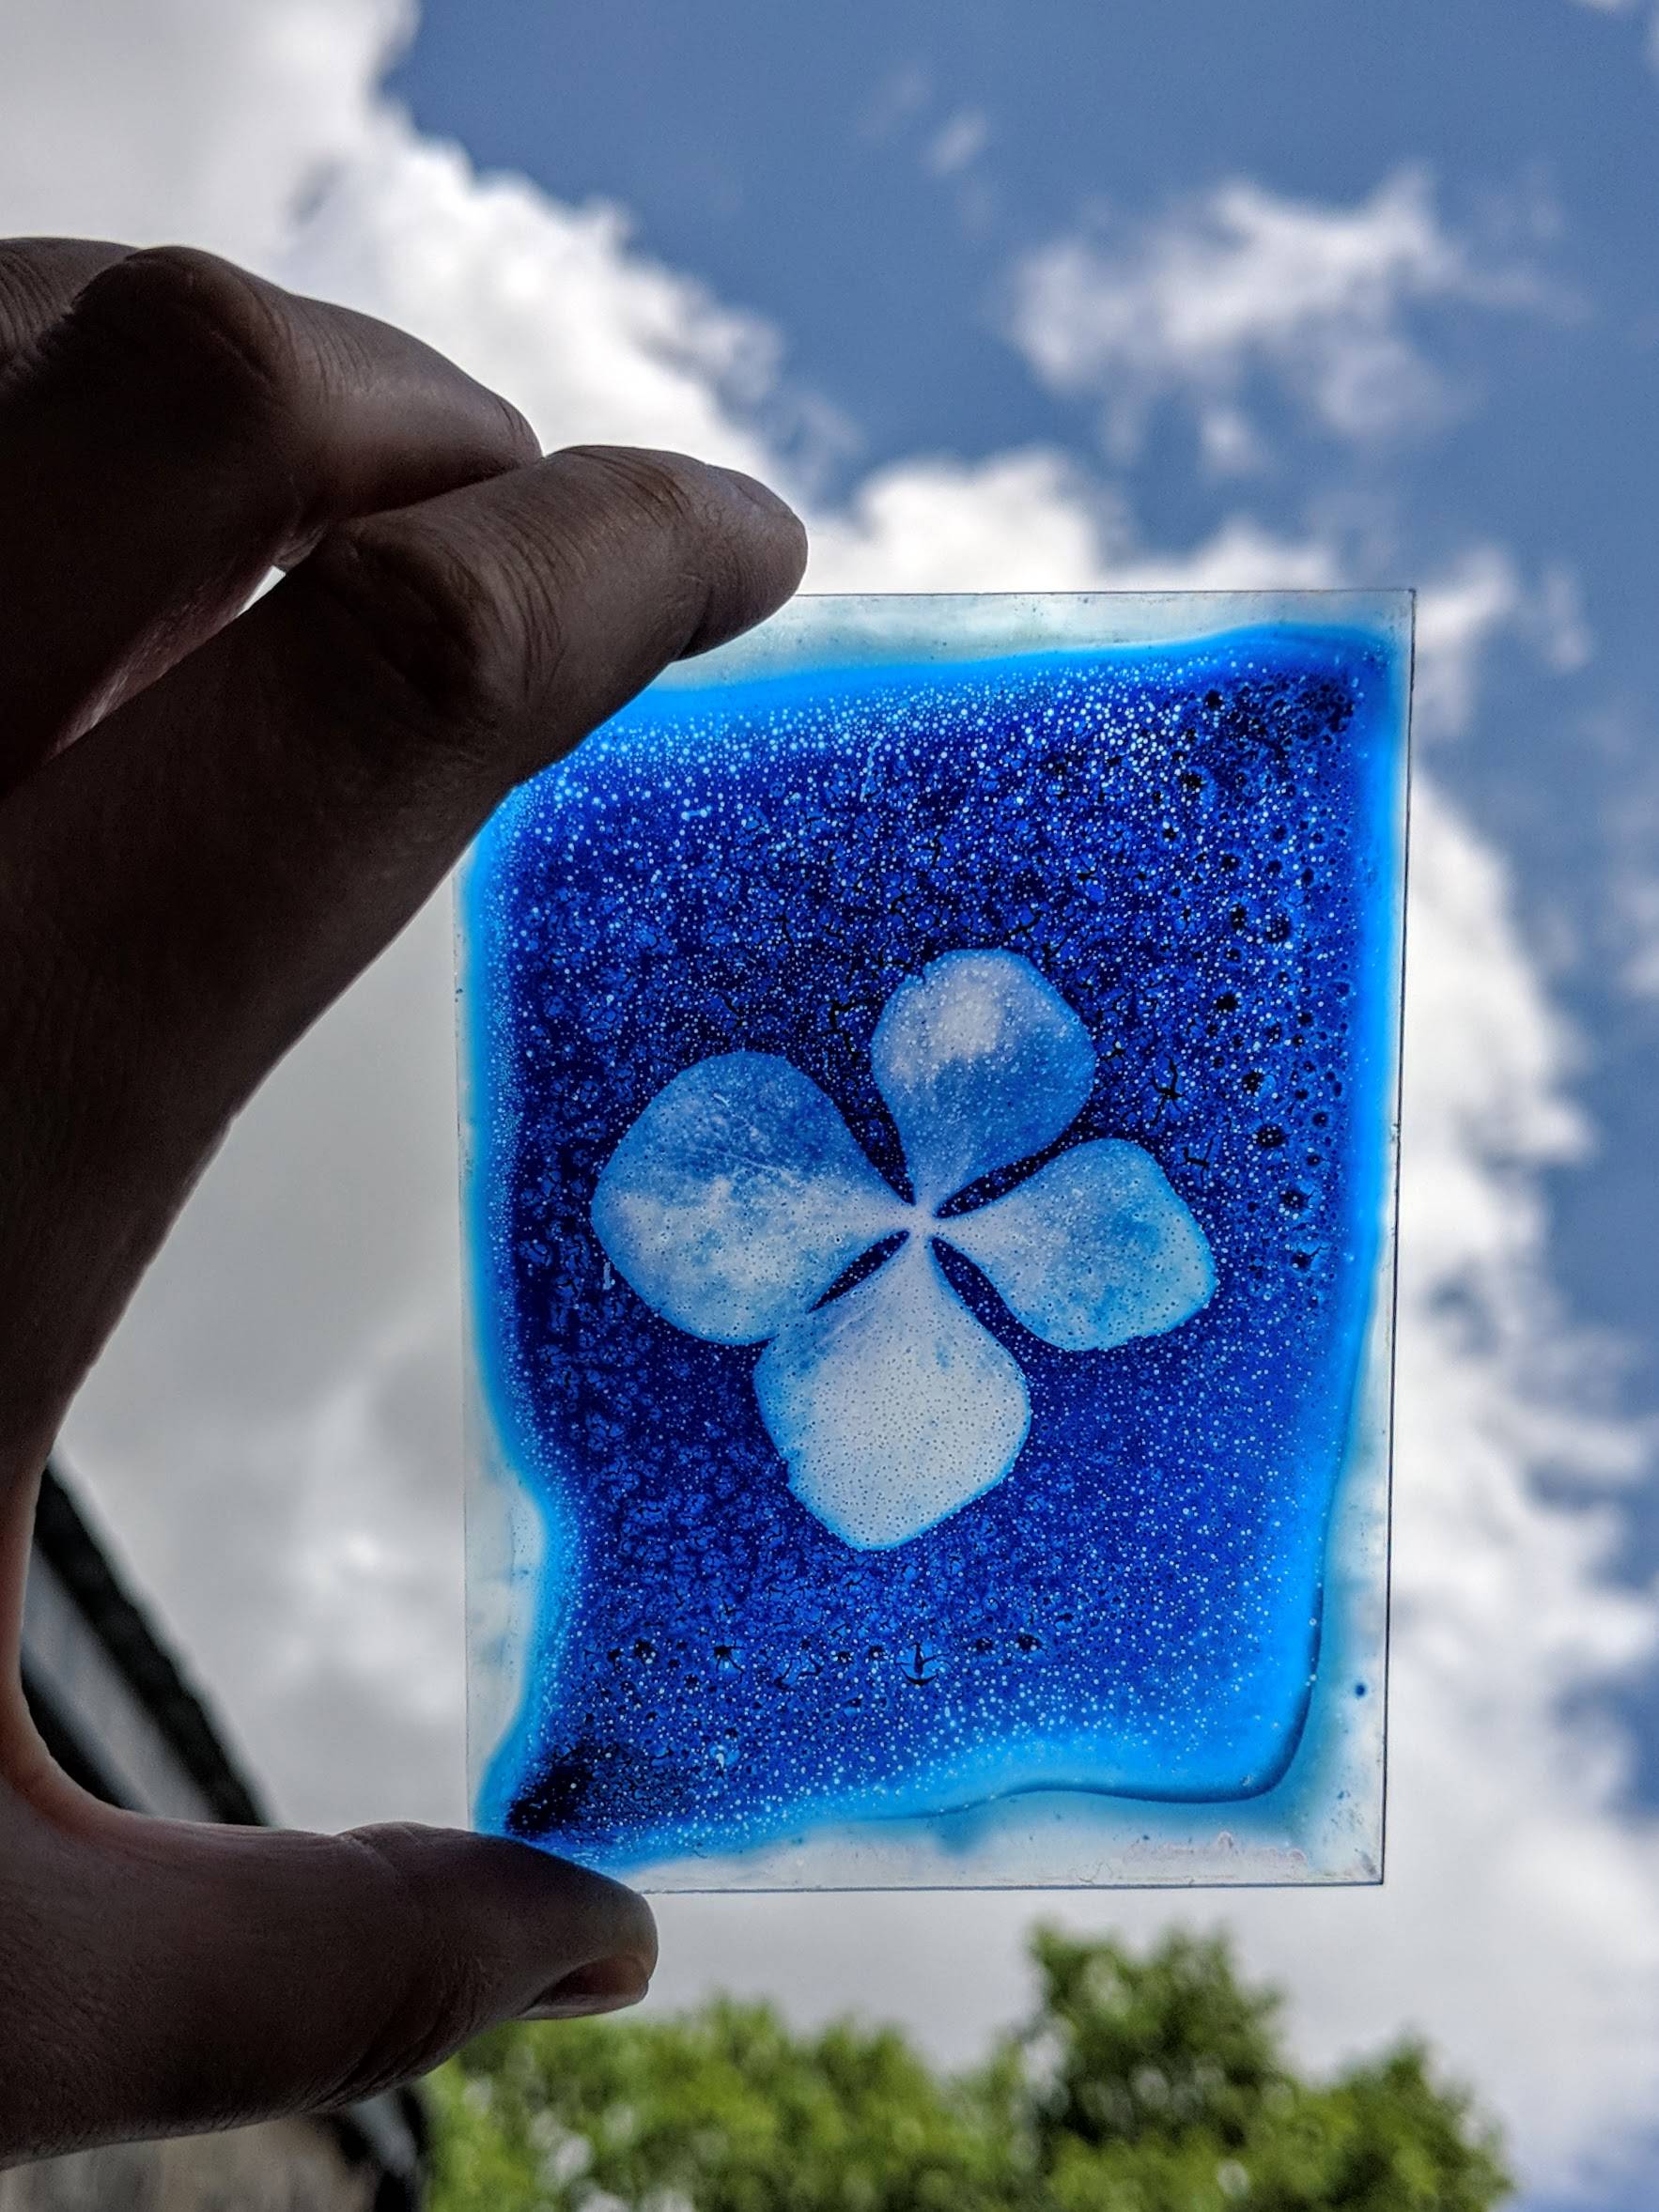
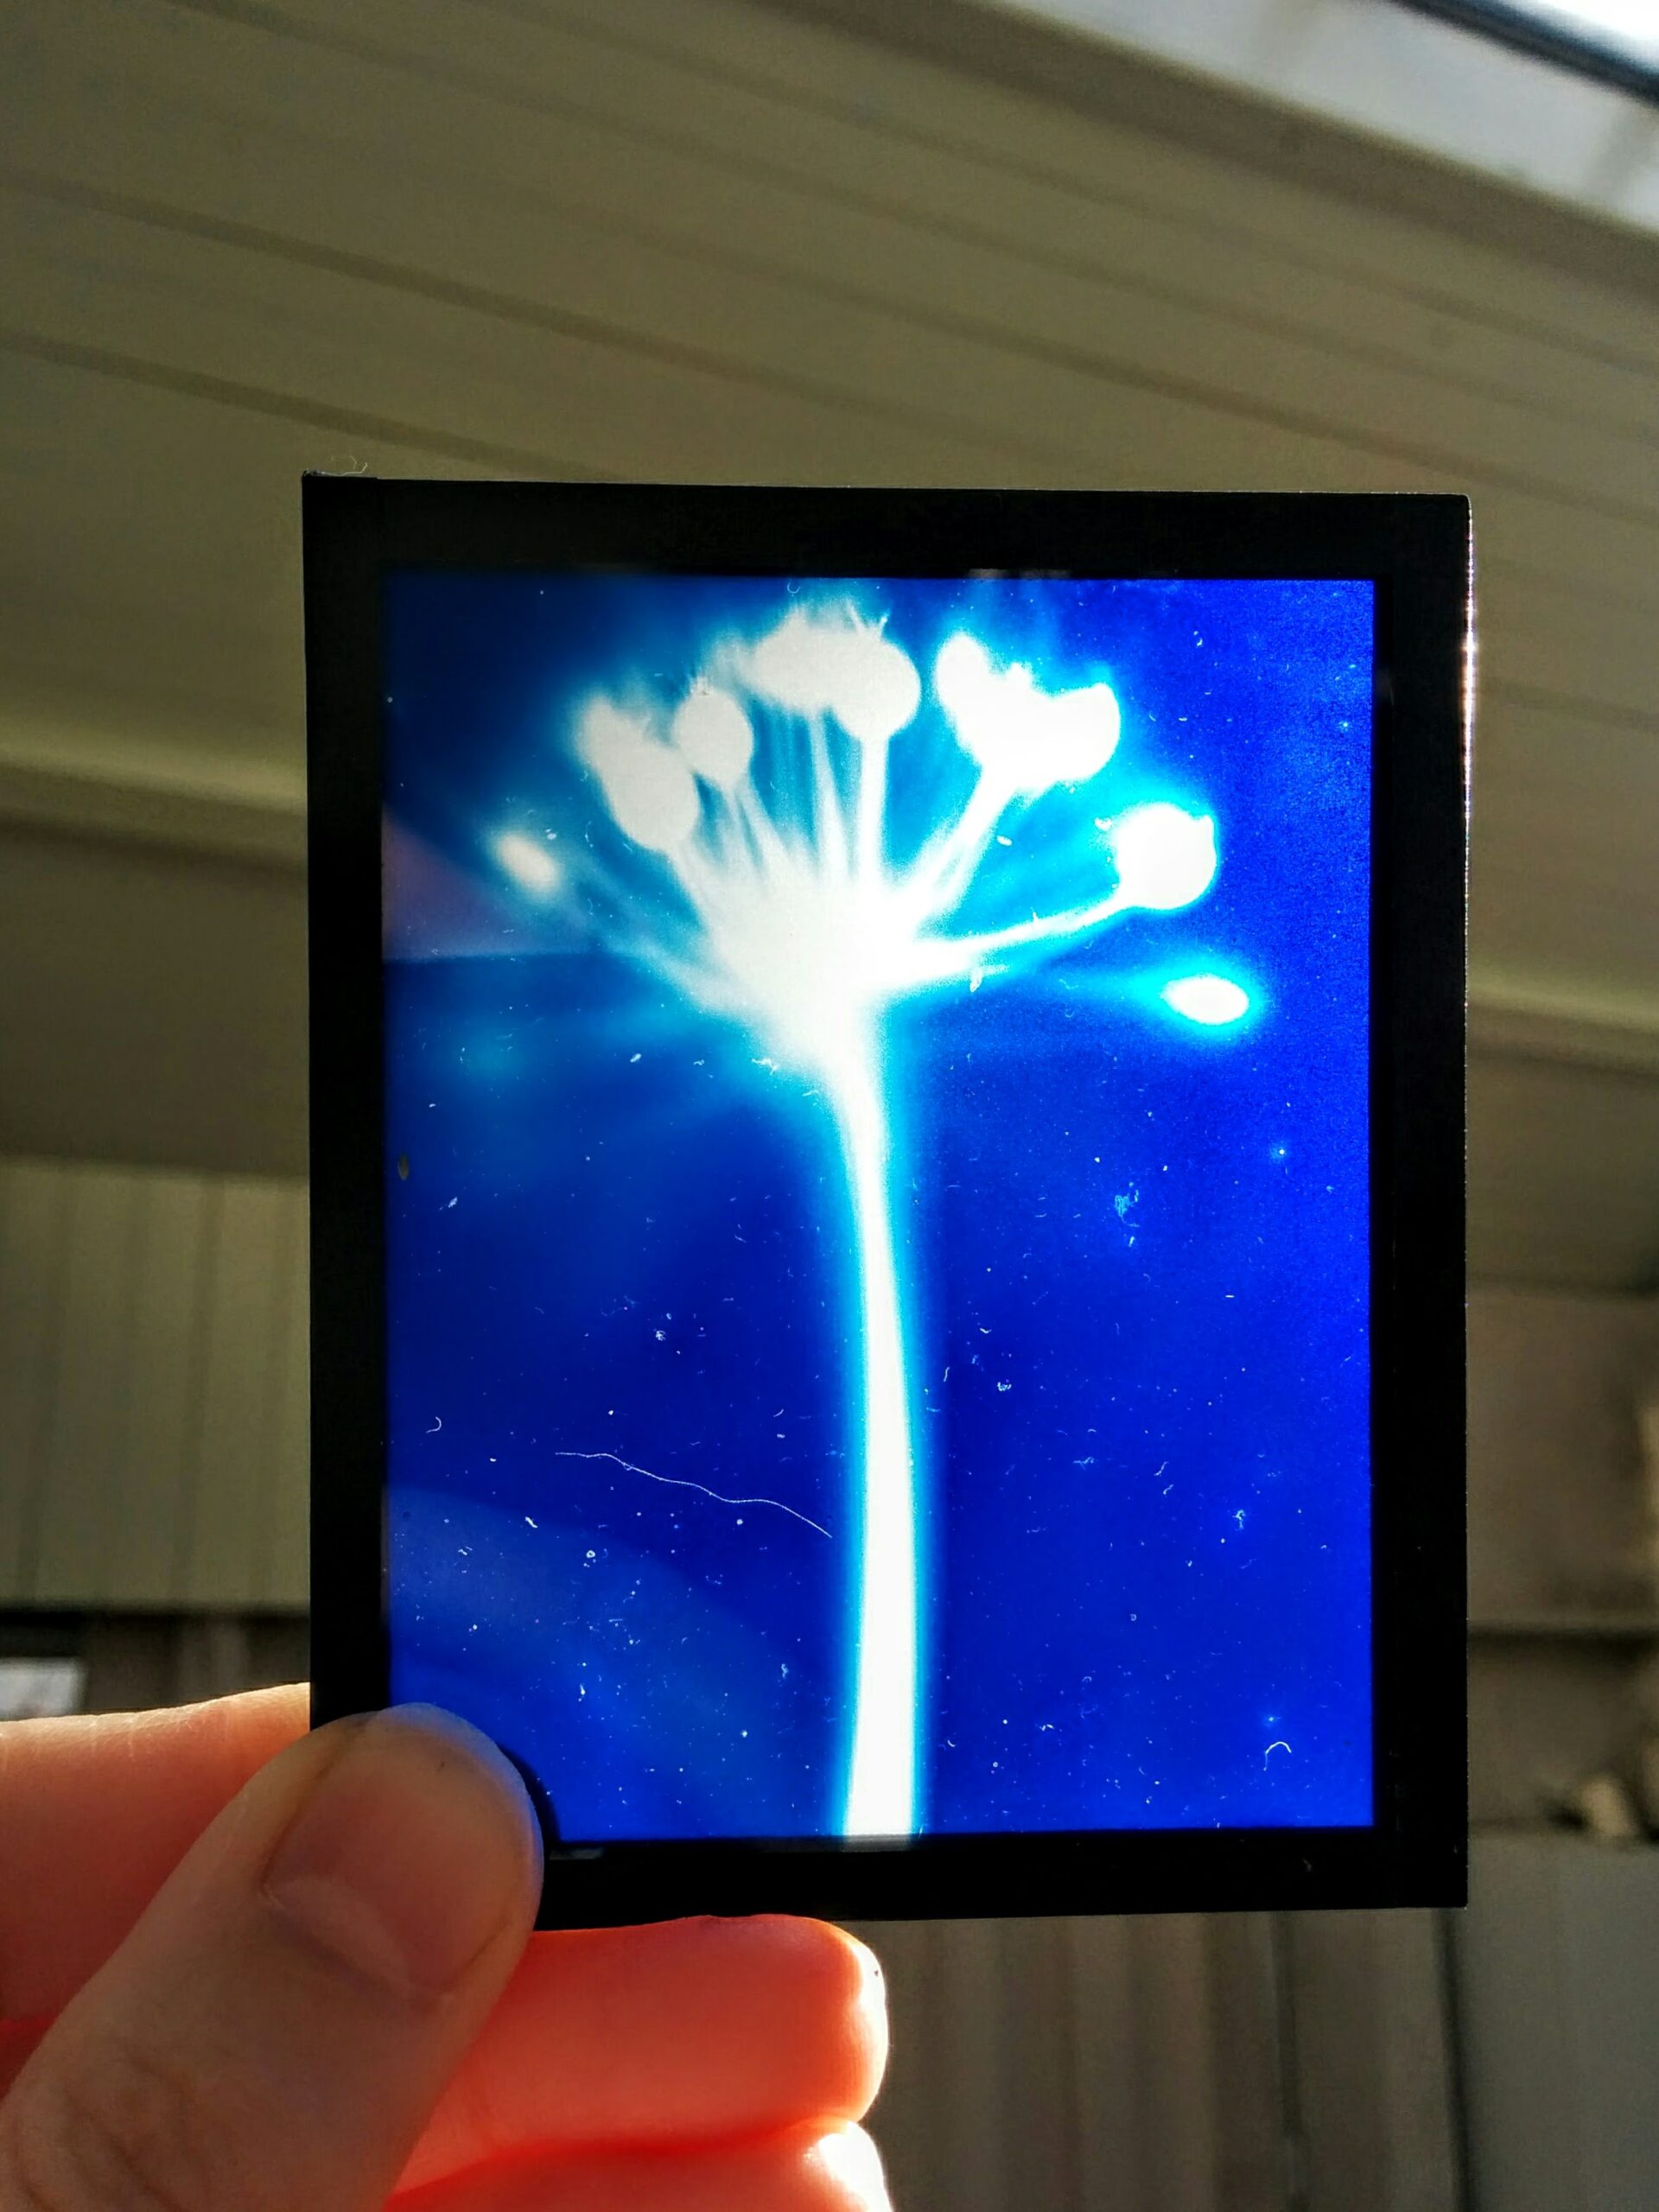
On the large plates, the gelatin might be dry on the edges but still a bit wet in the middle. When that happens, the cyanotype will not react as you can see in the first picture.
Also, you have to be very careful not to put a negative on your plate when the gelatin is still even a tiny bit wet. Especially a digital negative made with your printer. The ink will stick and everything is ruined. Do not rush, I repeat, do not rush, make sure the plate is dry 😅
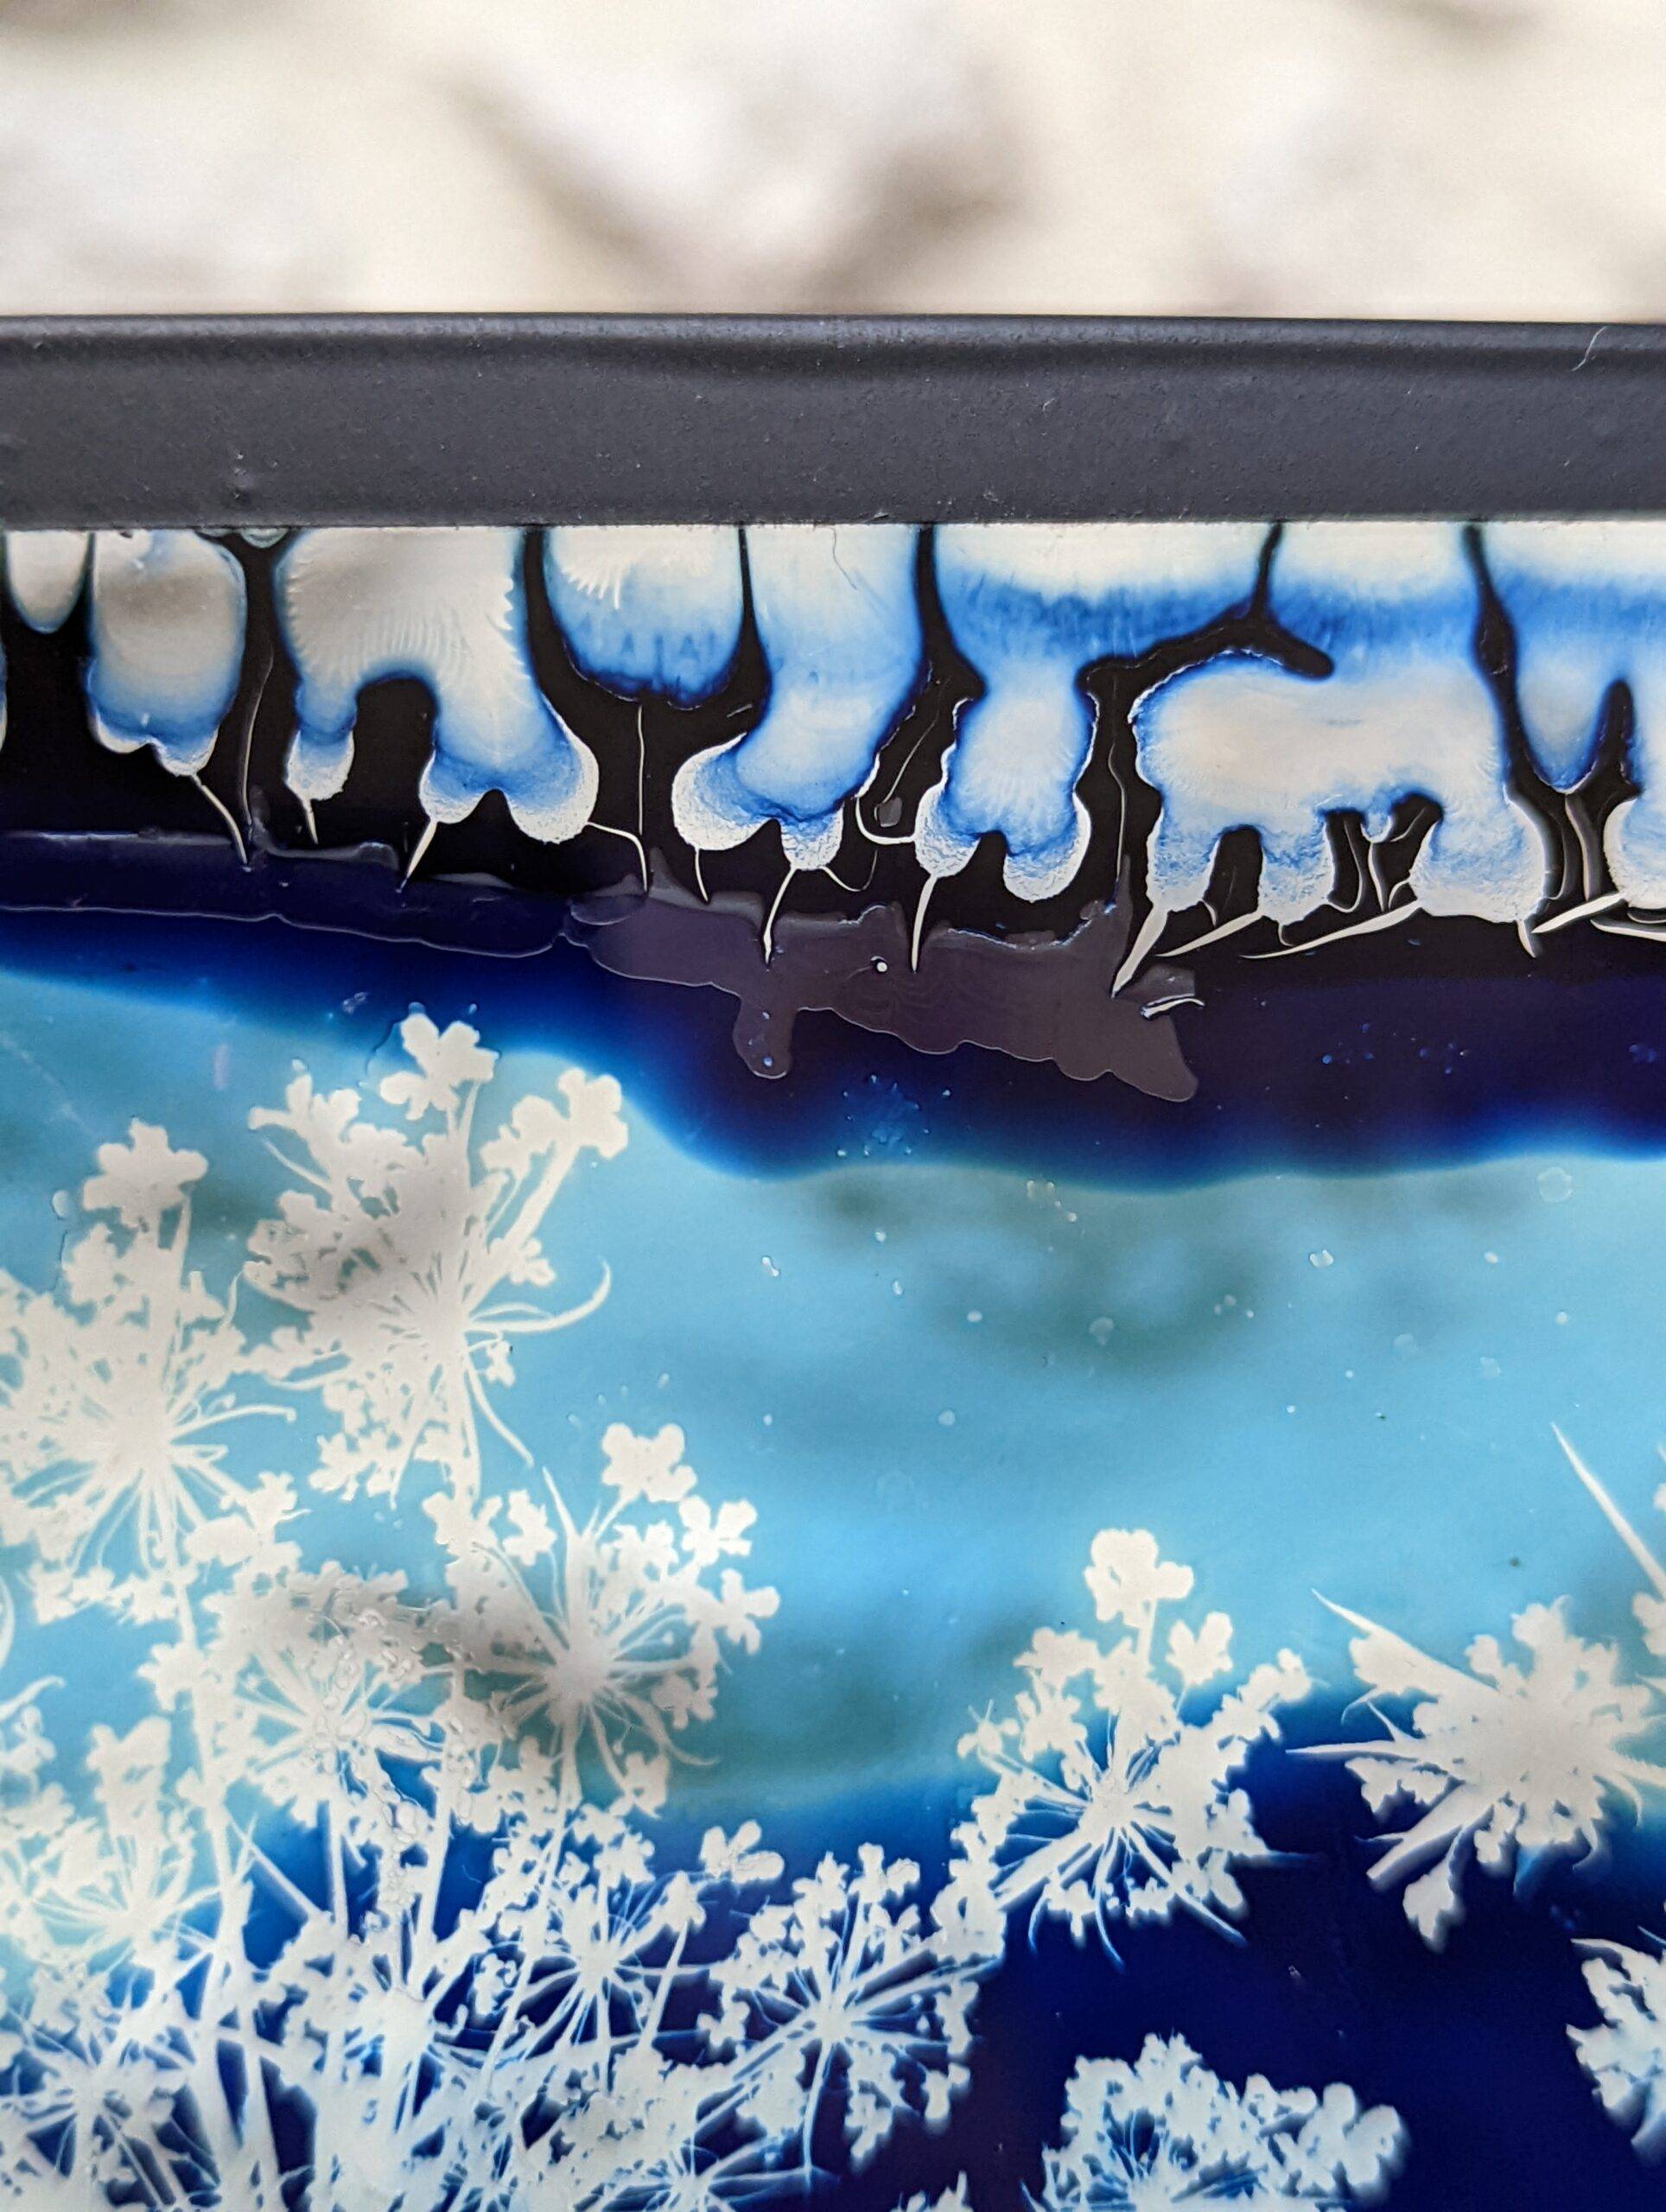
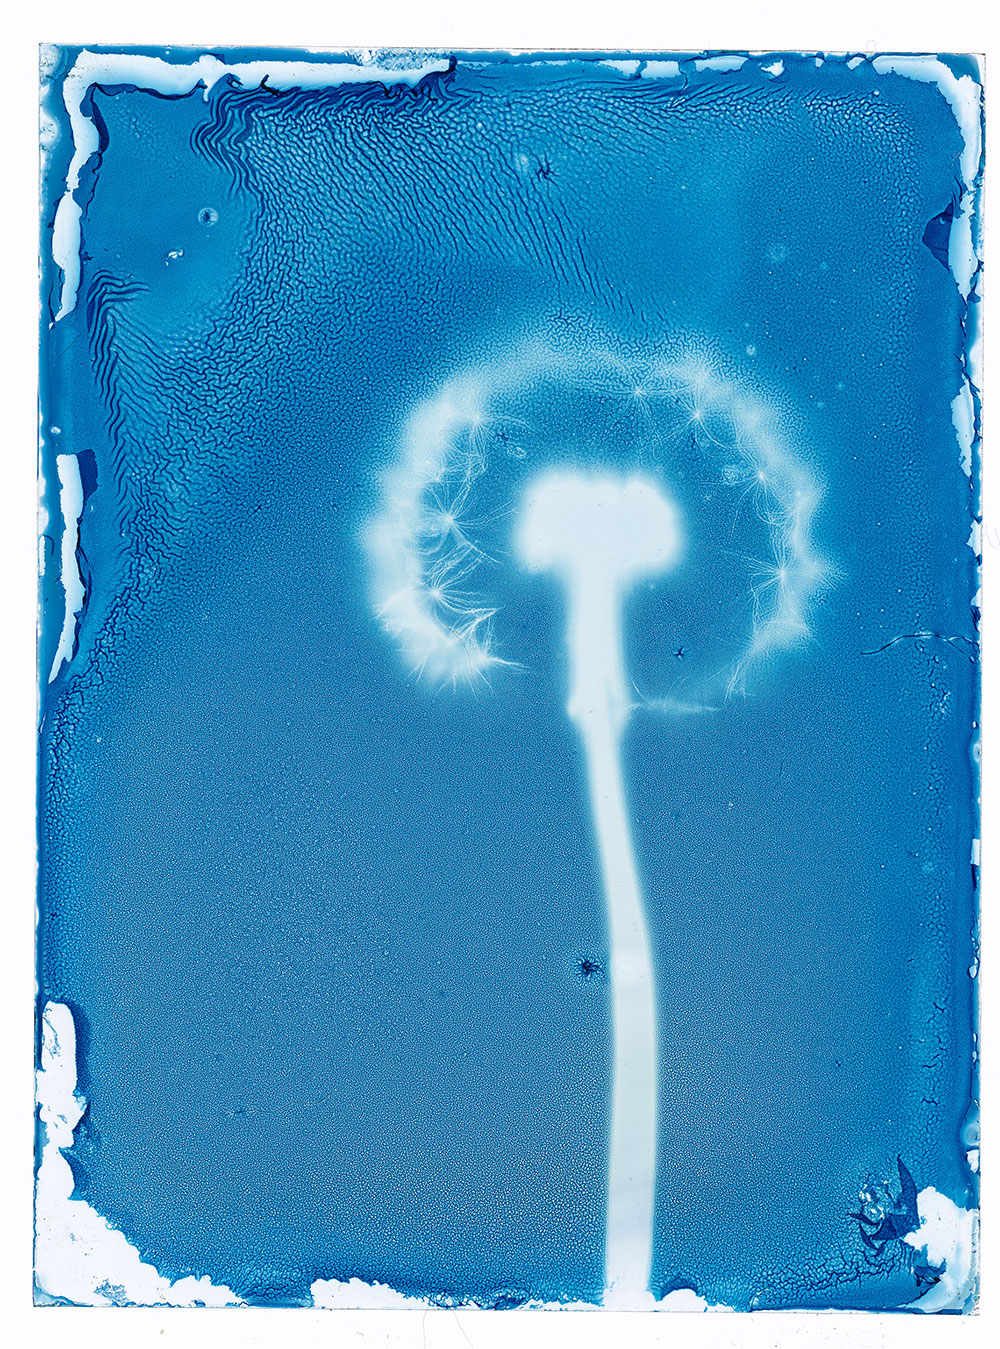
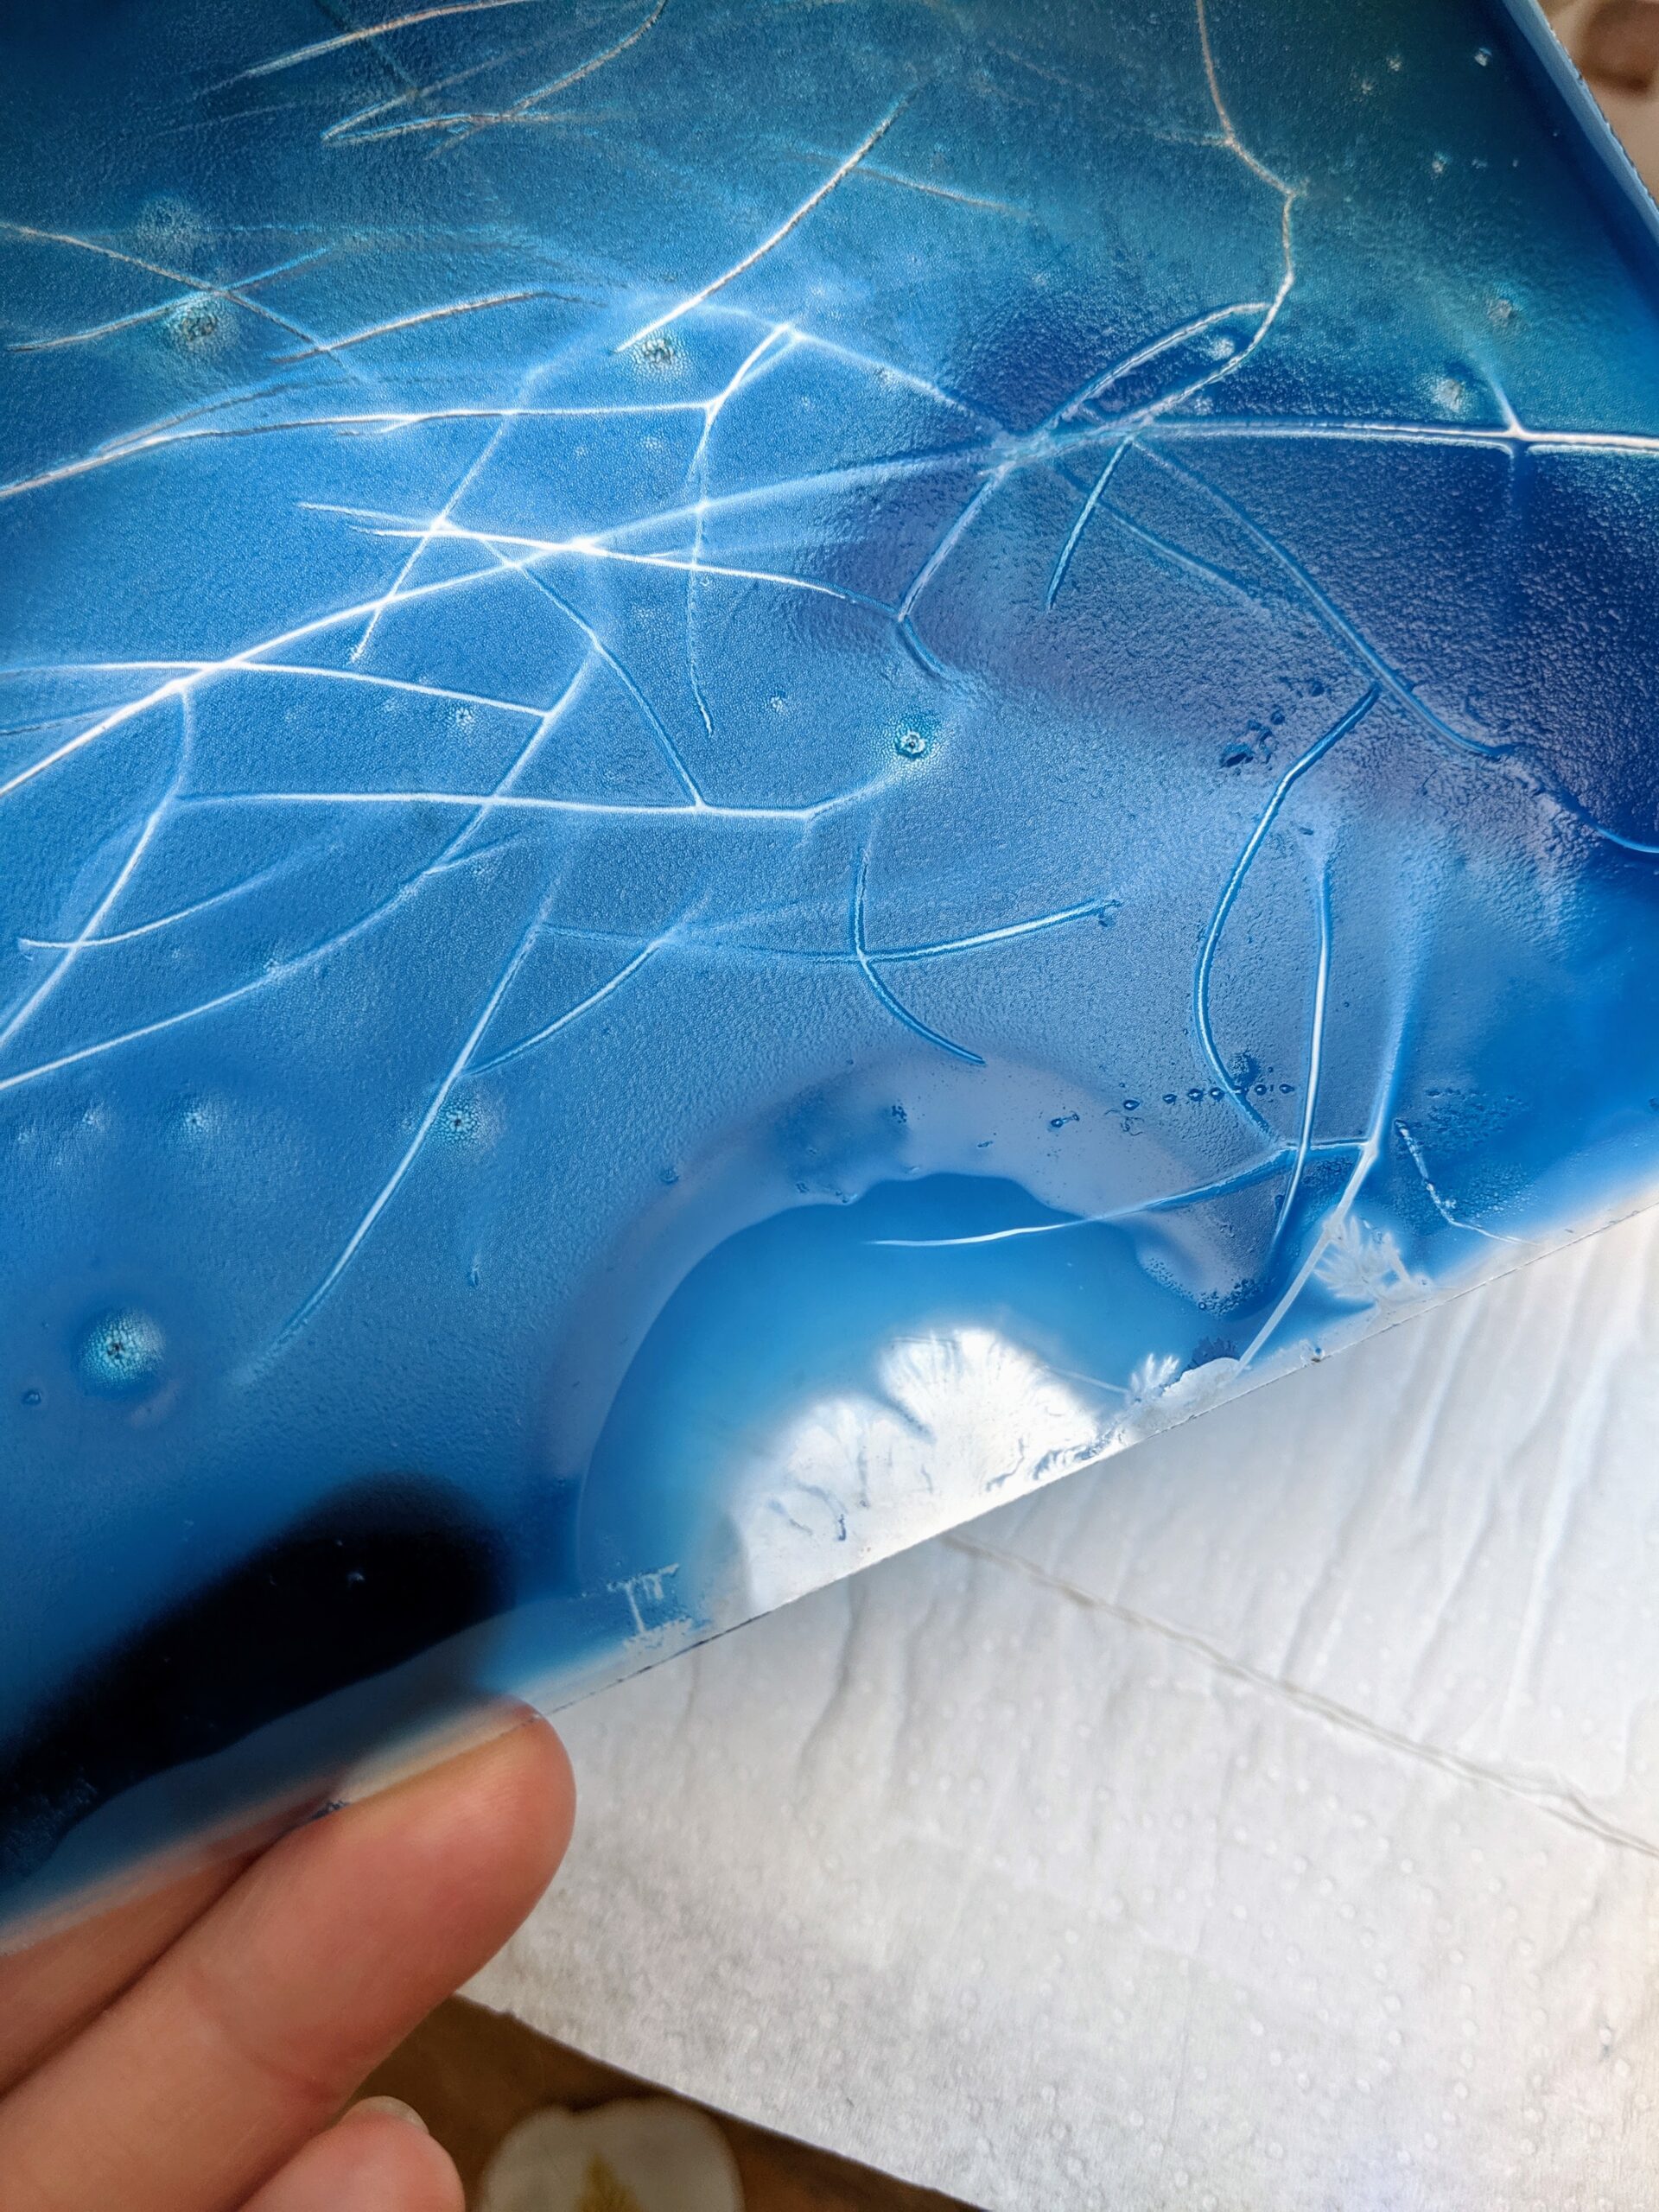
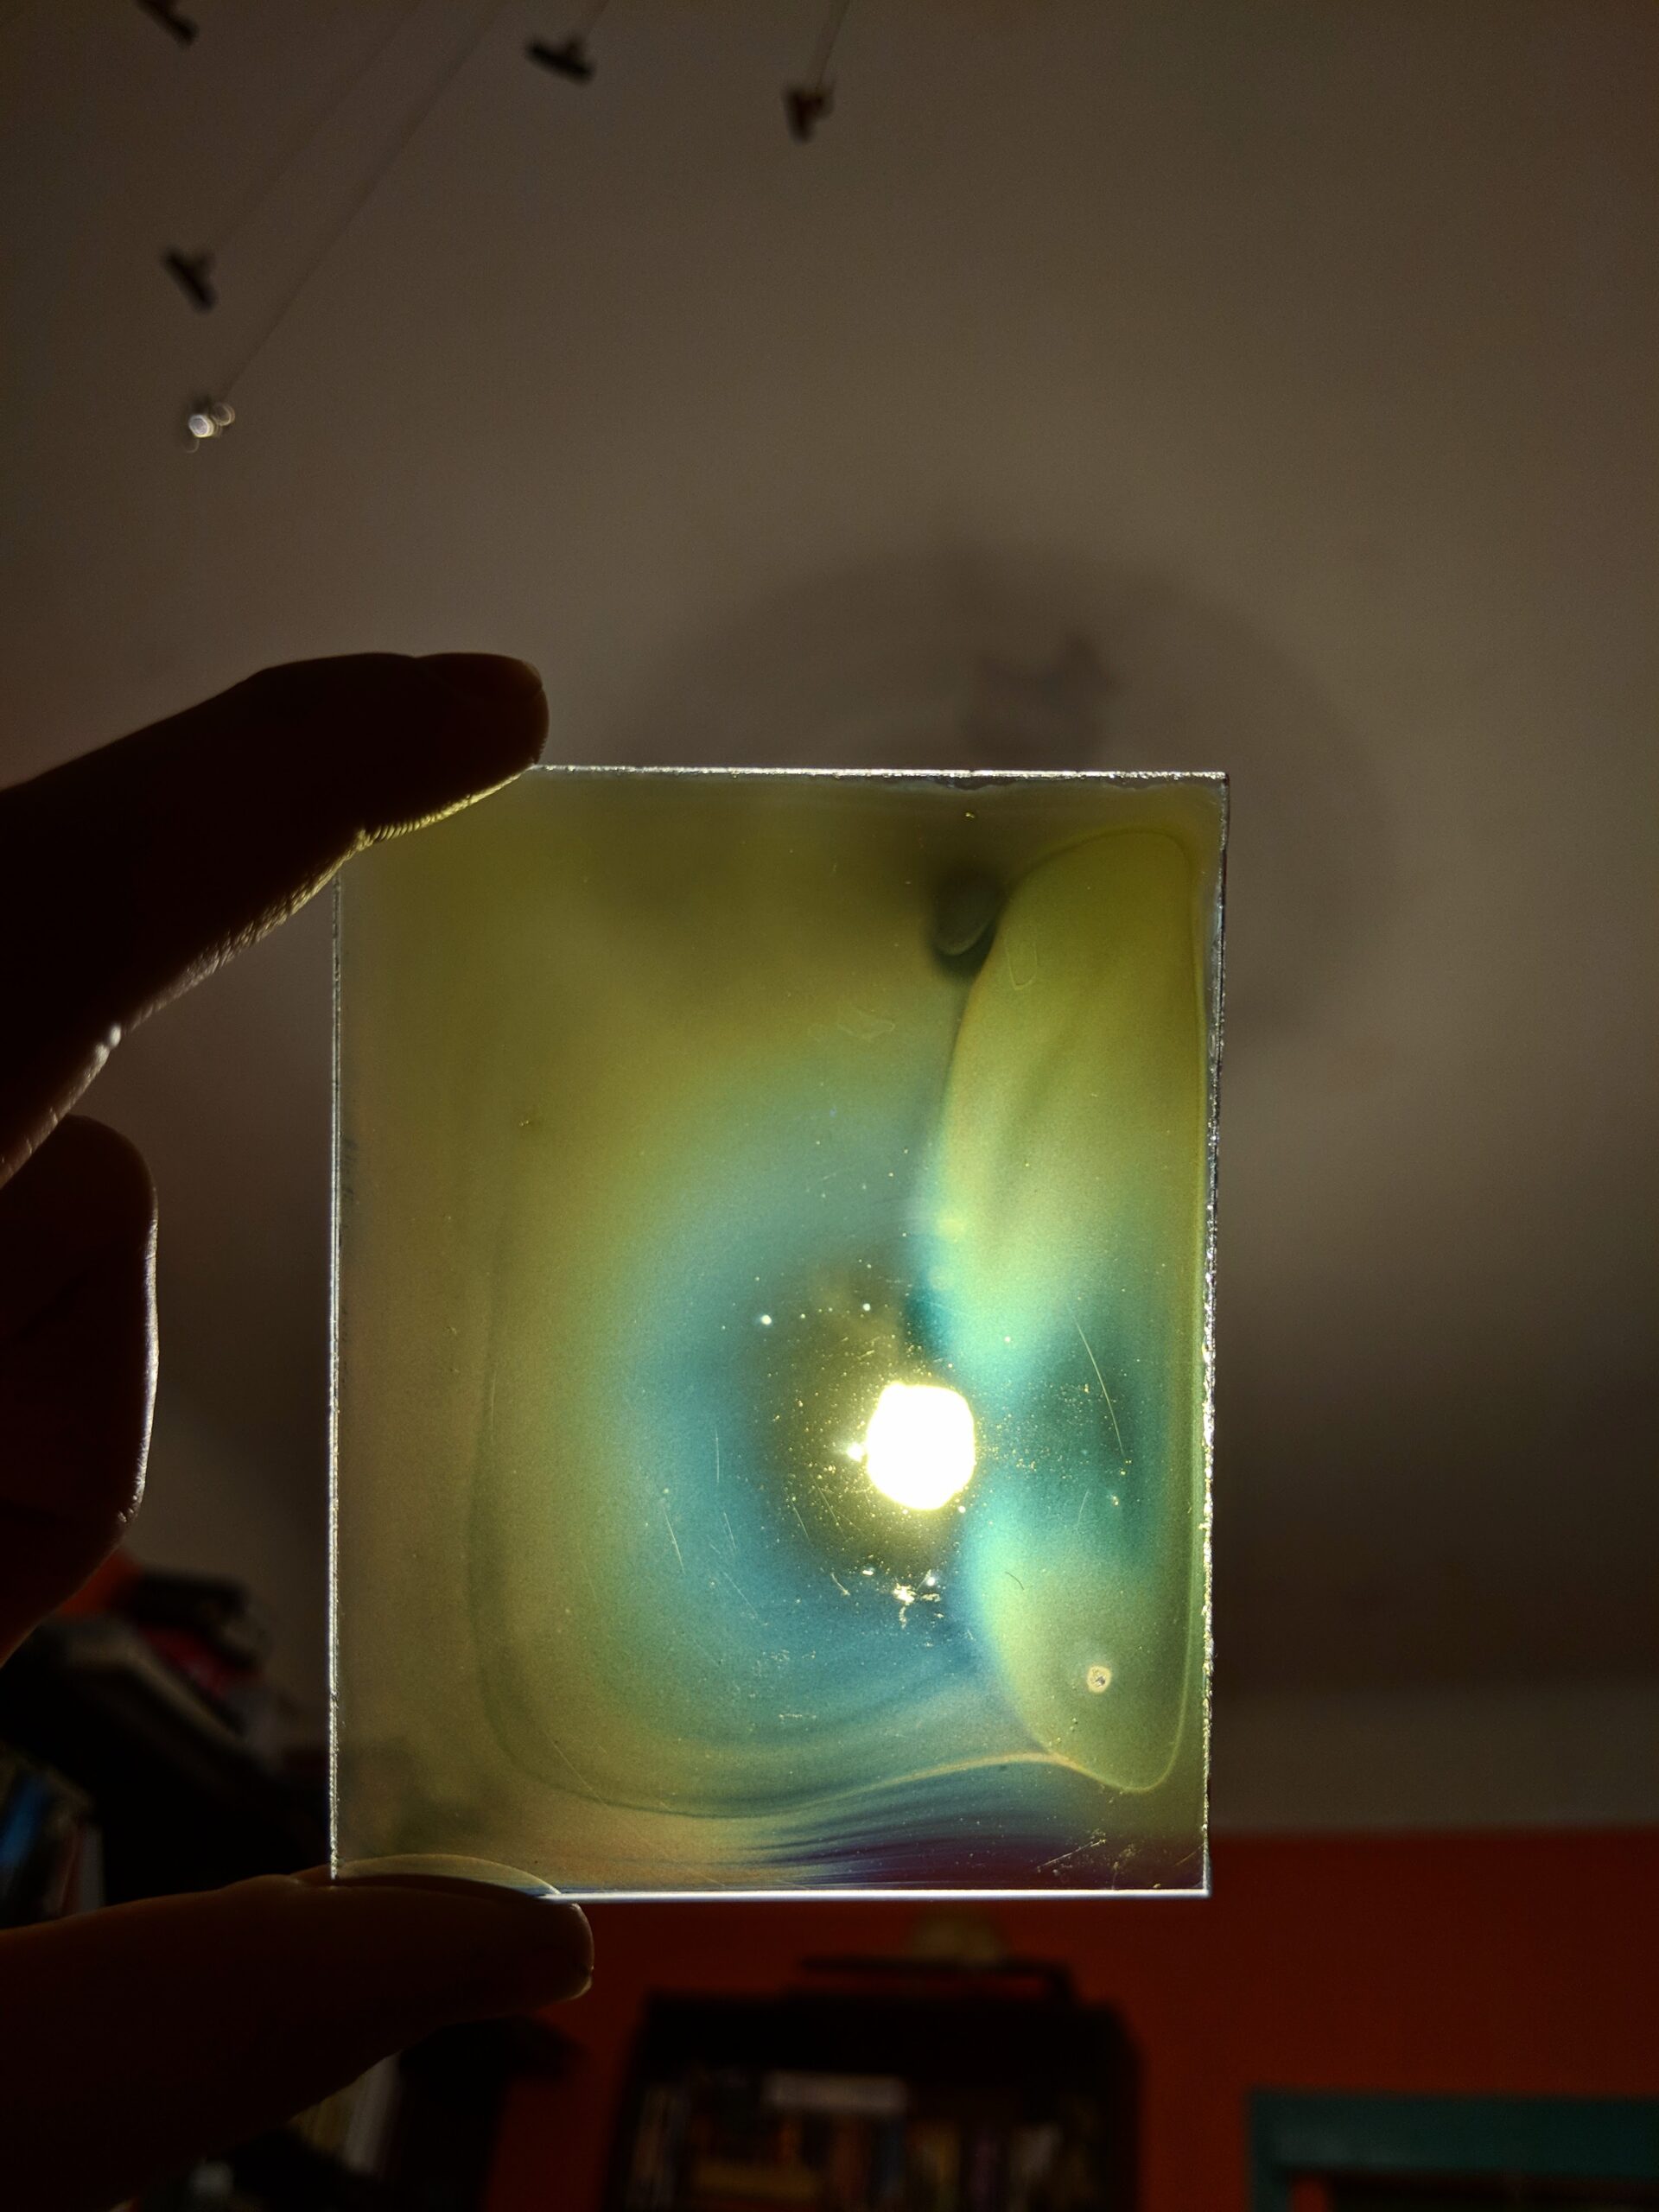
6. Sun and heat
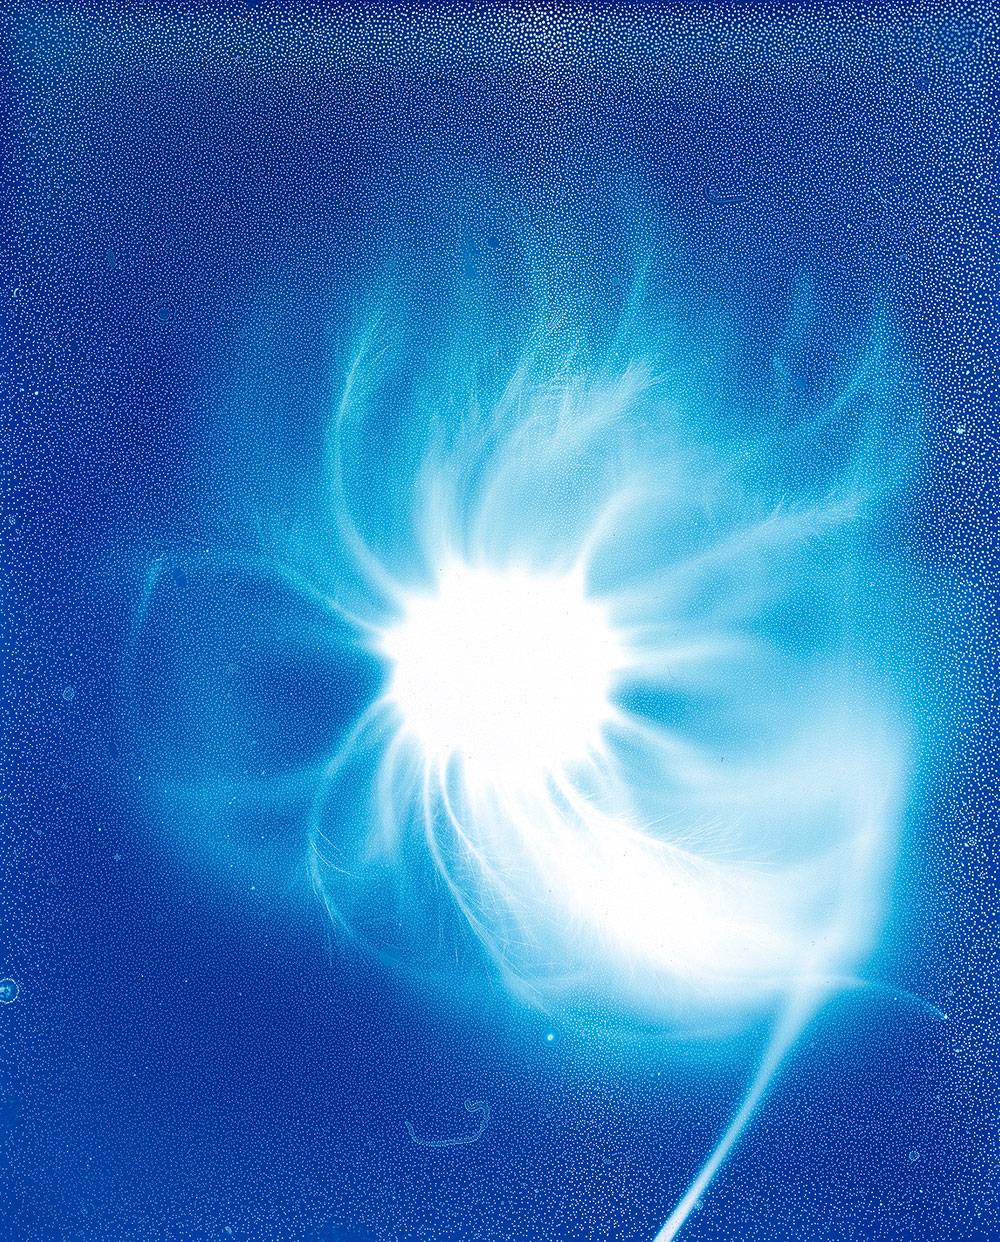
I talked about bubbles earlier, now let’s see some beautiful blisters ! Even if the gelatin is dry on touch, there still can be a little humidity. Therefor, if you expose the plate in sunlight or too close to your UV lamp, it might get hot, and you’ll have nice (no) blisters forming in the gelatin. Keep it cool.
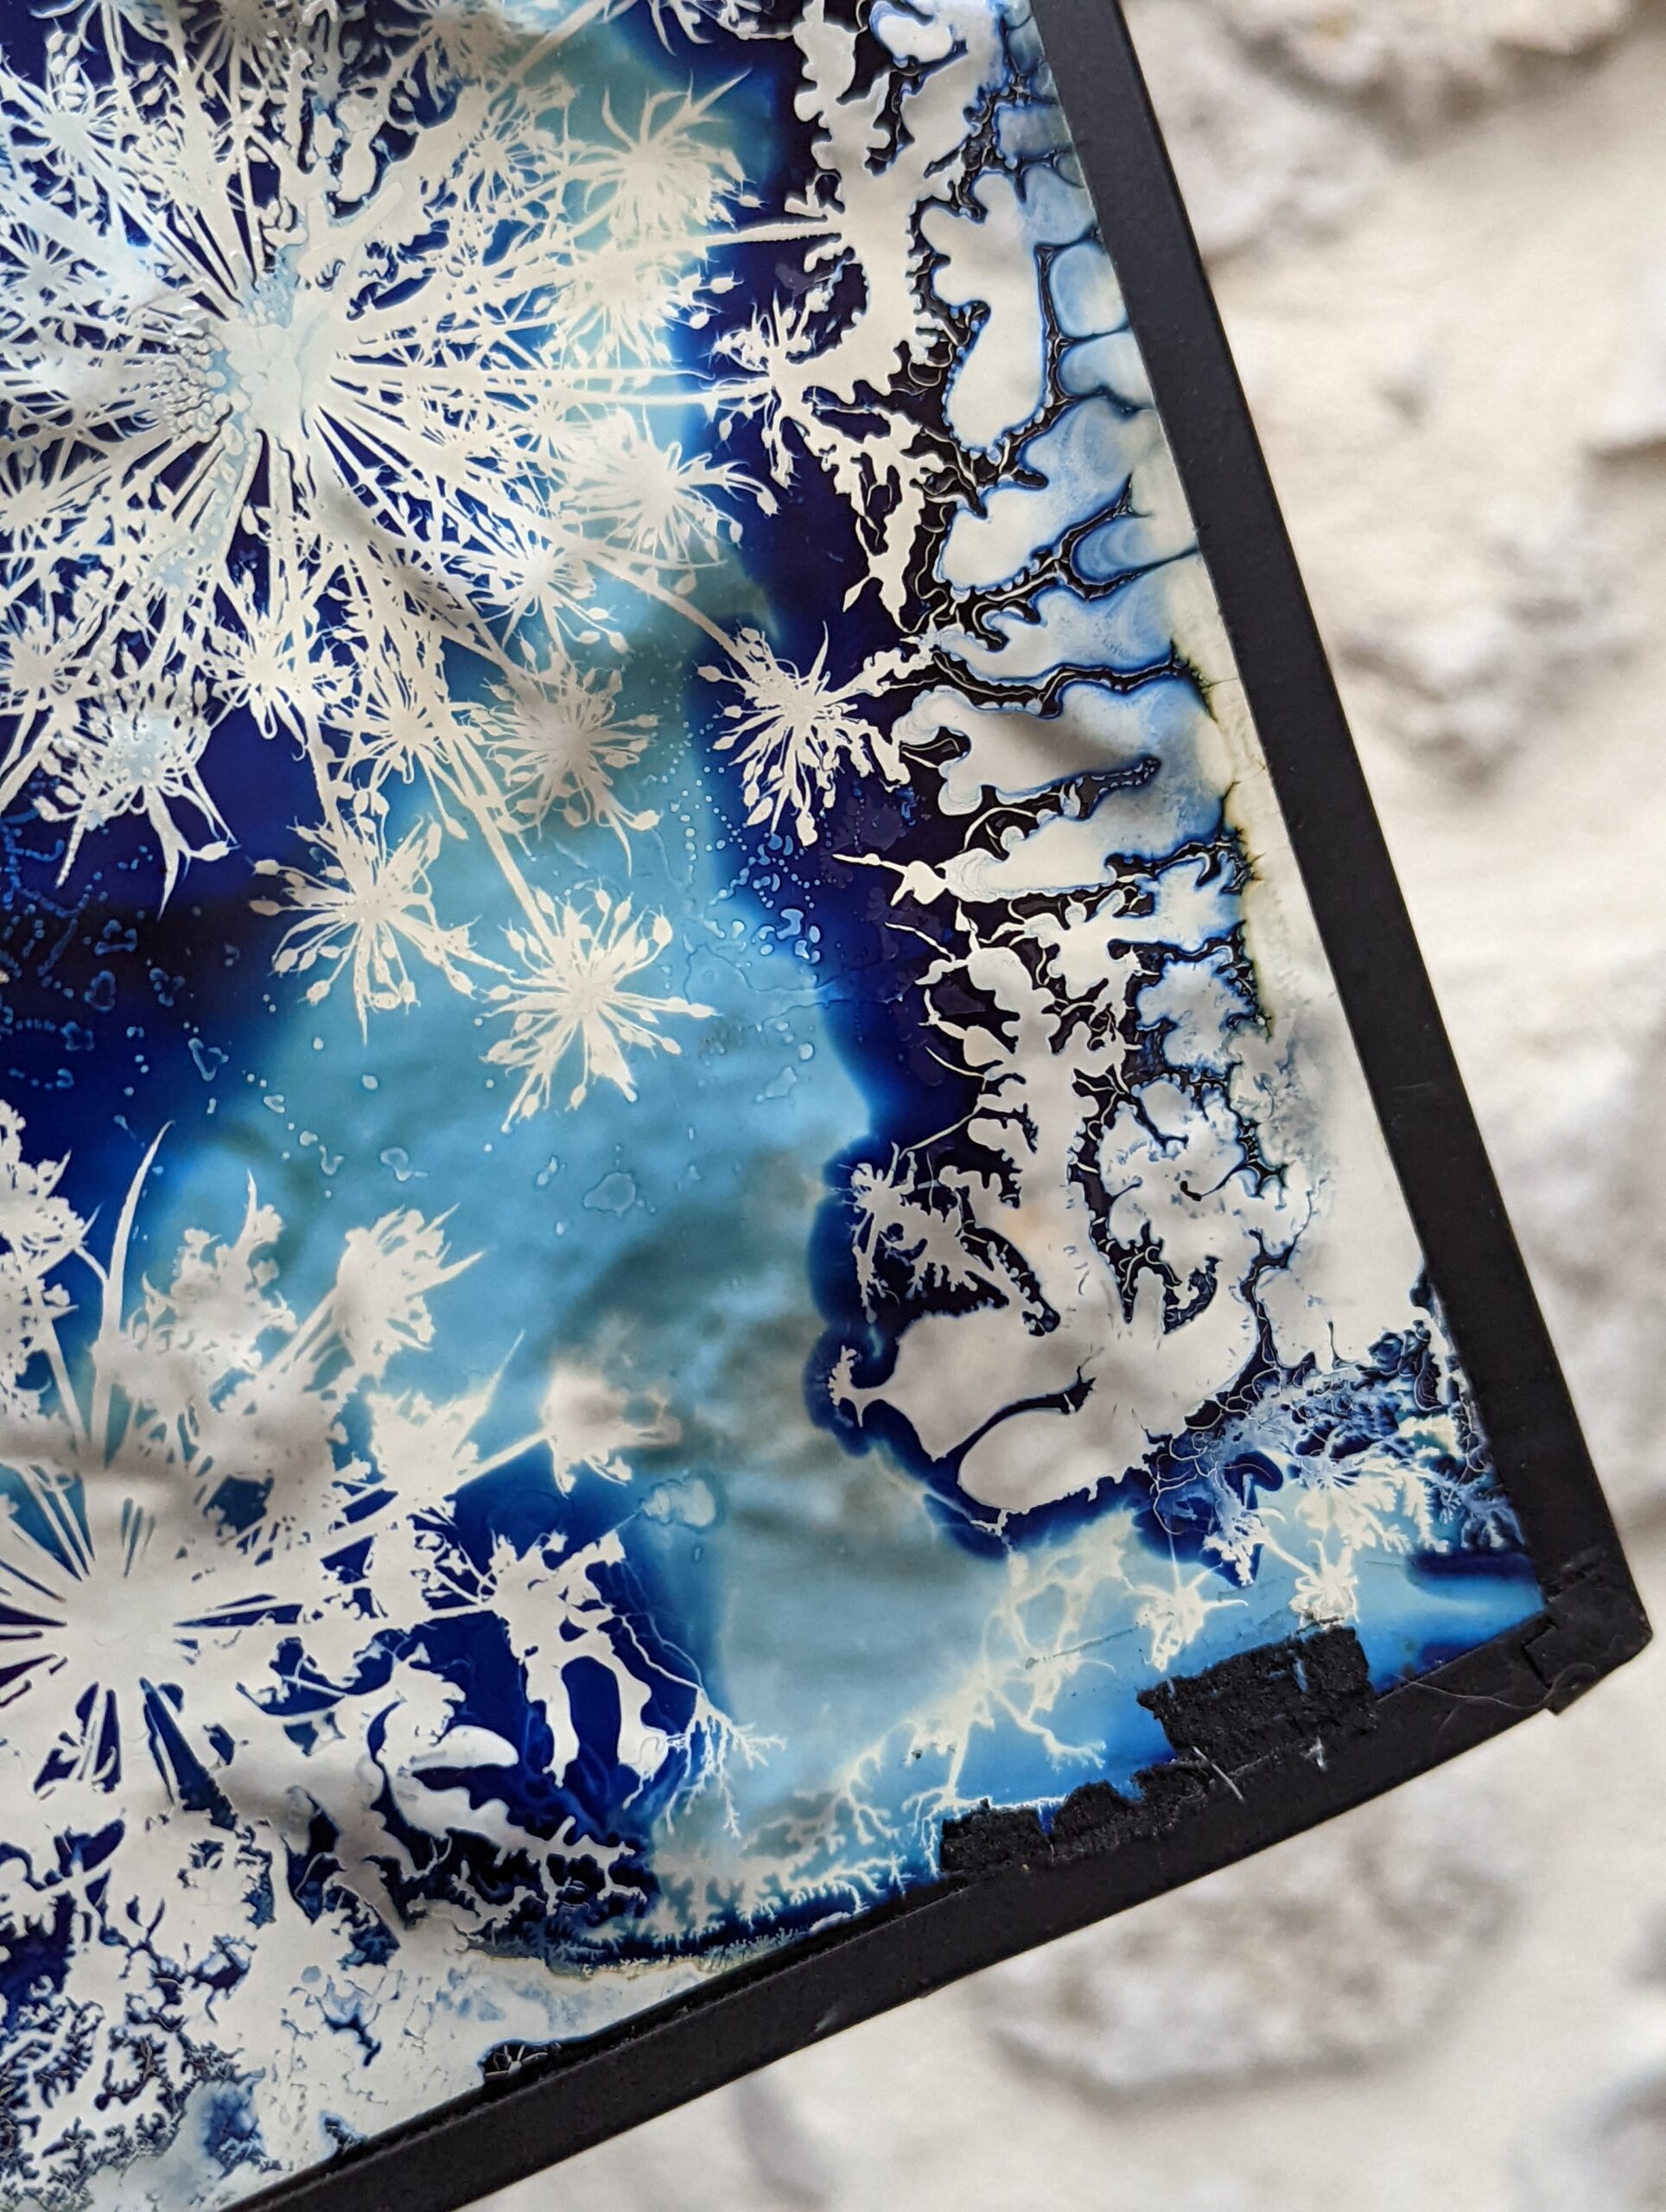
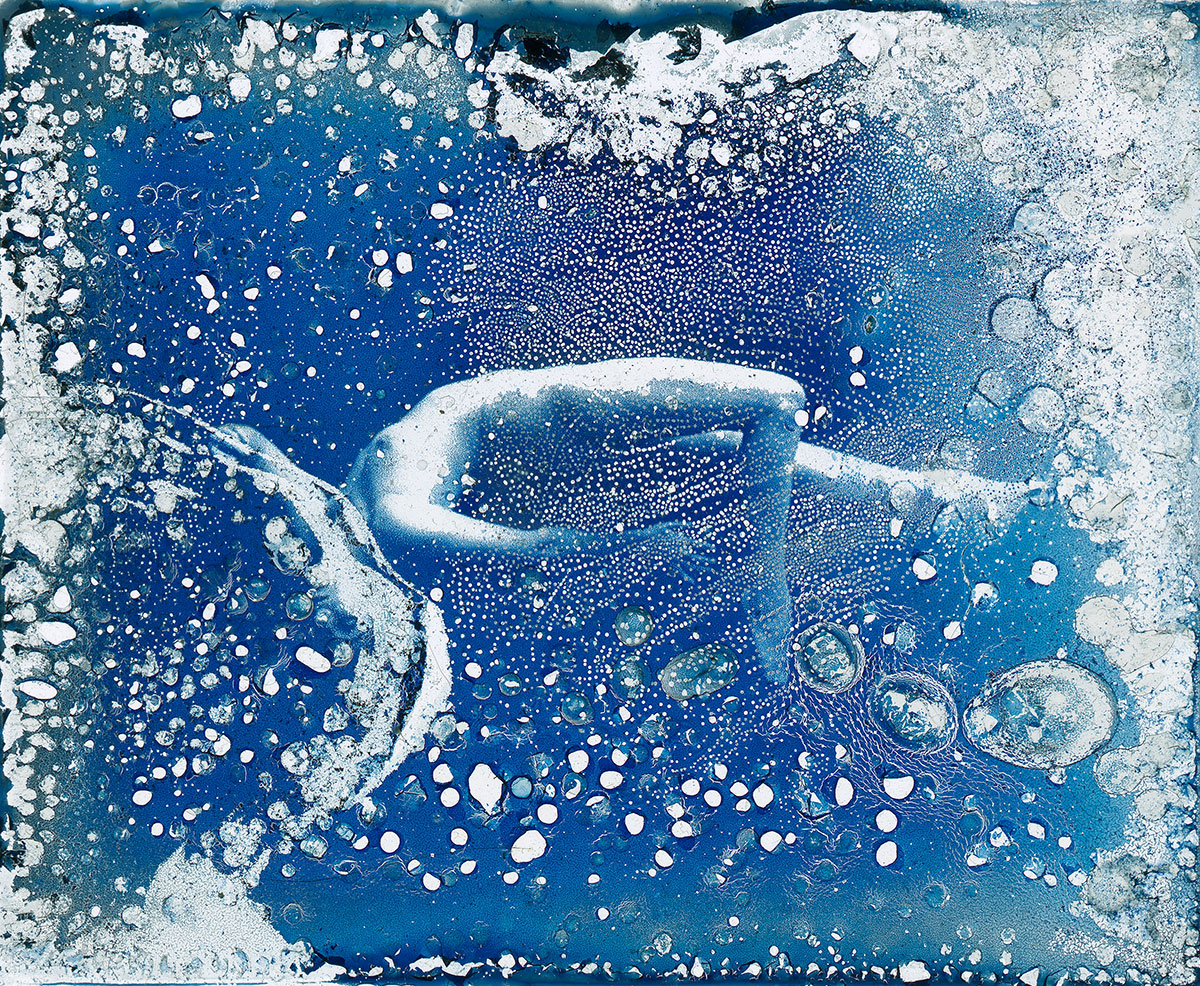
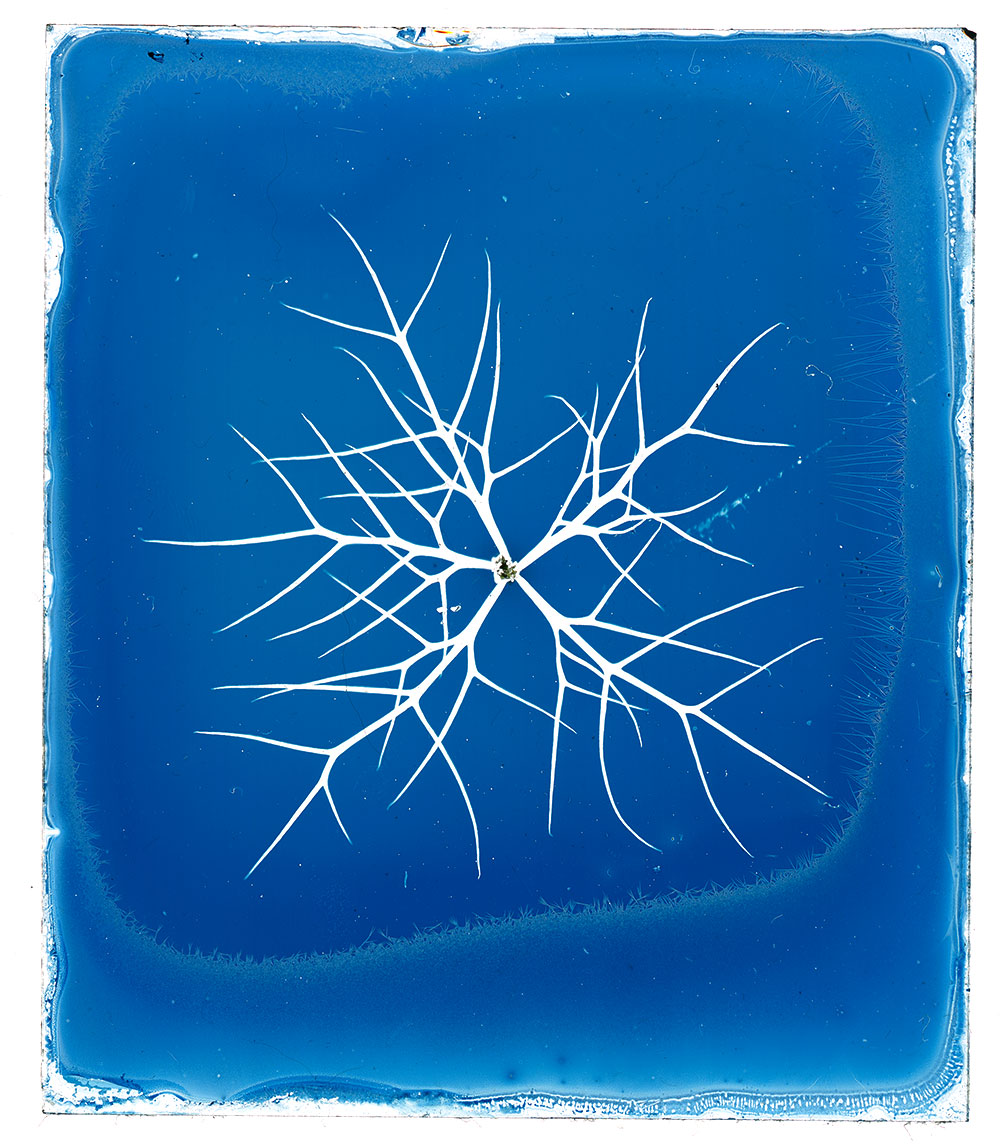
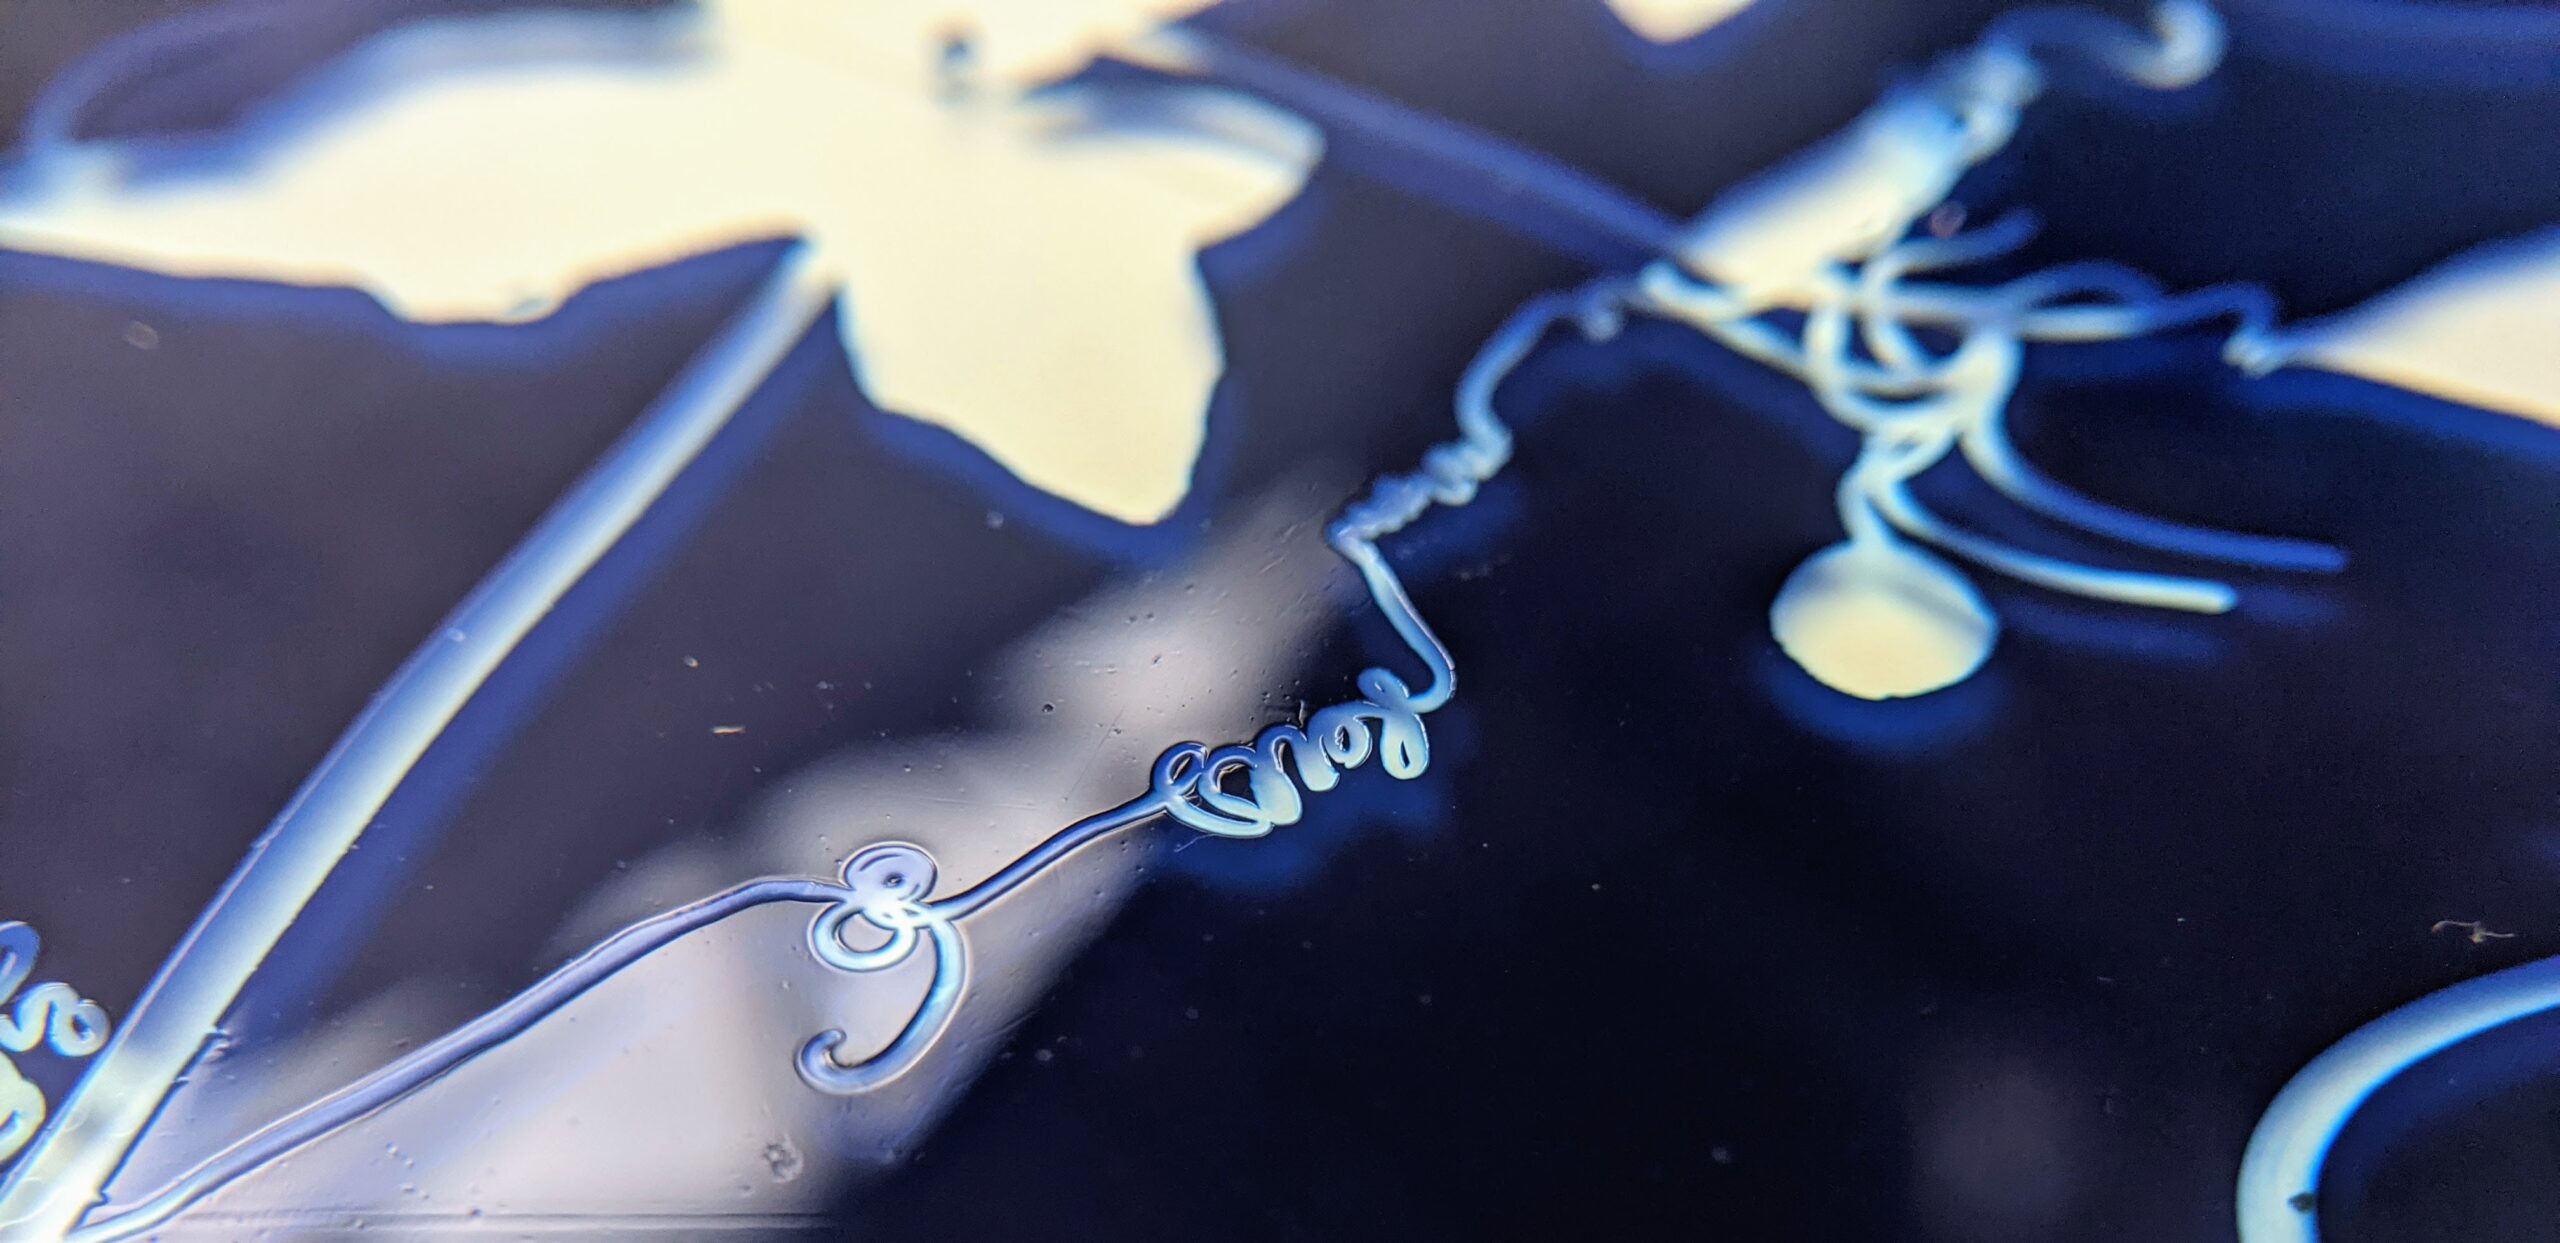
7. Ugly edges
Huuu for this, I have a lot of really dirty examples. I’ve said it, and I’ll say it again : to clean your glass plate, first wash your hands throroughly, then wash the plate with soap, to remove any grease. Then do not touch the plate anymore with bare fingers, wear gloves. You ALWAYS have grease on your fingers, and when you take the plate it will repel the gelatin (water and oil, remember).
The last picture is what the edges should look like. You see ?


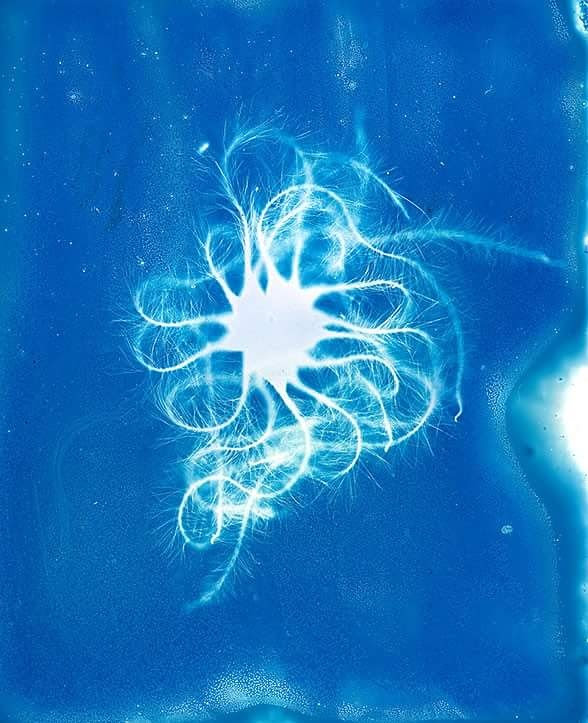
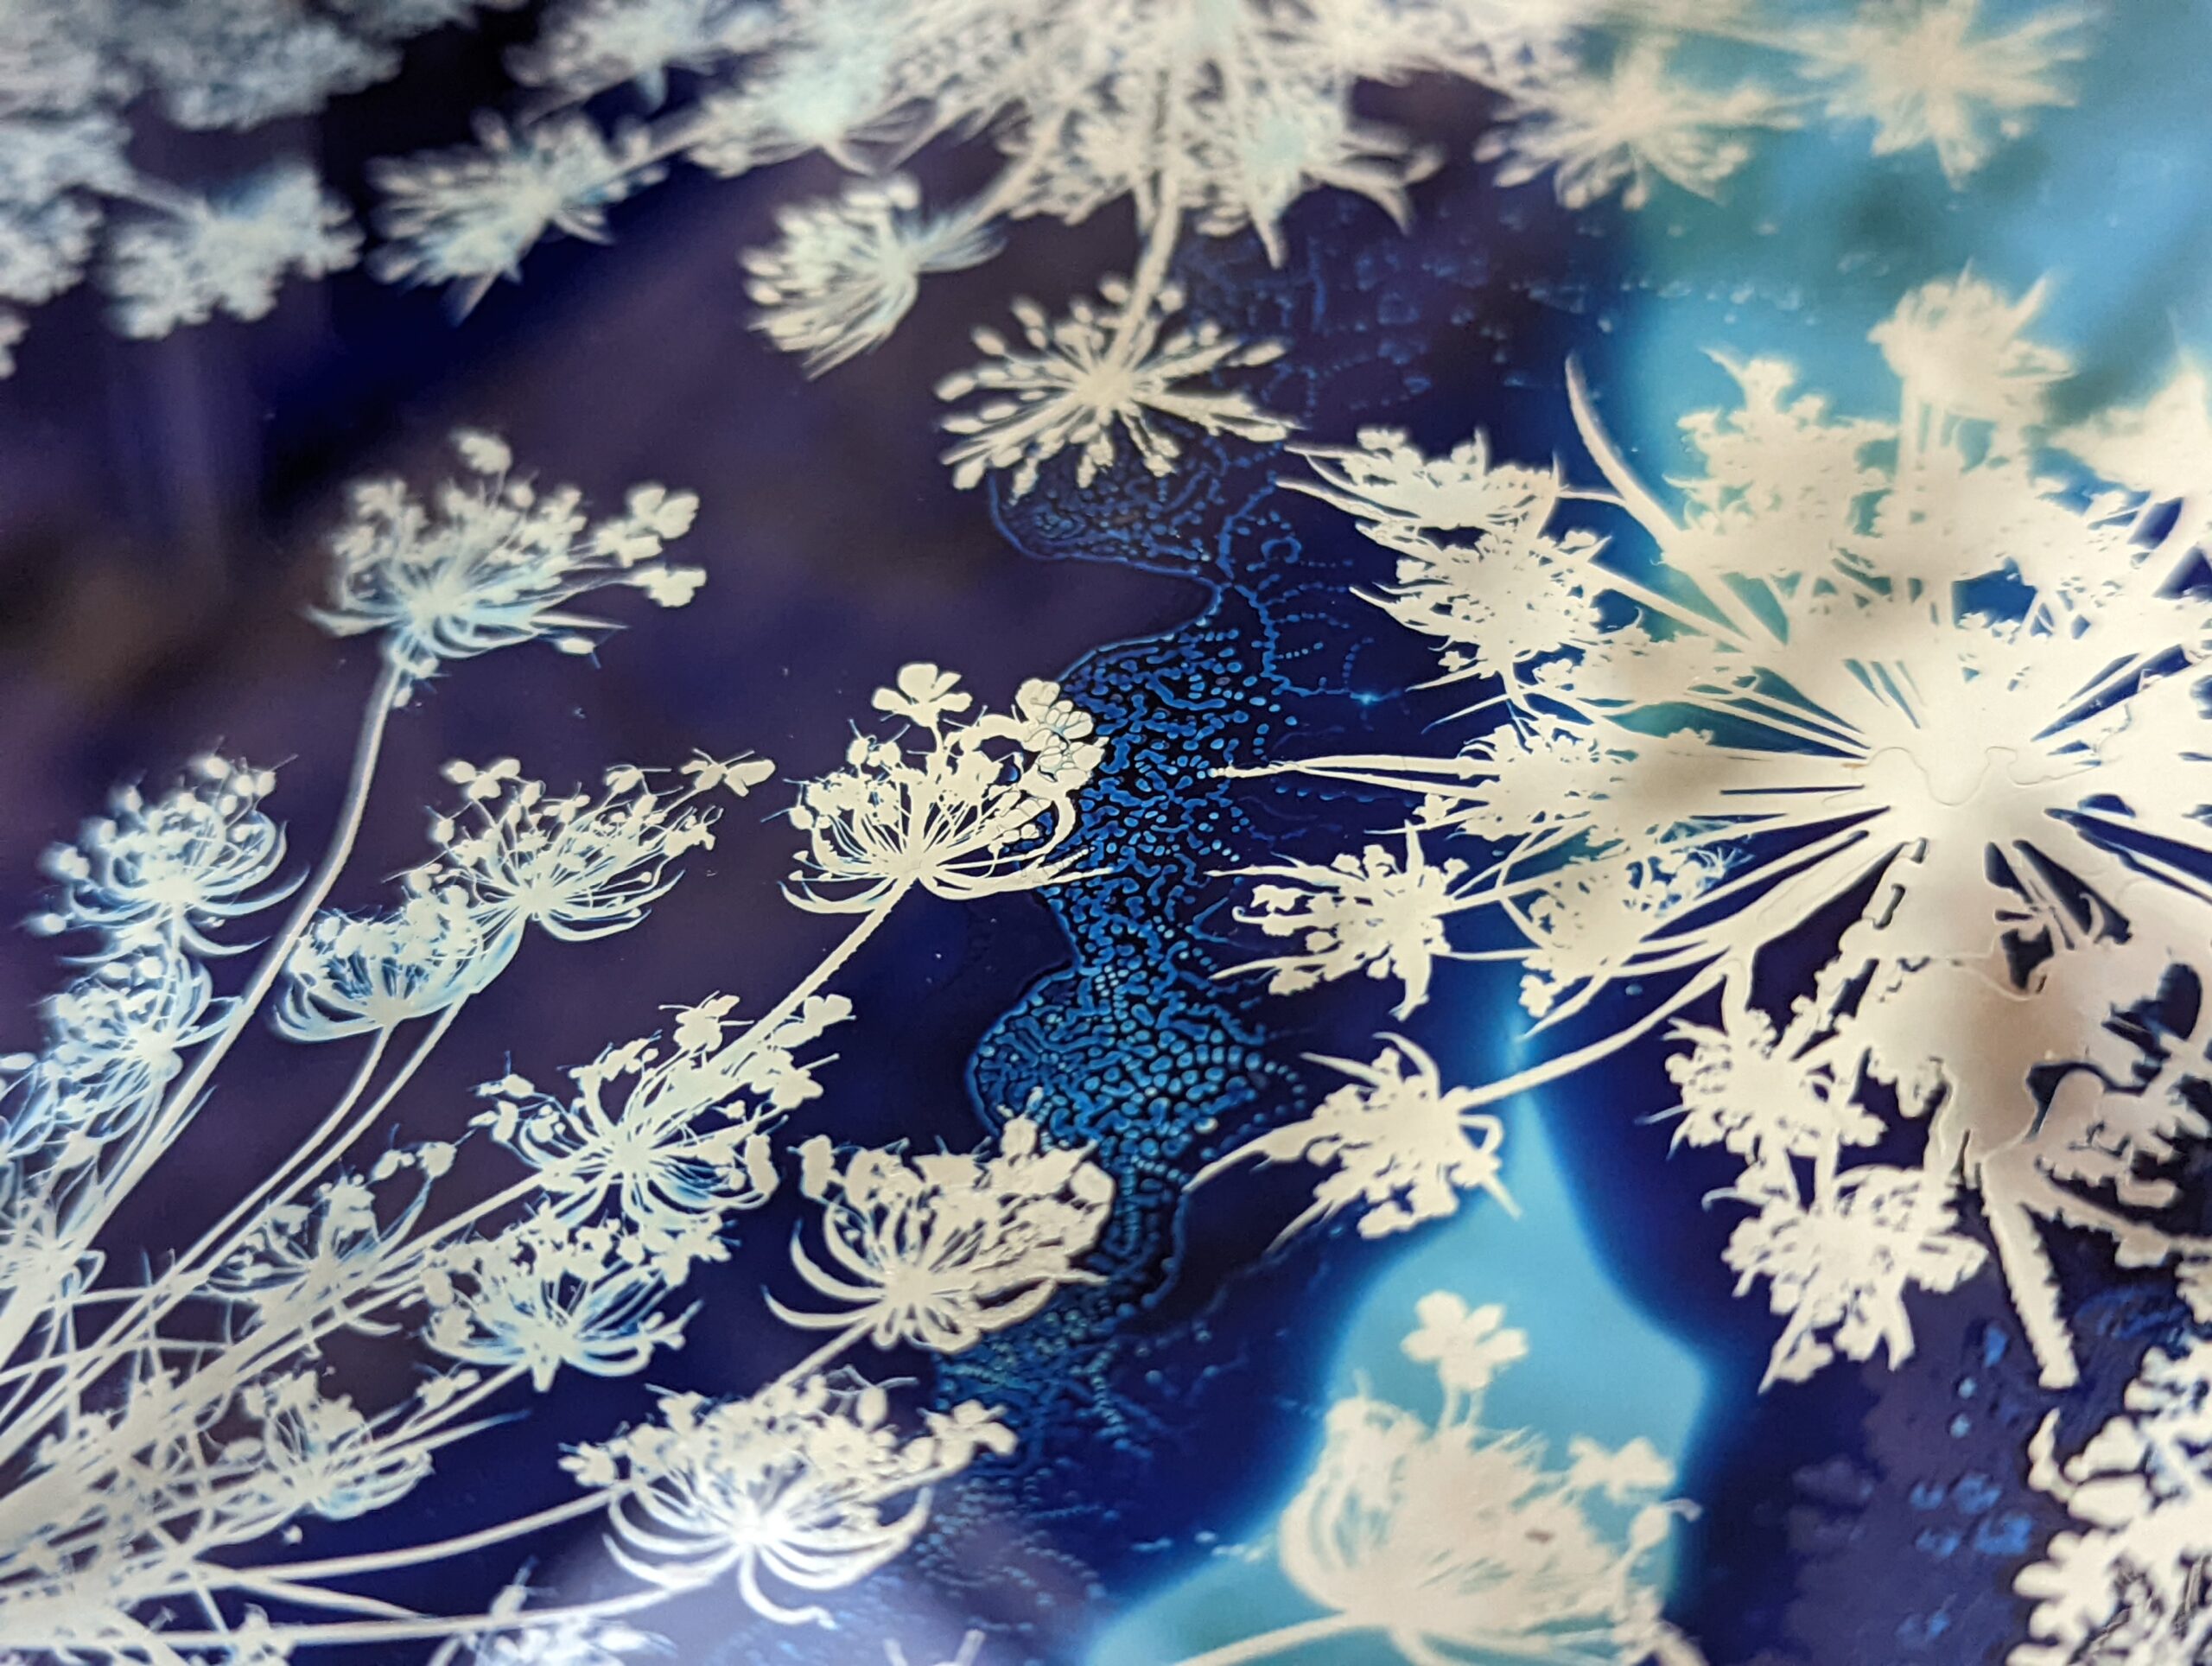
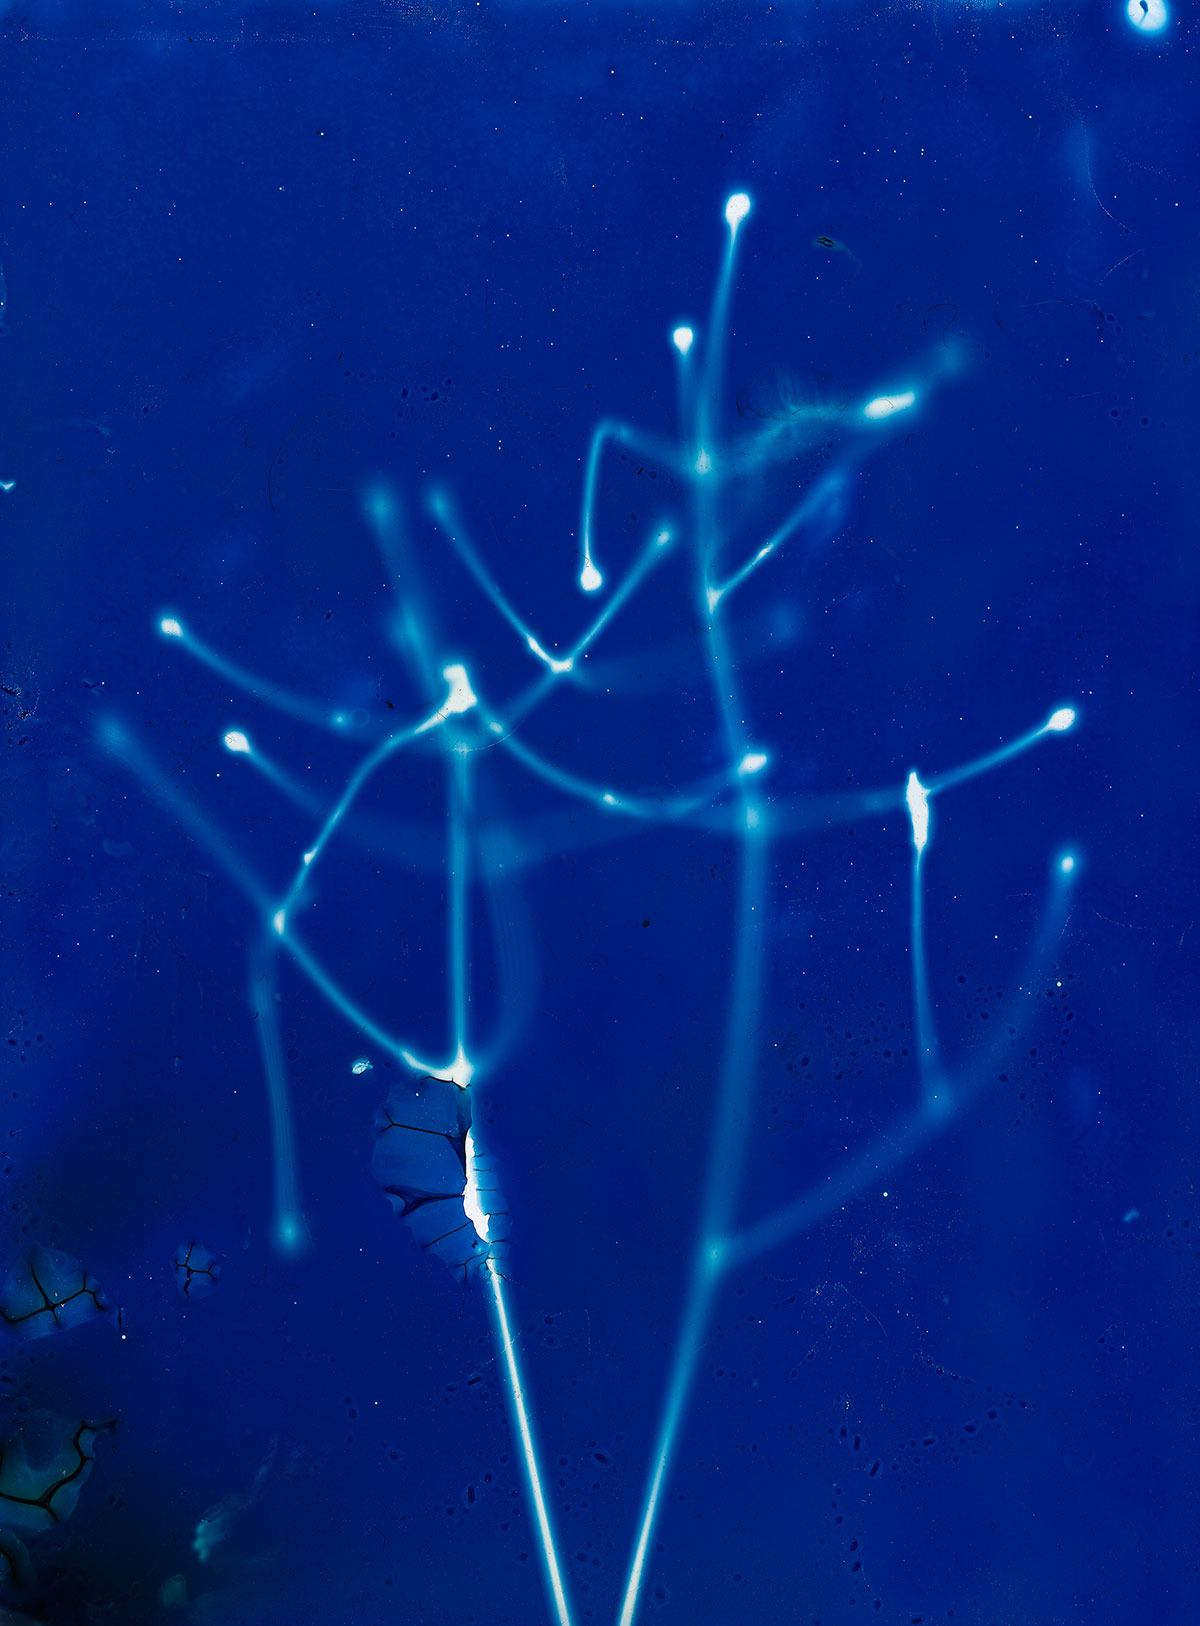
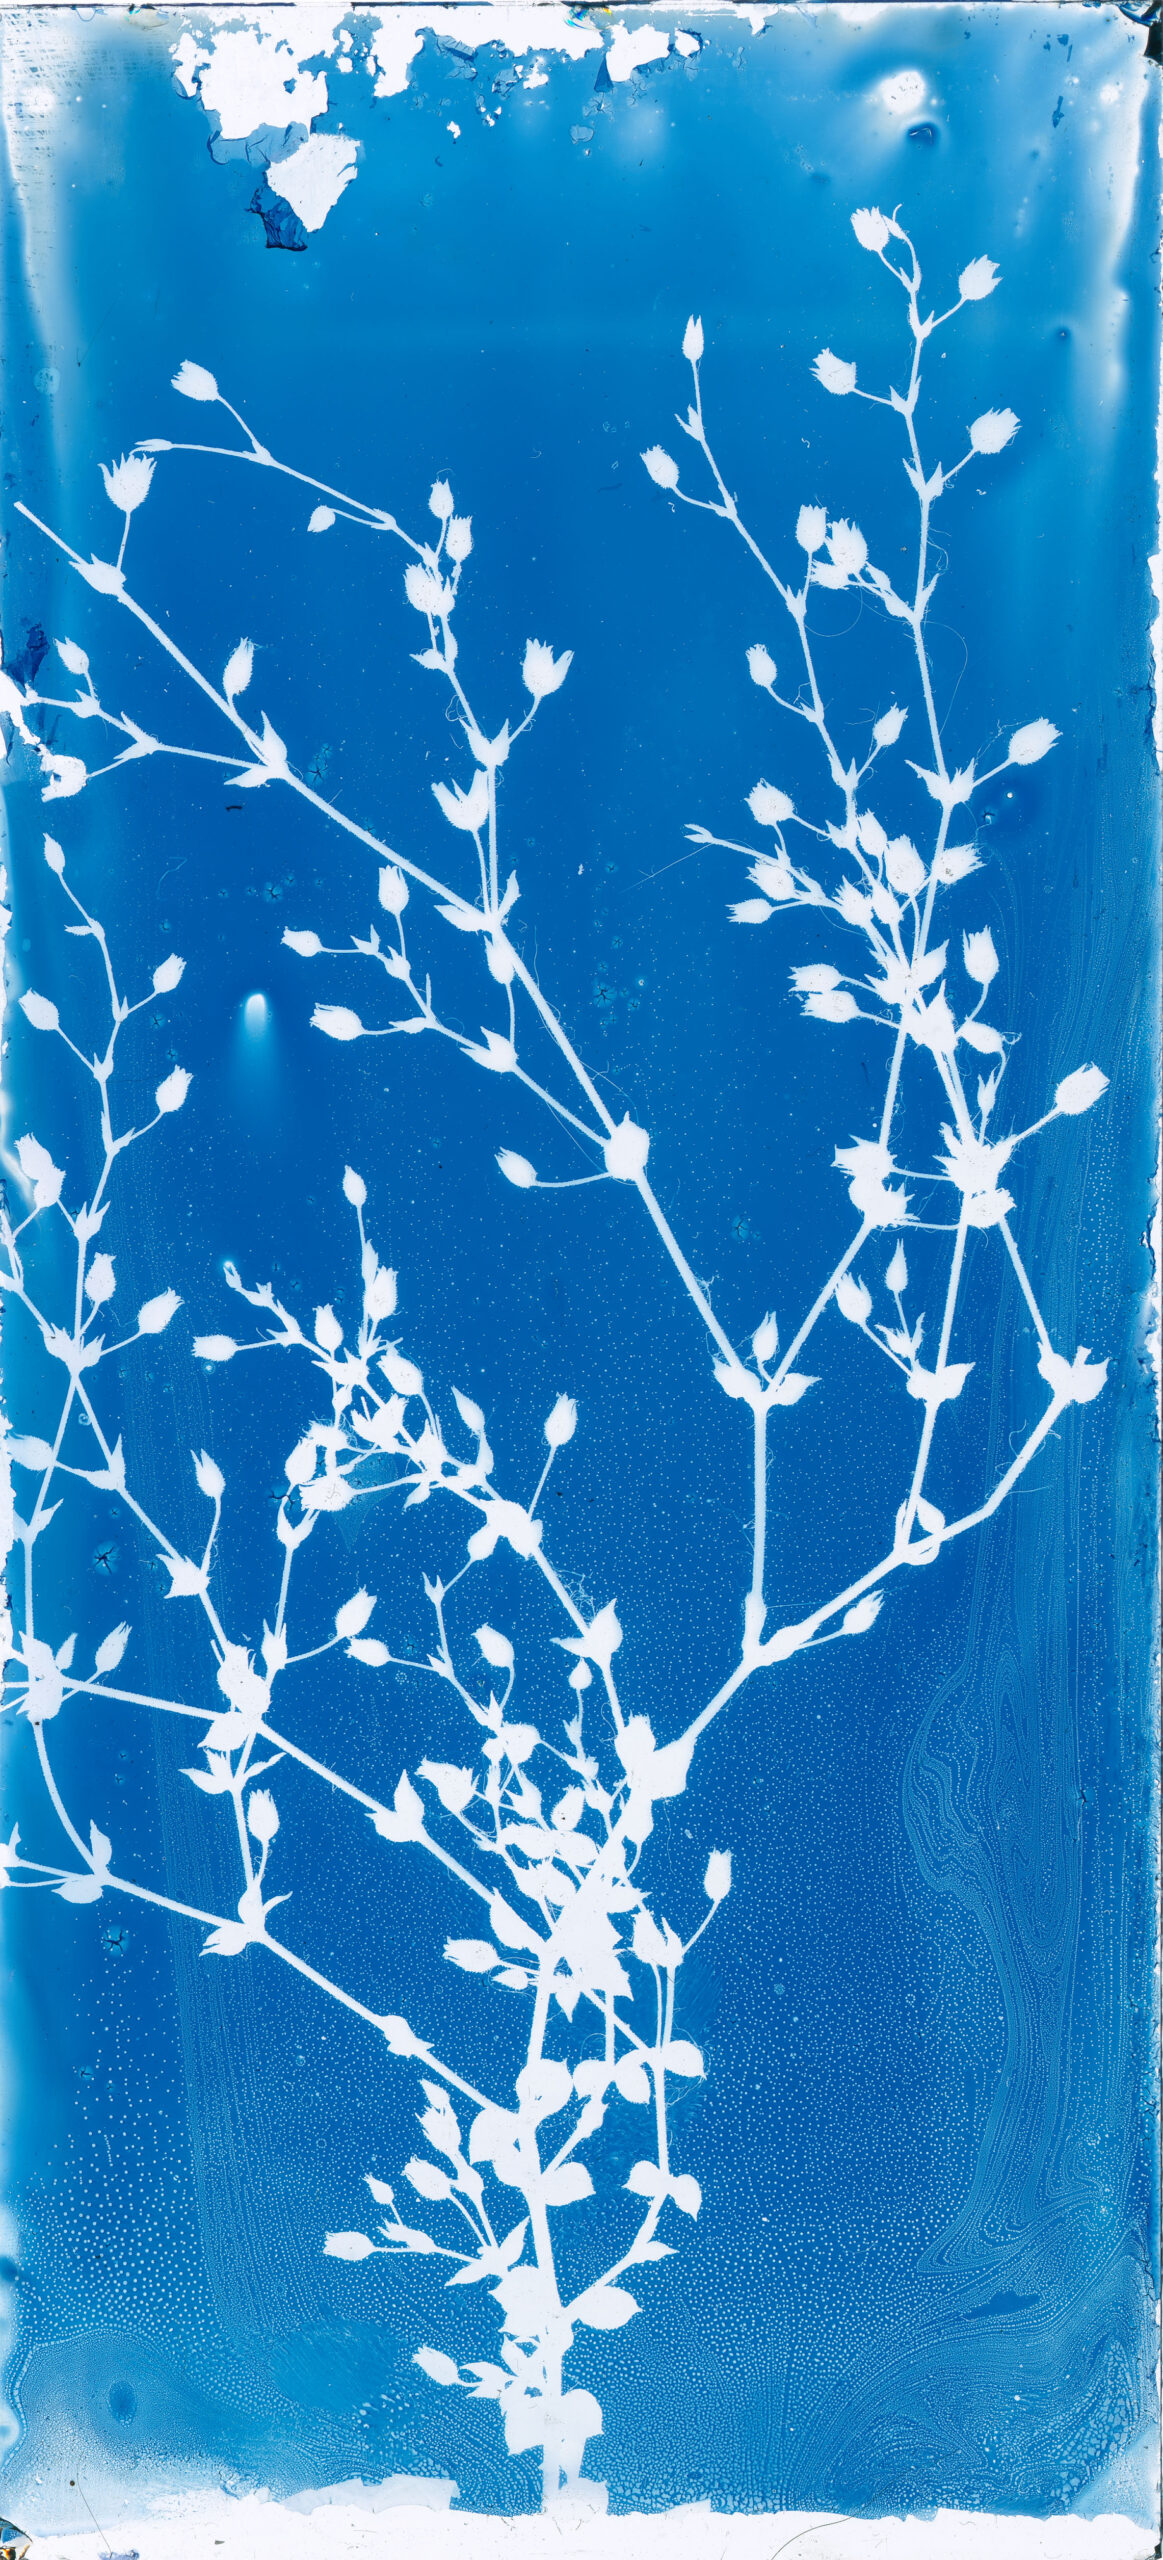
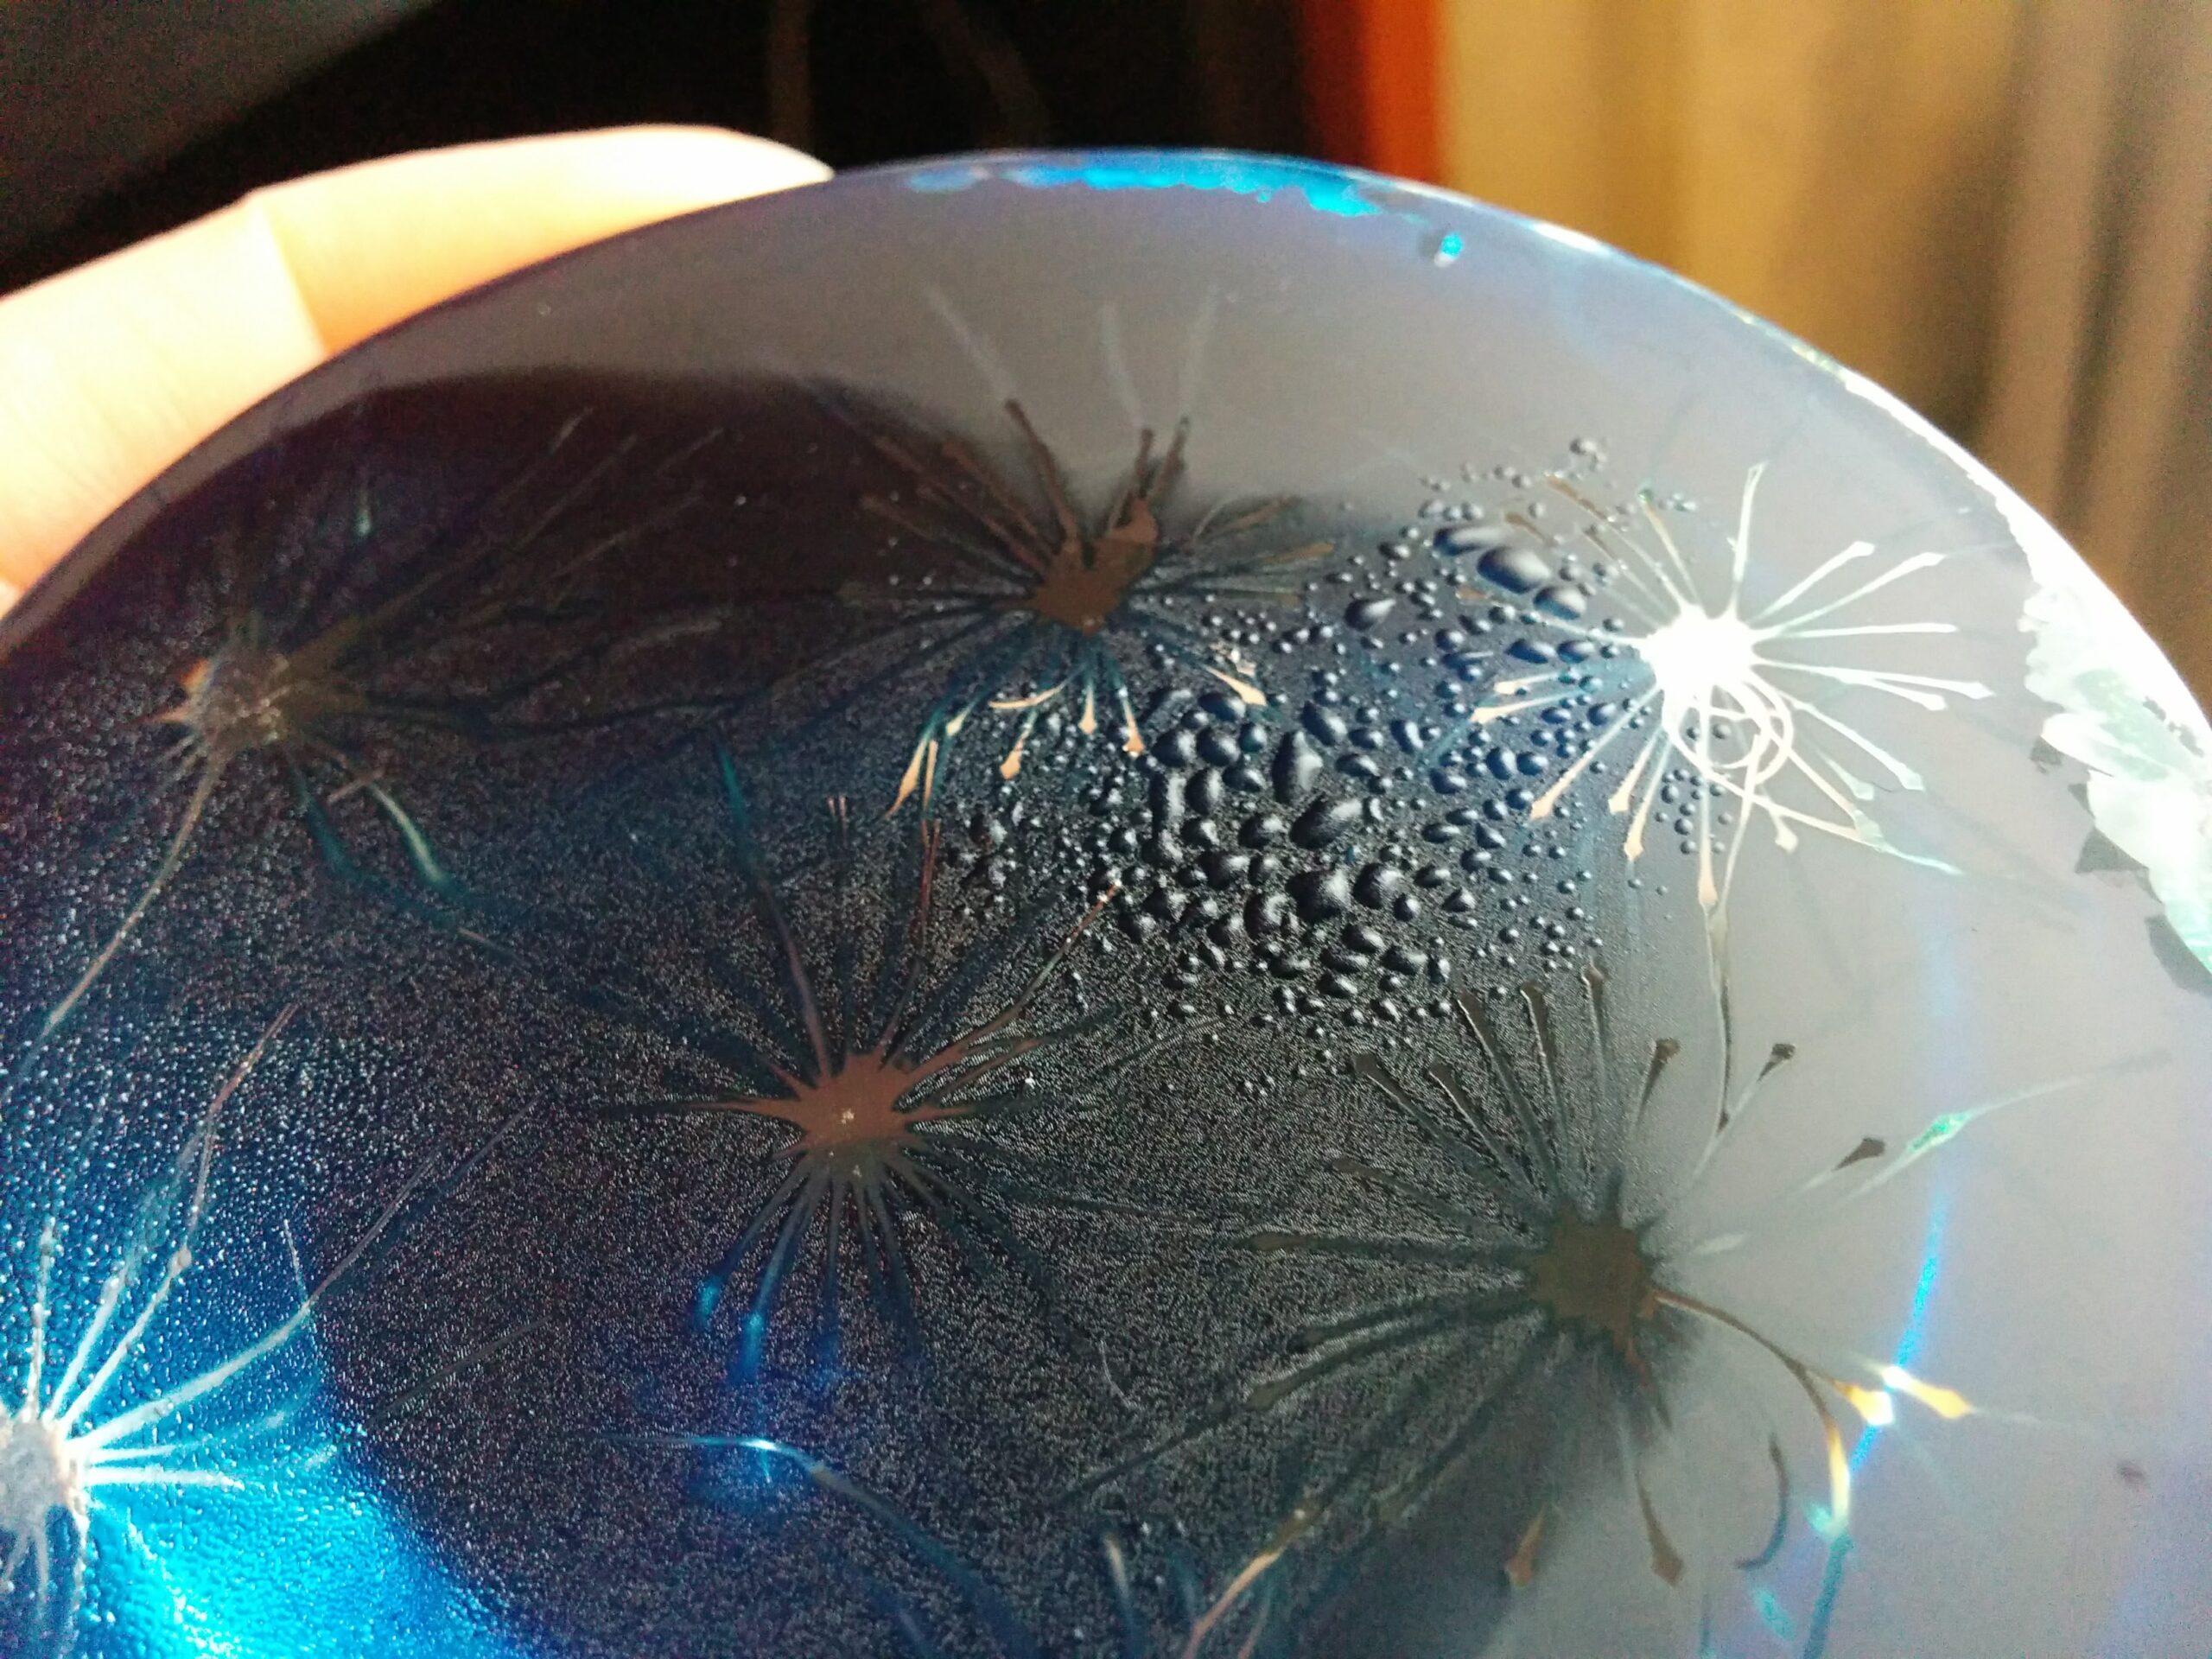
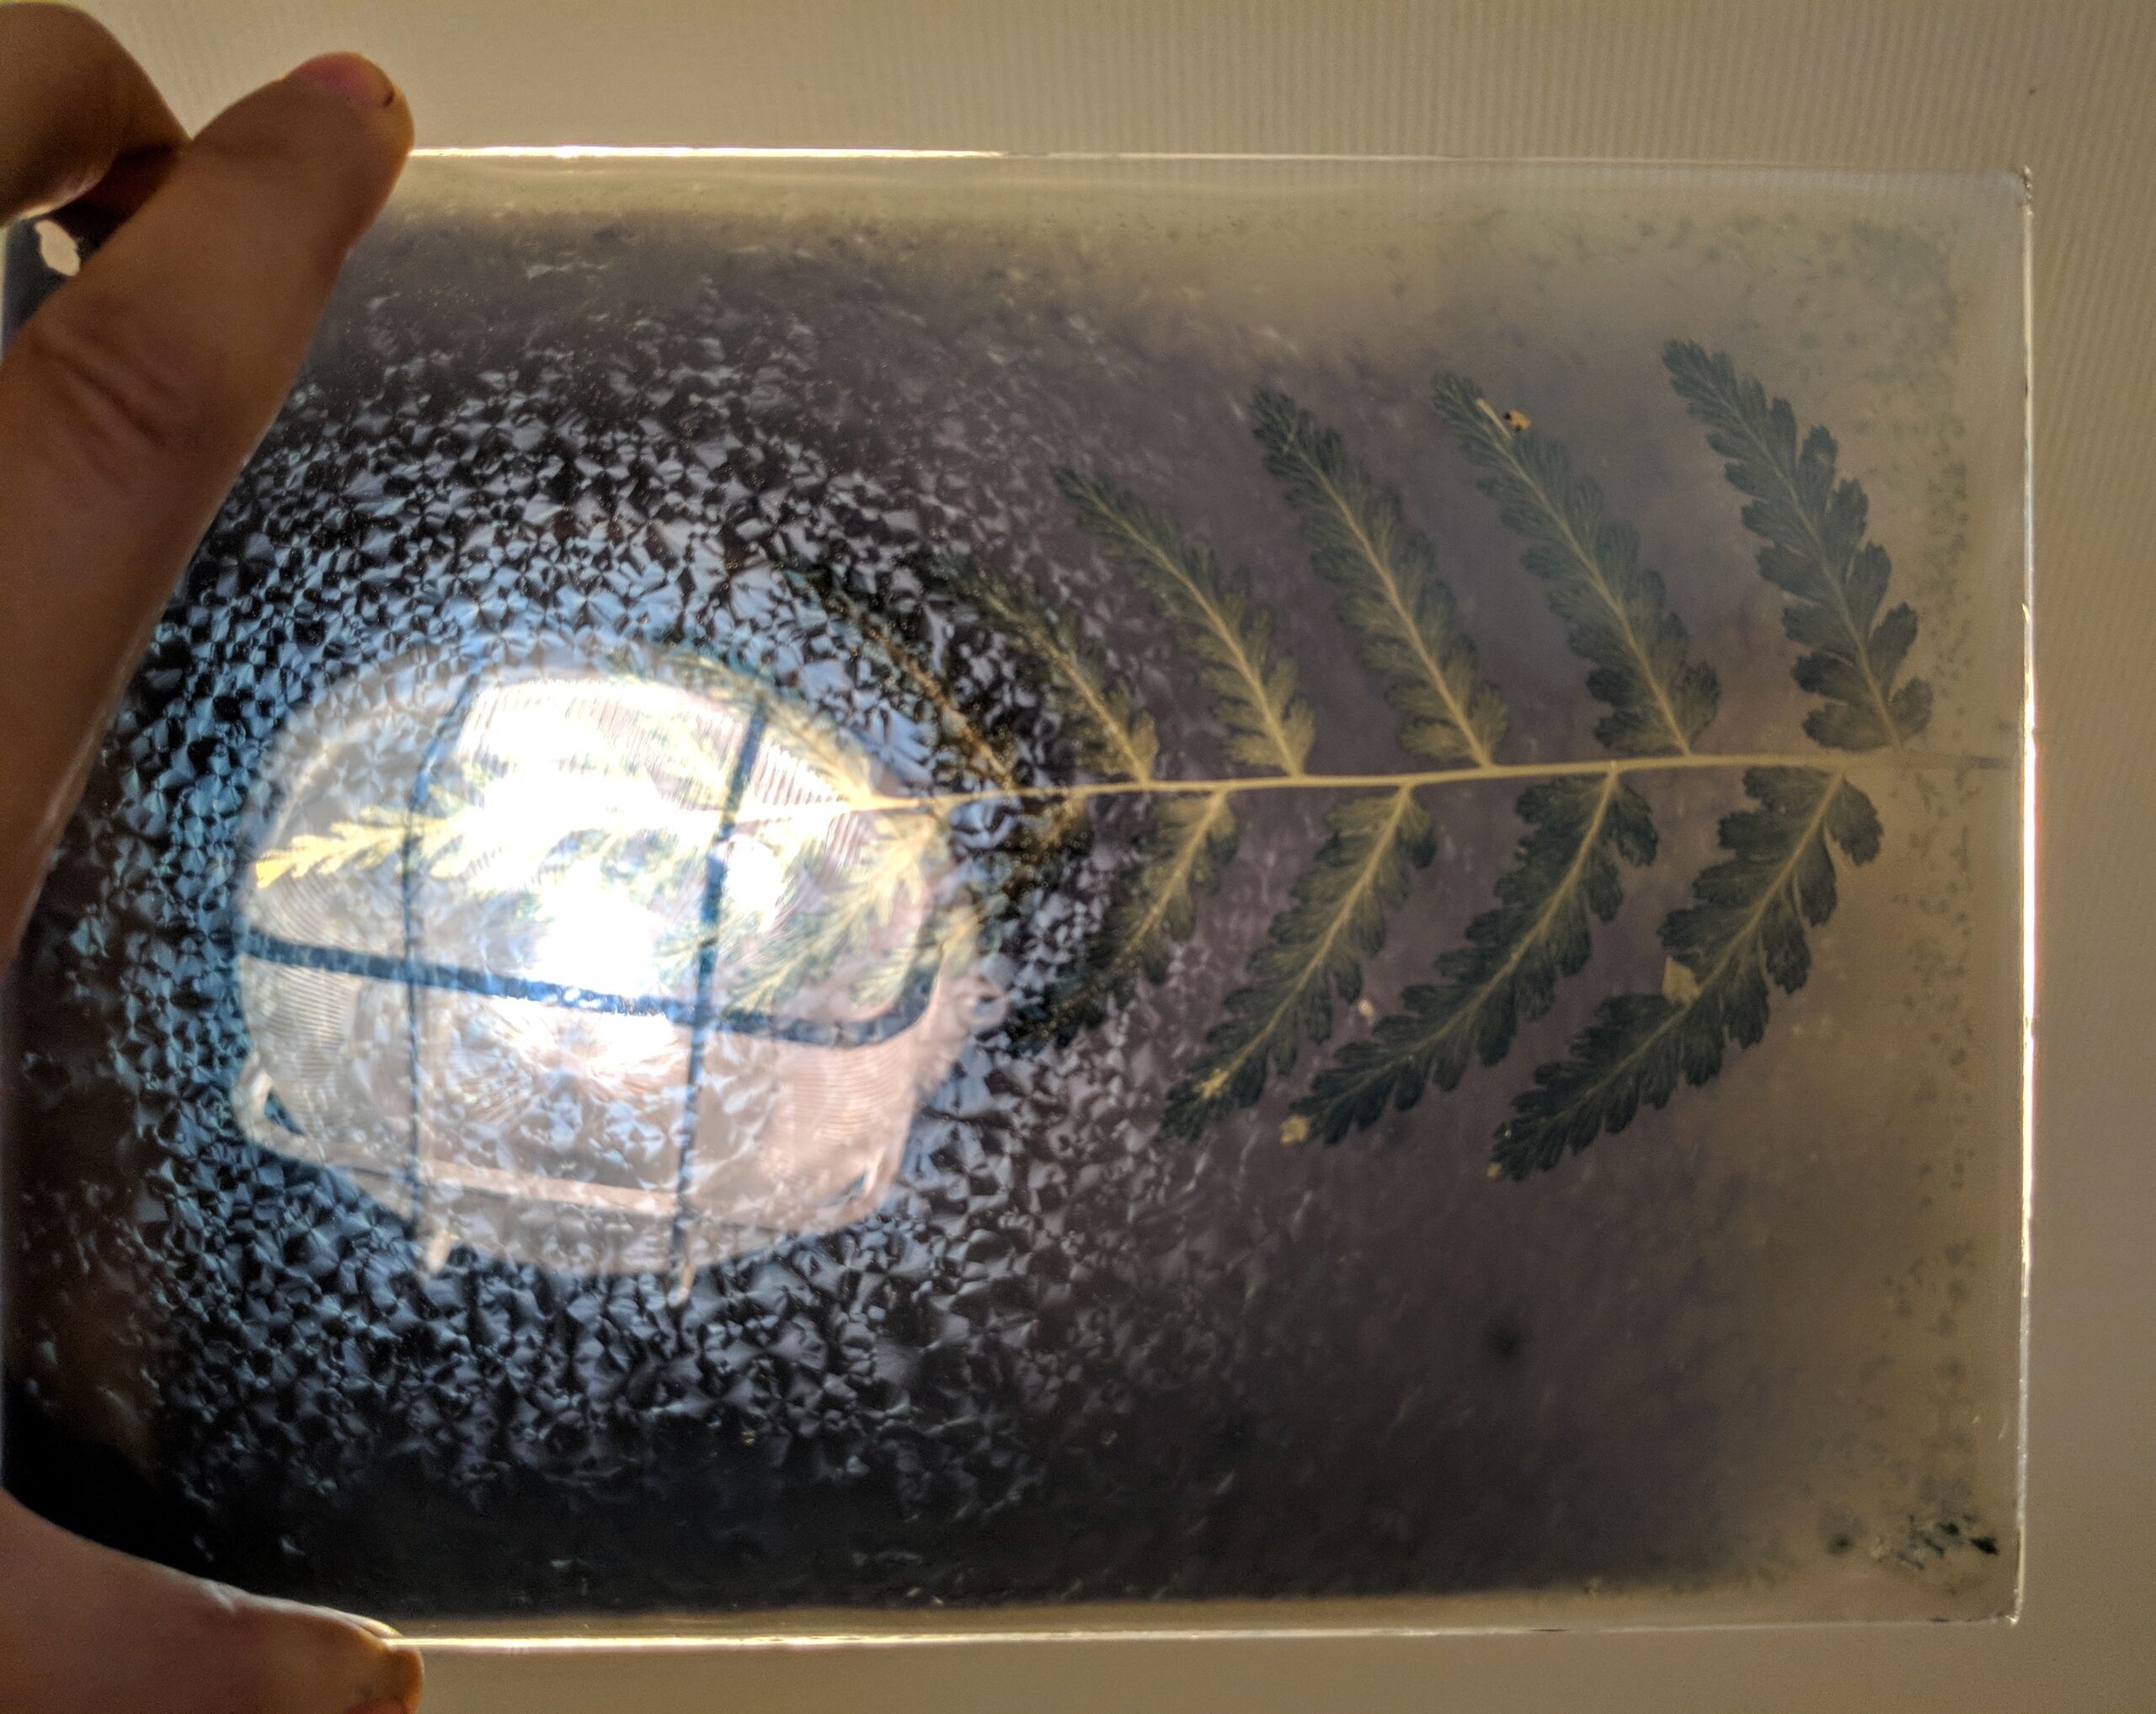
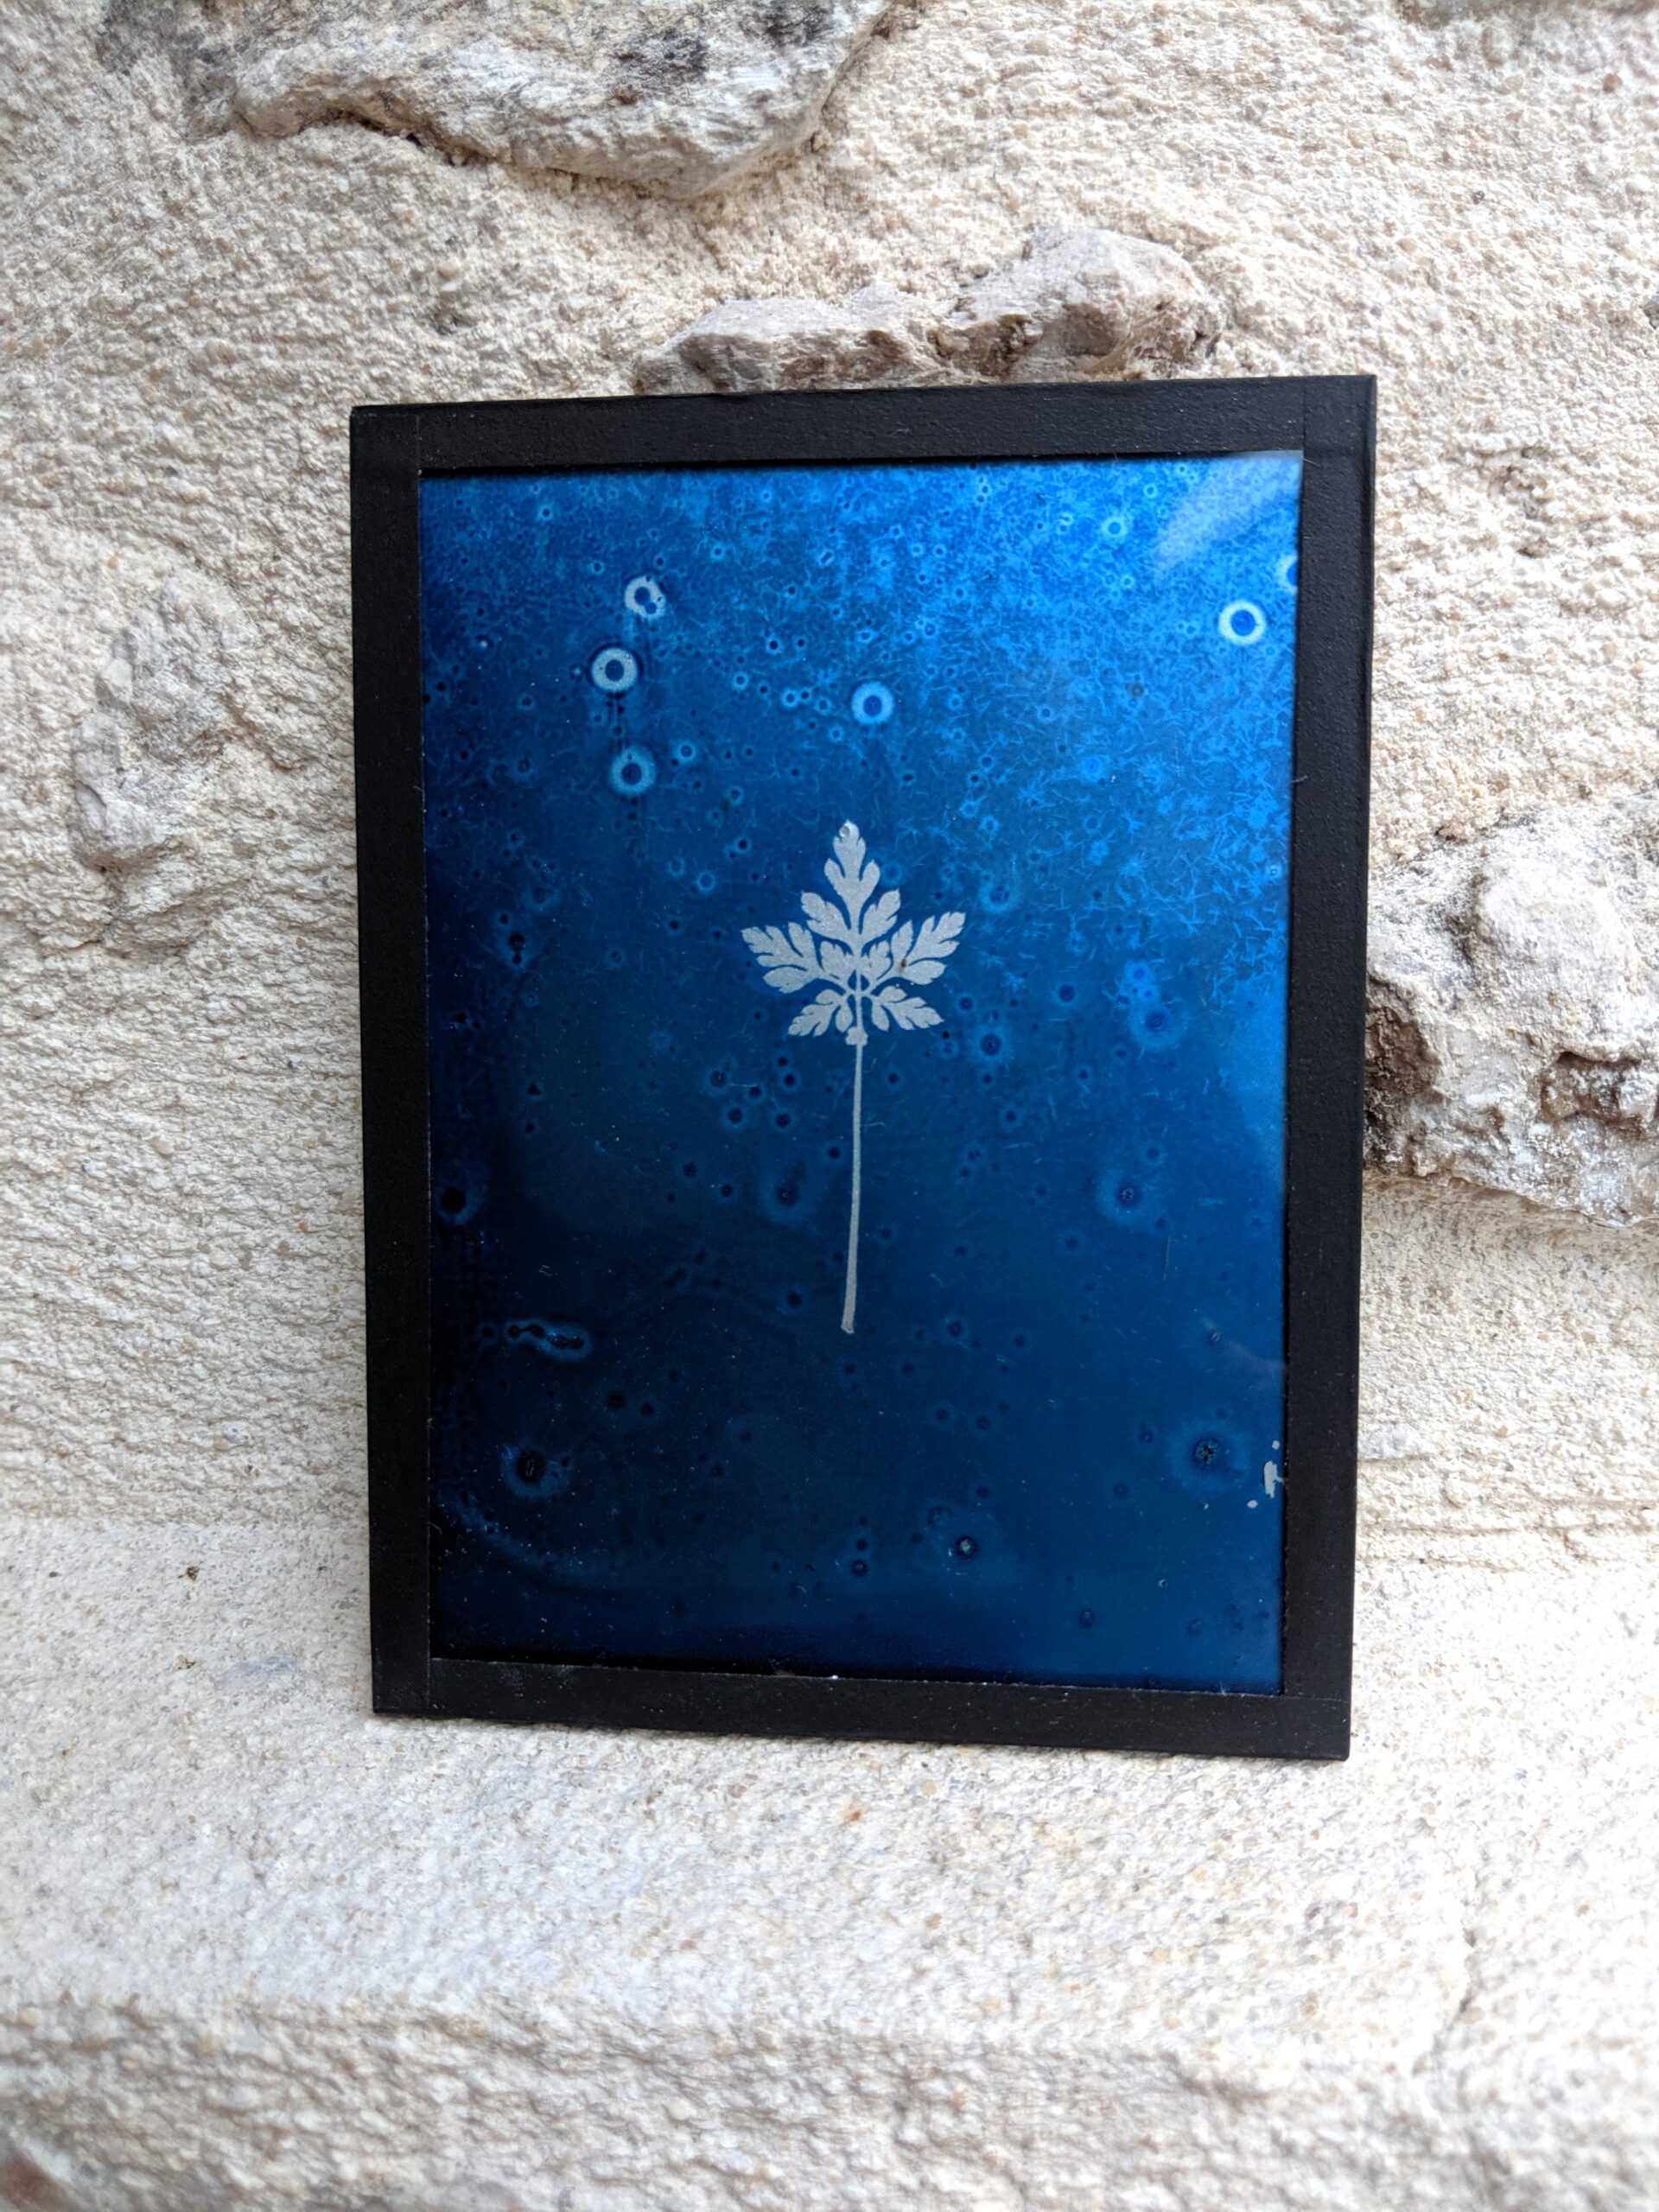
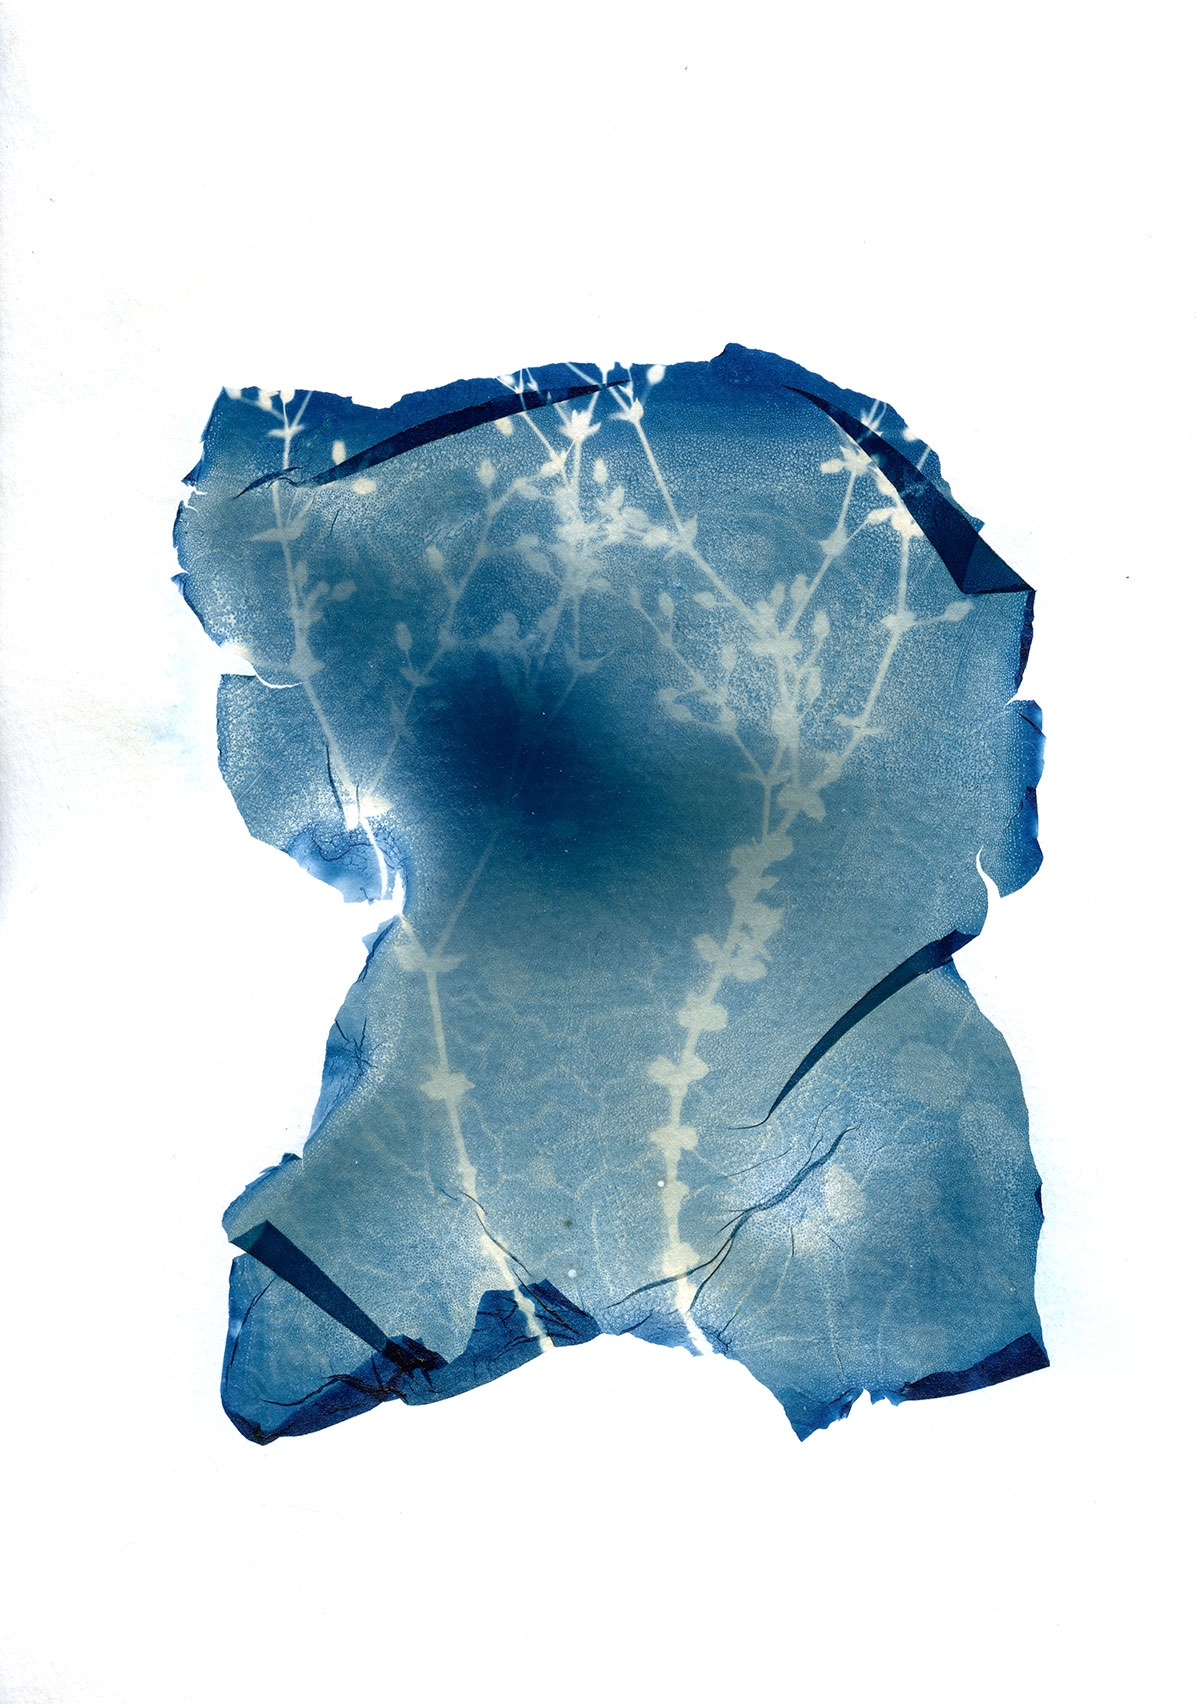
8. Crystallization
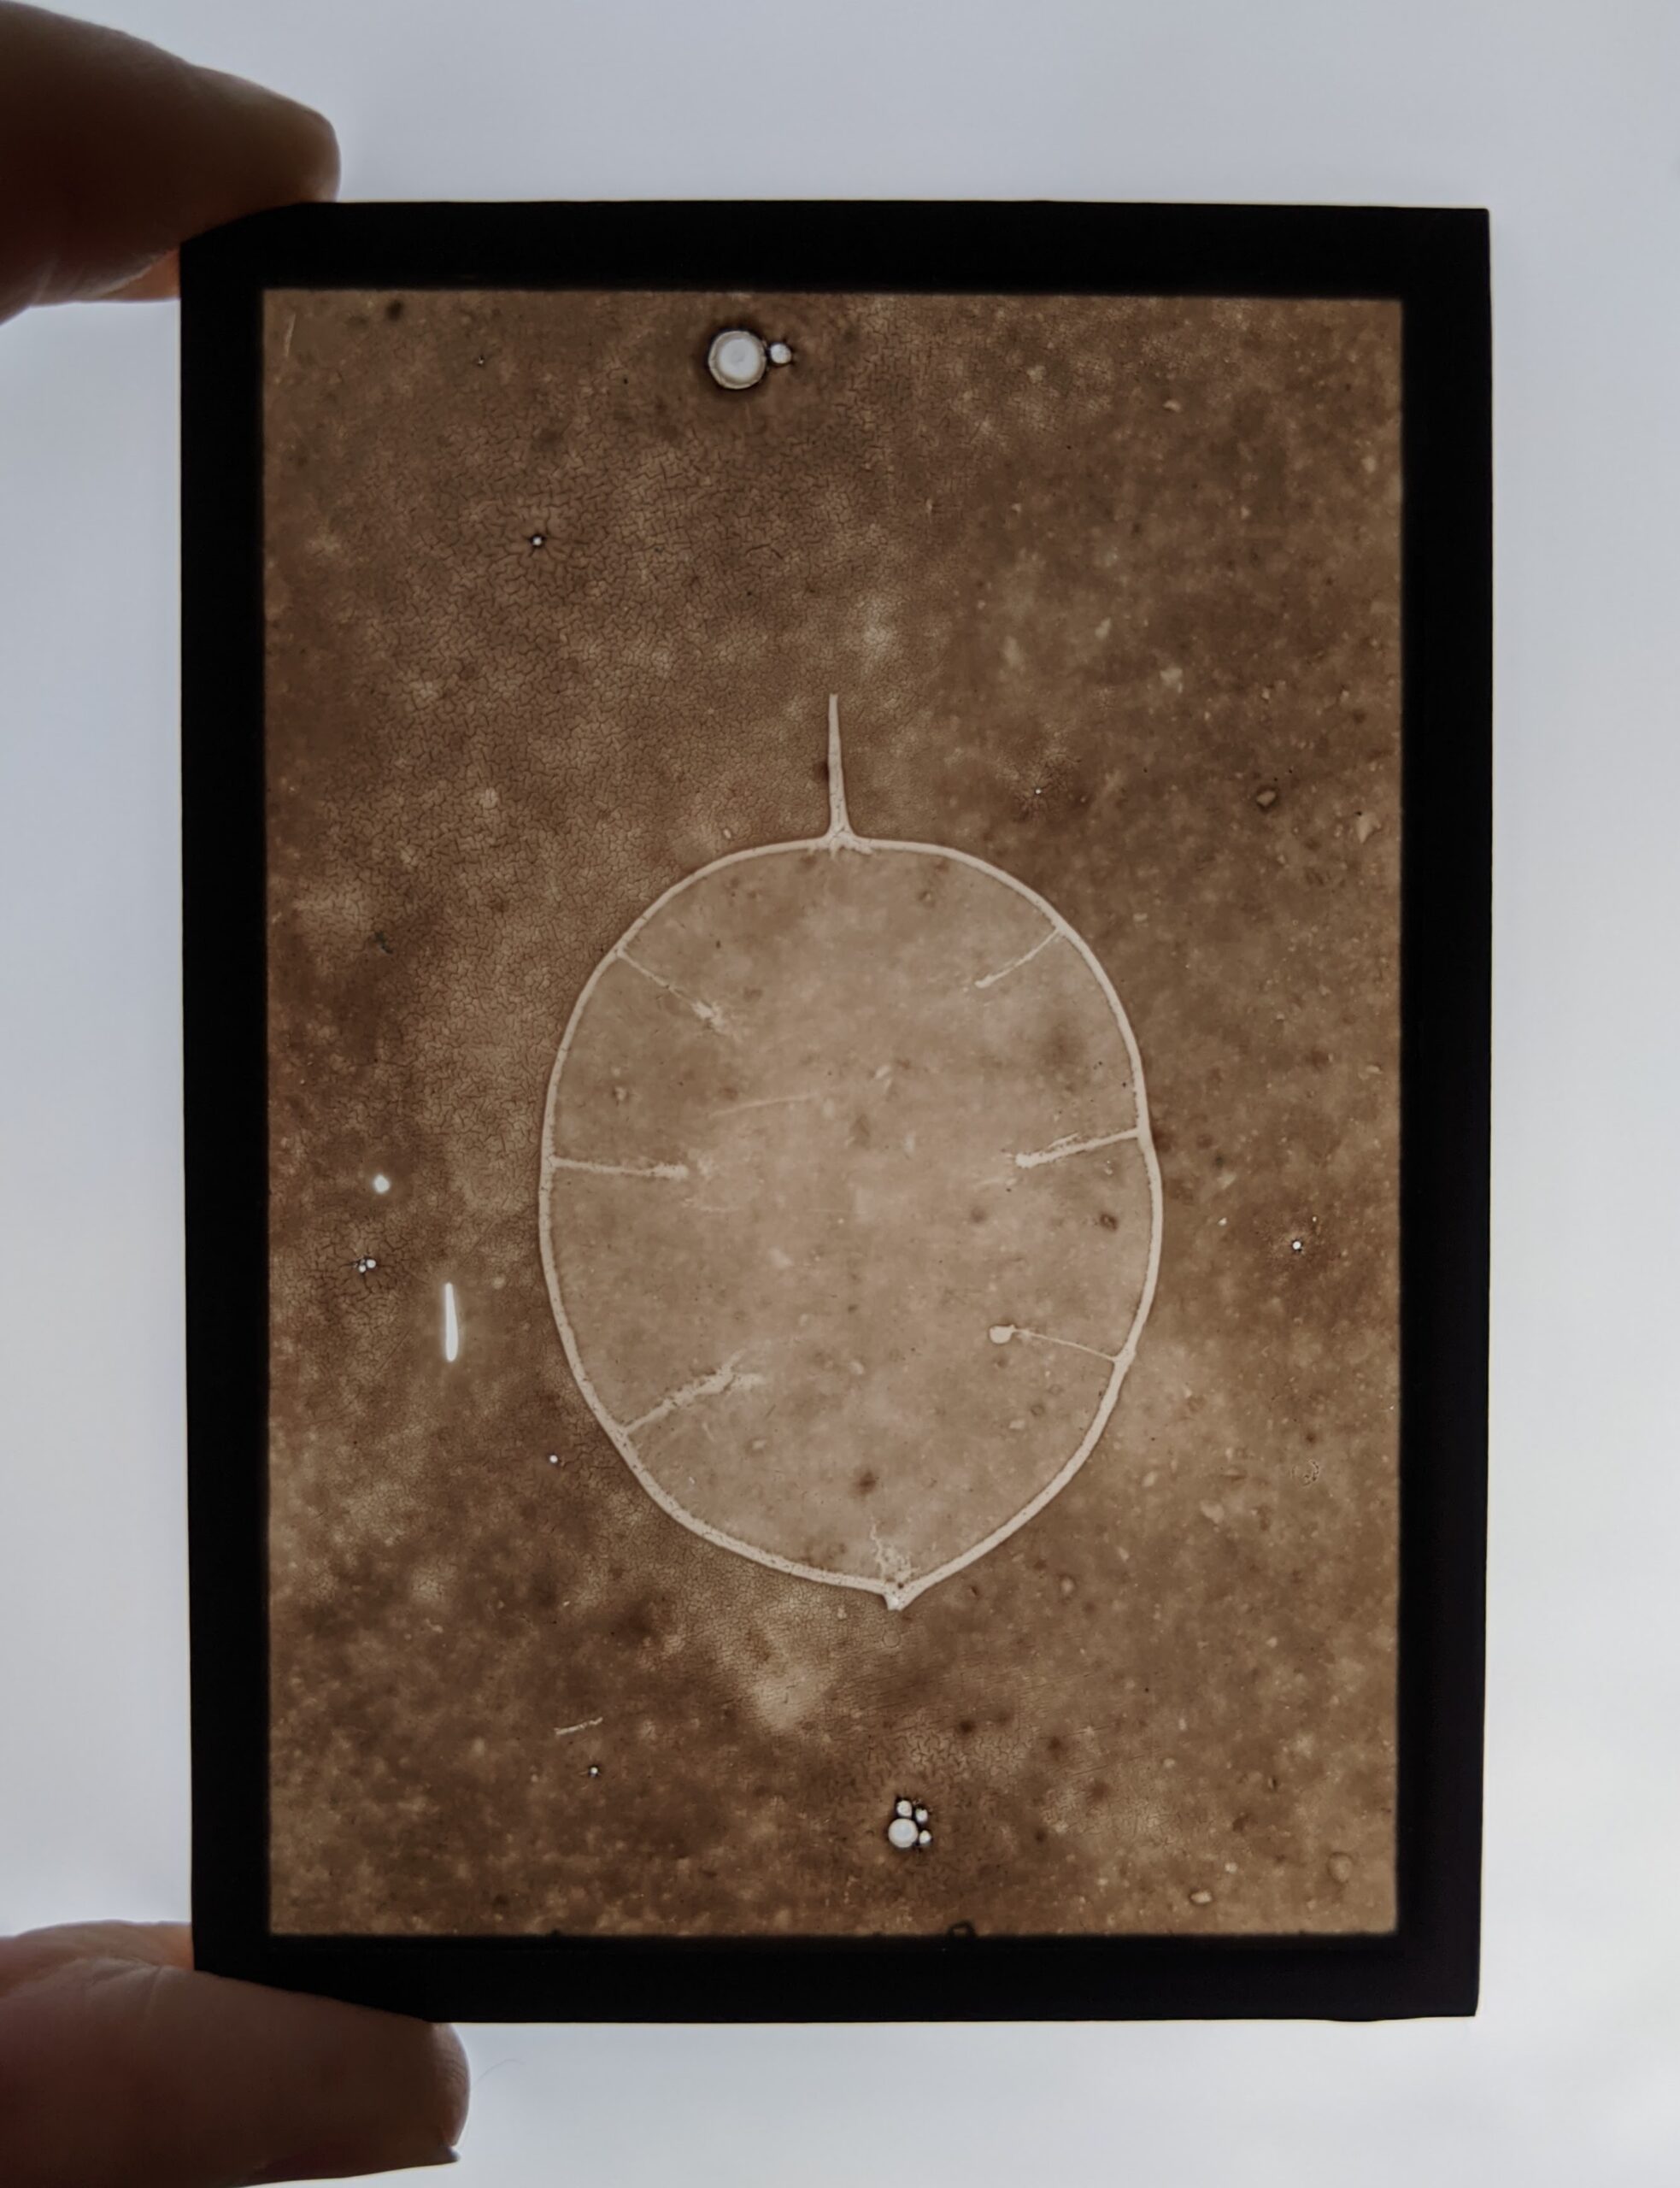
Crystallization is an odd effect, I’m not sure when and why it happens. Probably caused by a too long or too short time for drying, temperature and humidity.
I wish I could have control of these long spikes and beautiful facets. That was the main reason I changed my process. I don’t have these « flaws » anymore.


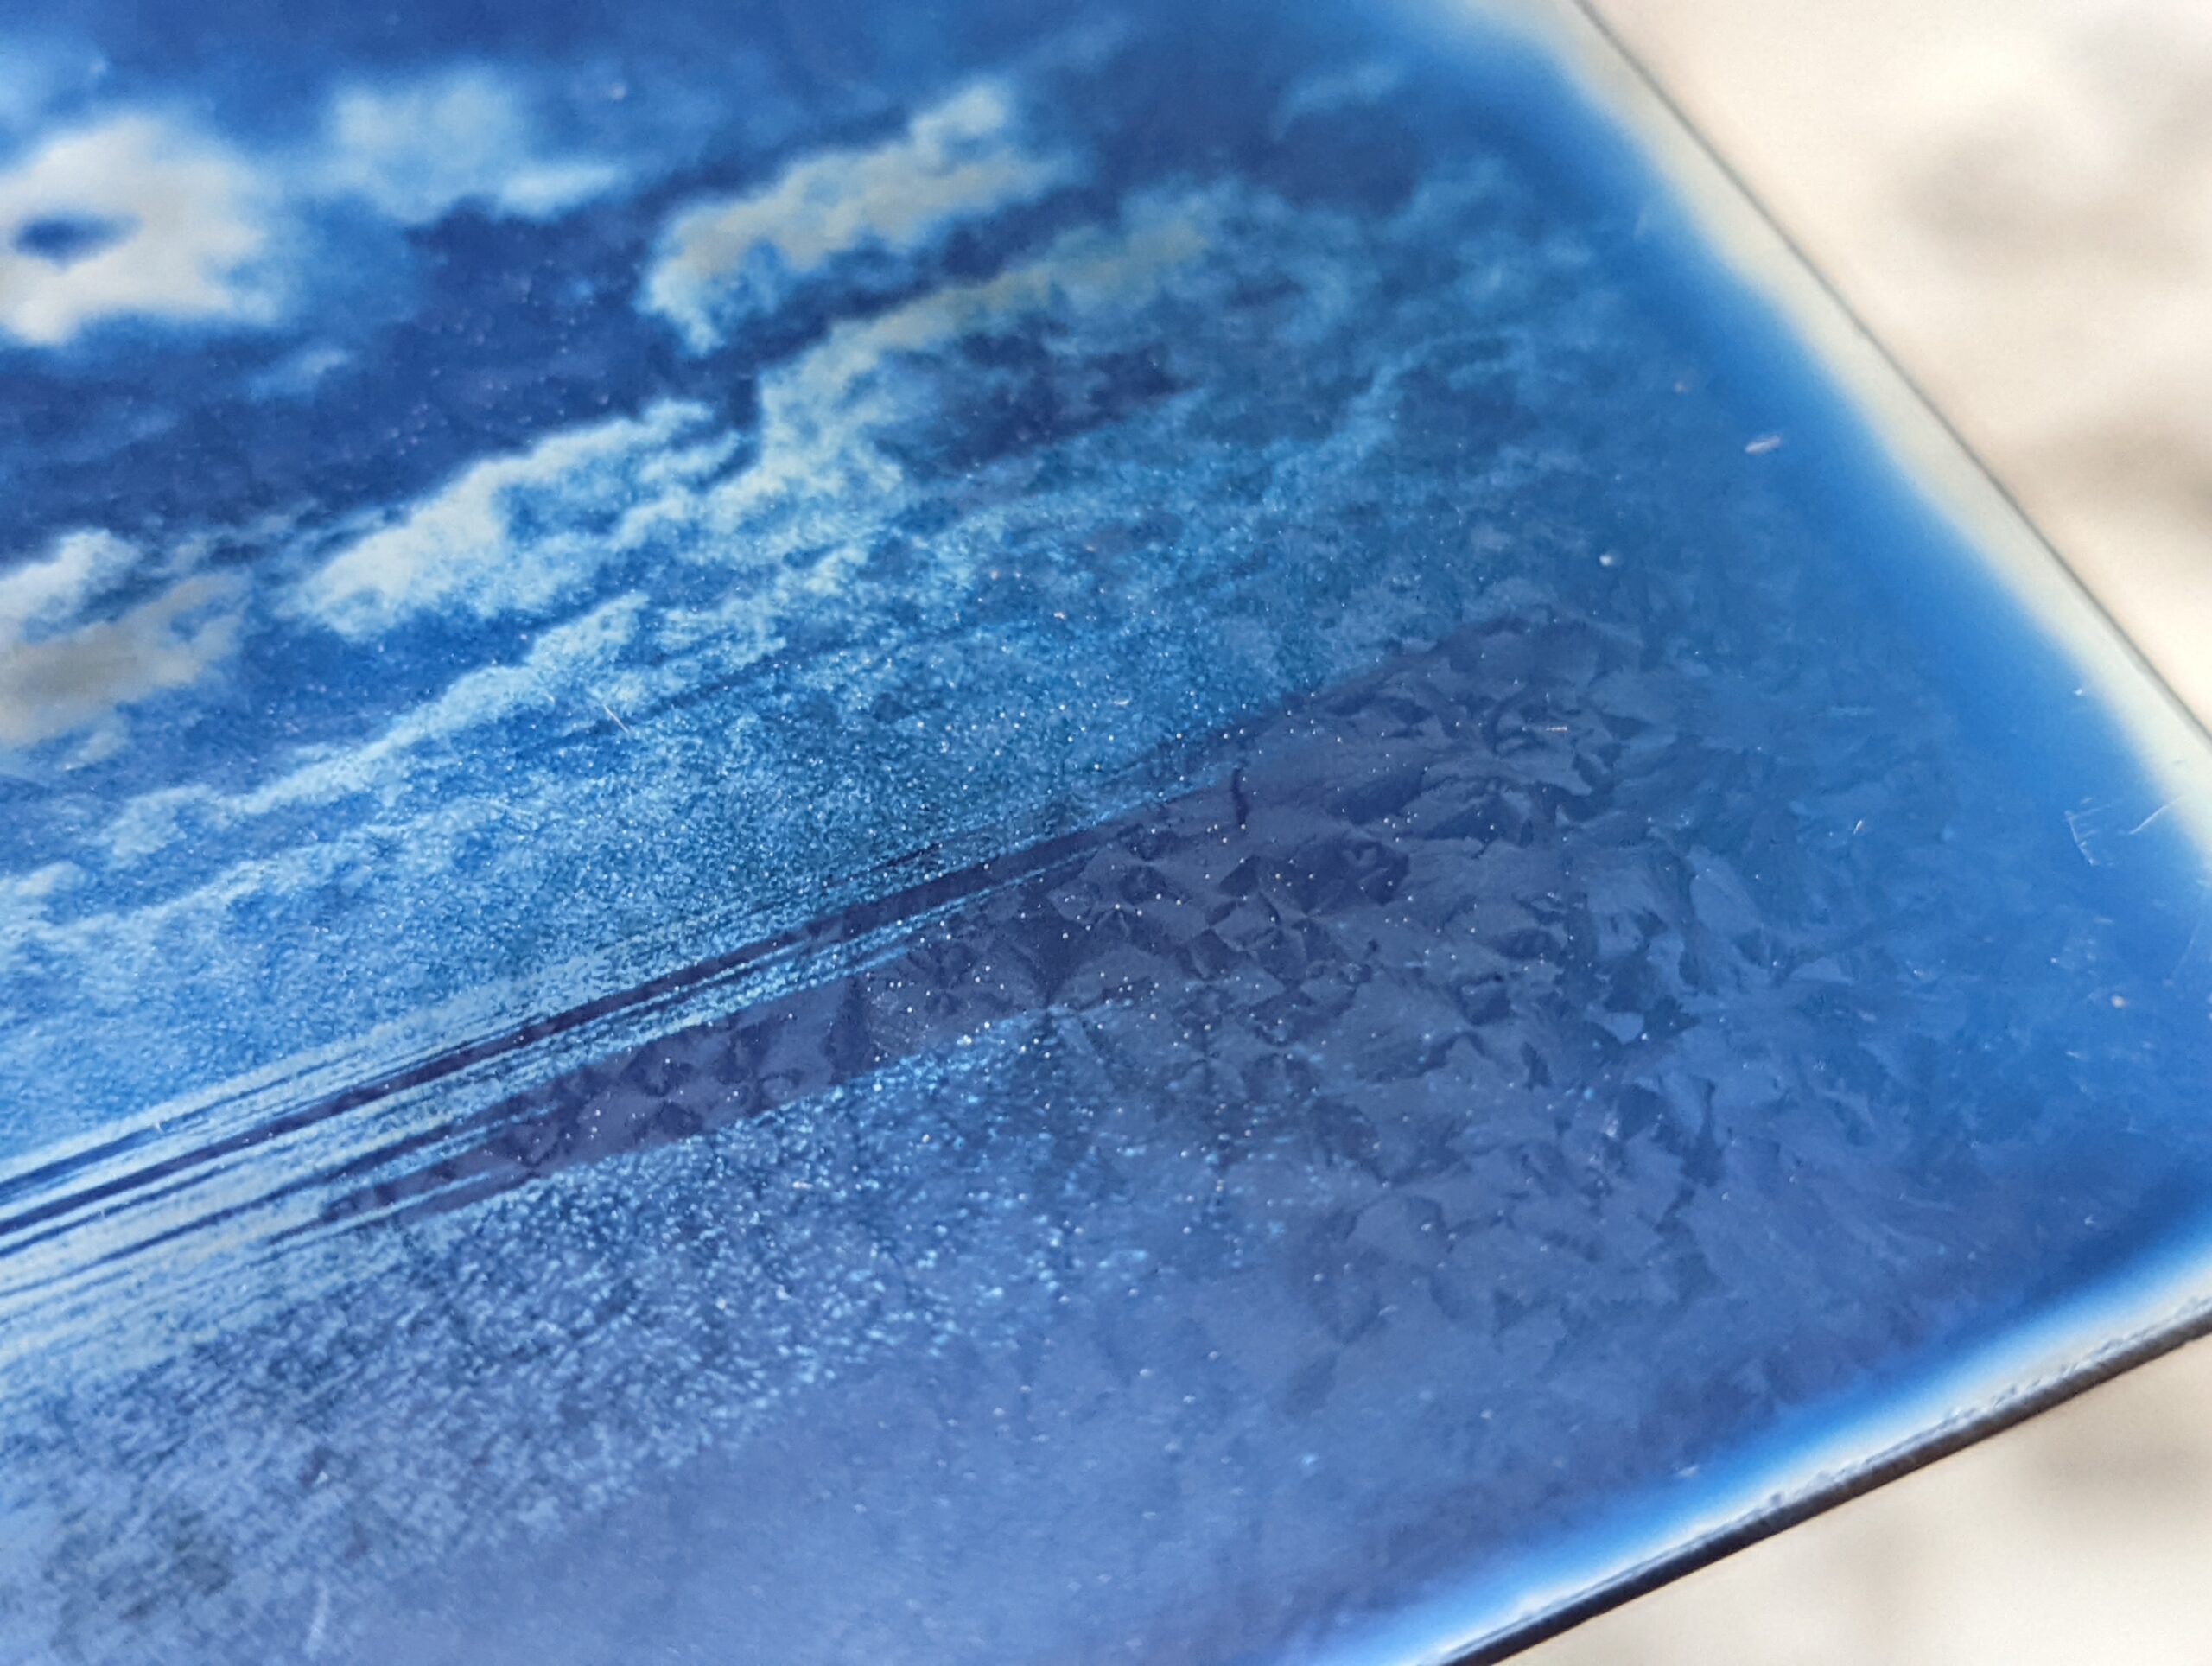
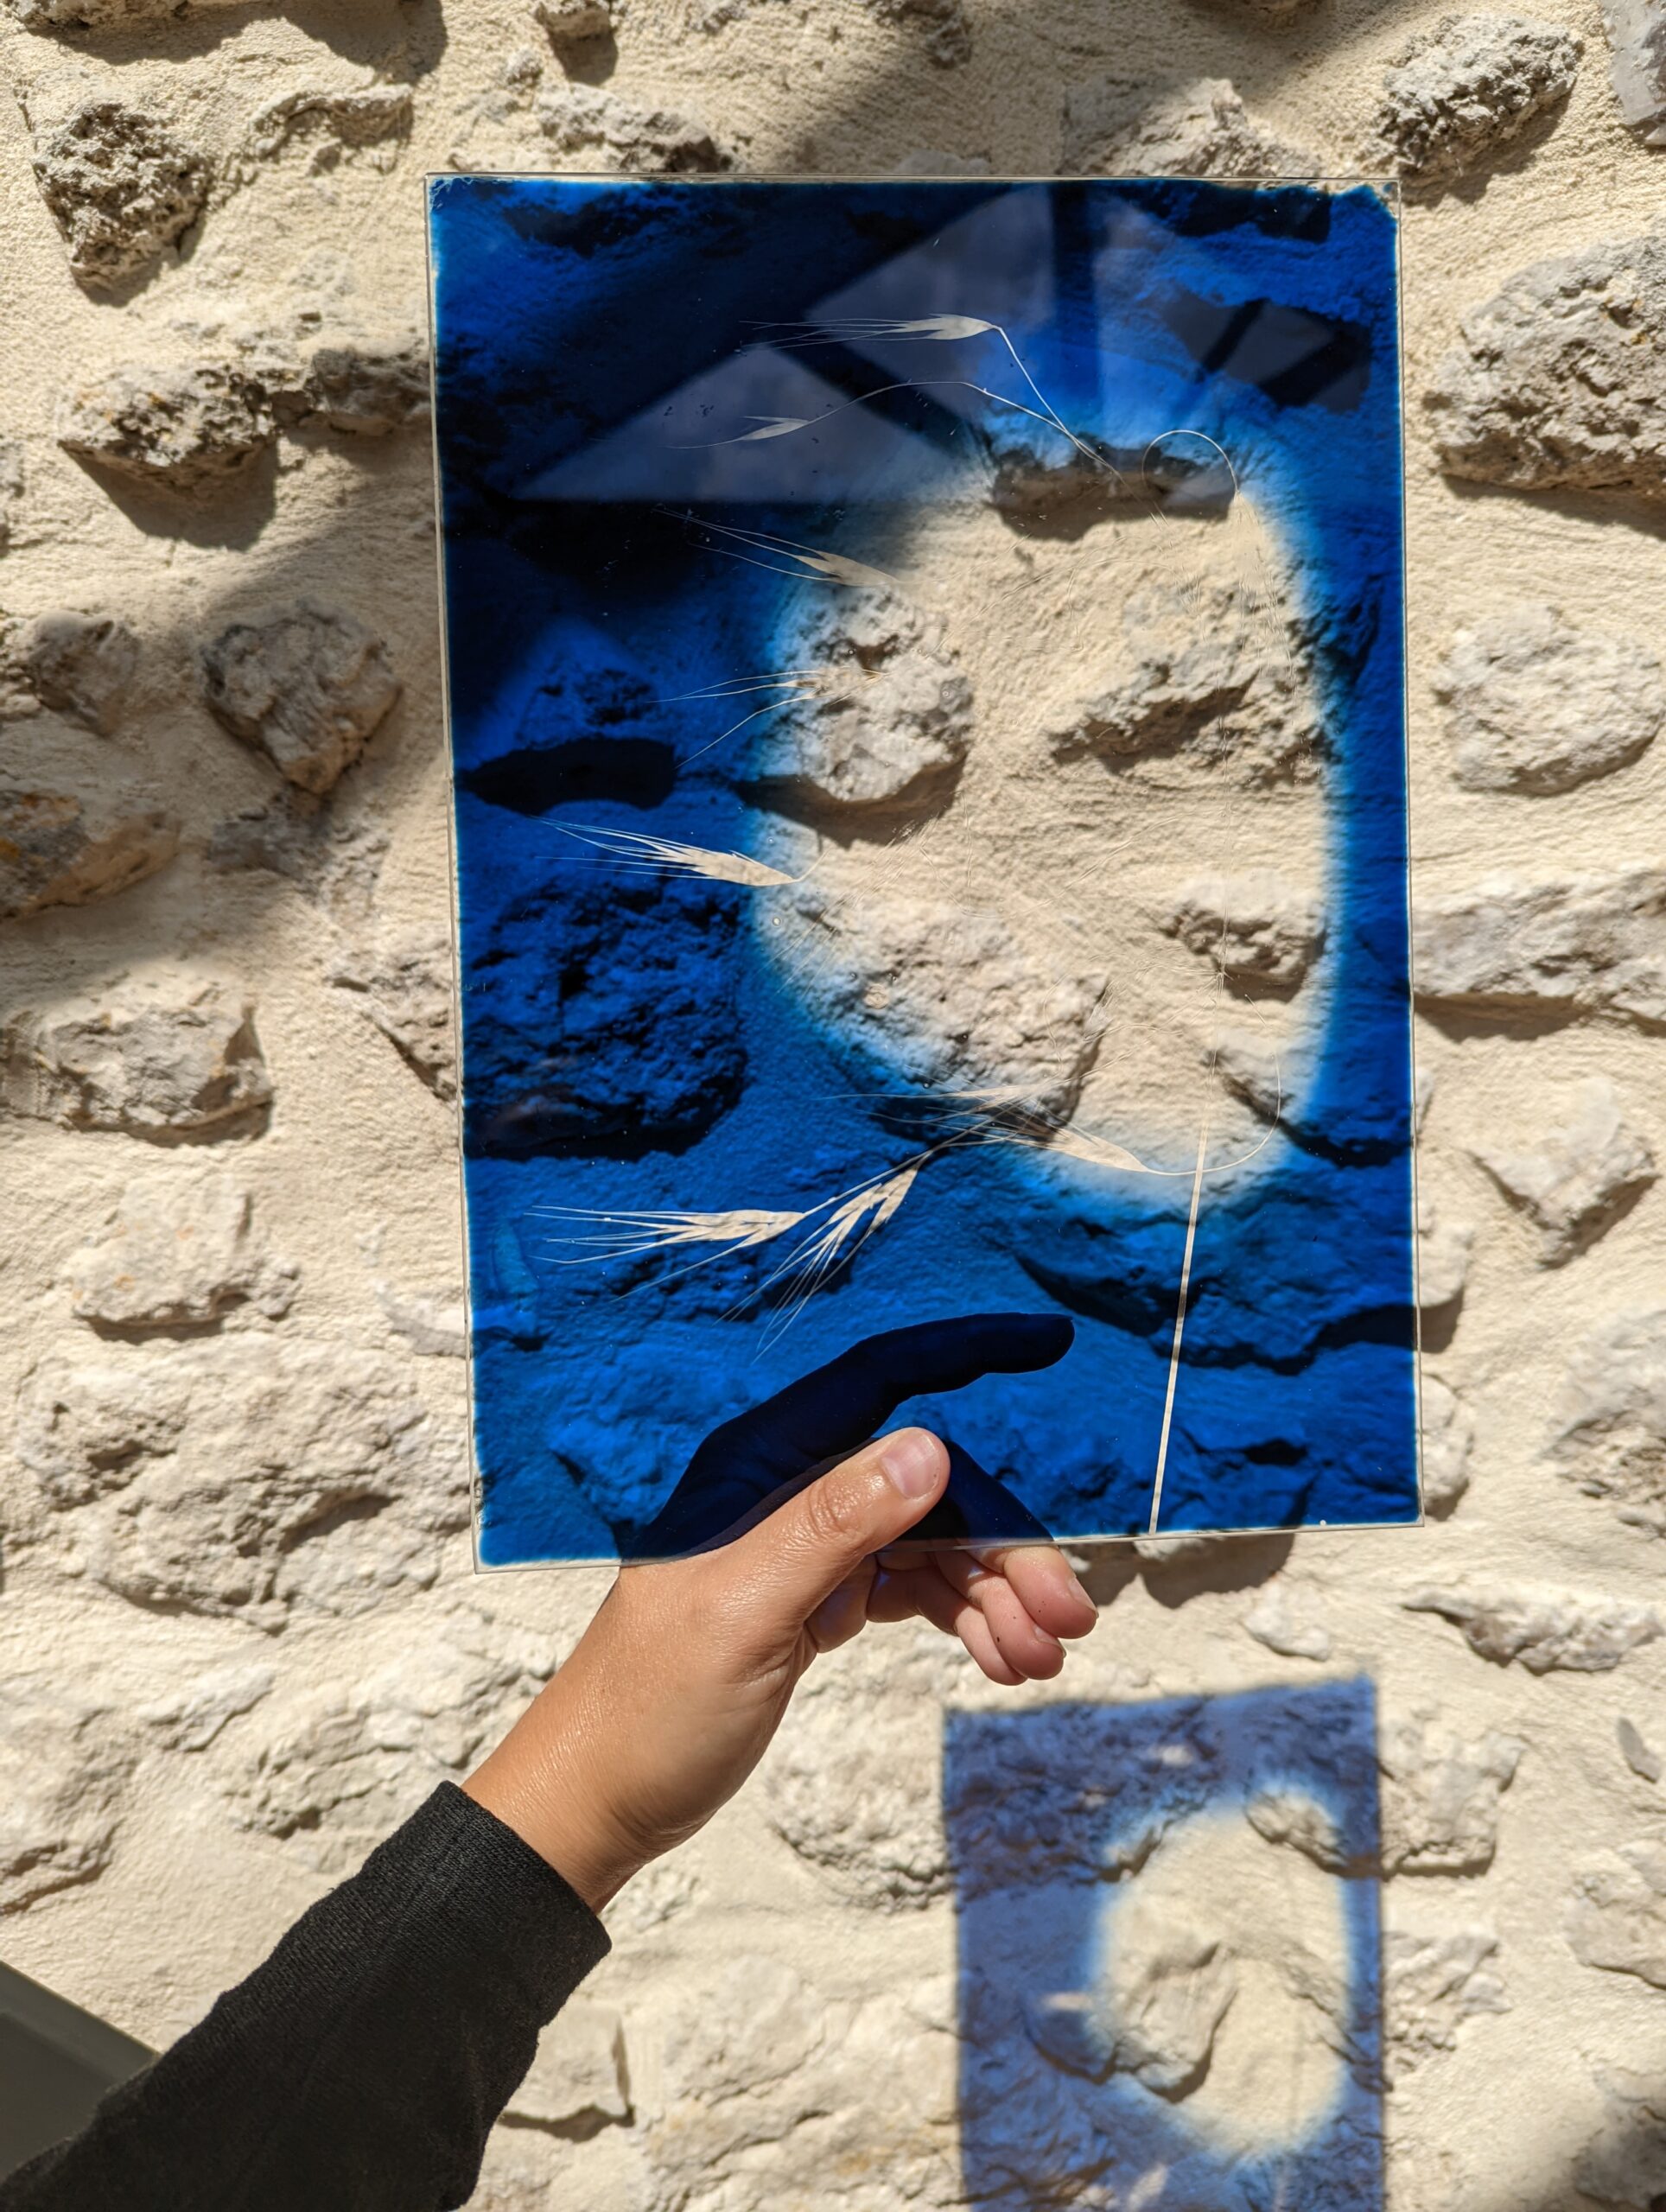
9. Dust and hair
Few months ago, I lost my beloved cat. My home (and lab) was filled with hair. As much as I loved my fluffy ball of purr, hair and dust are the ennemies for cyanotype on glass. If you look closely, dust is everywhere on the gelatin. Working in dust free environment, is not easy, but do your best and avoid at all cost to use a fan while the gelatin is fresh or anything that will add dust to stick on the wet gelatin.
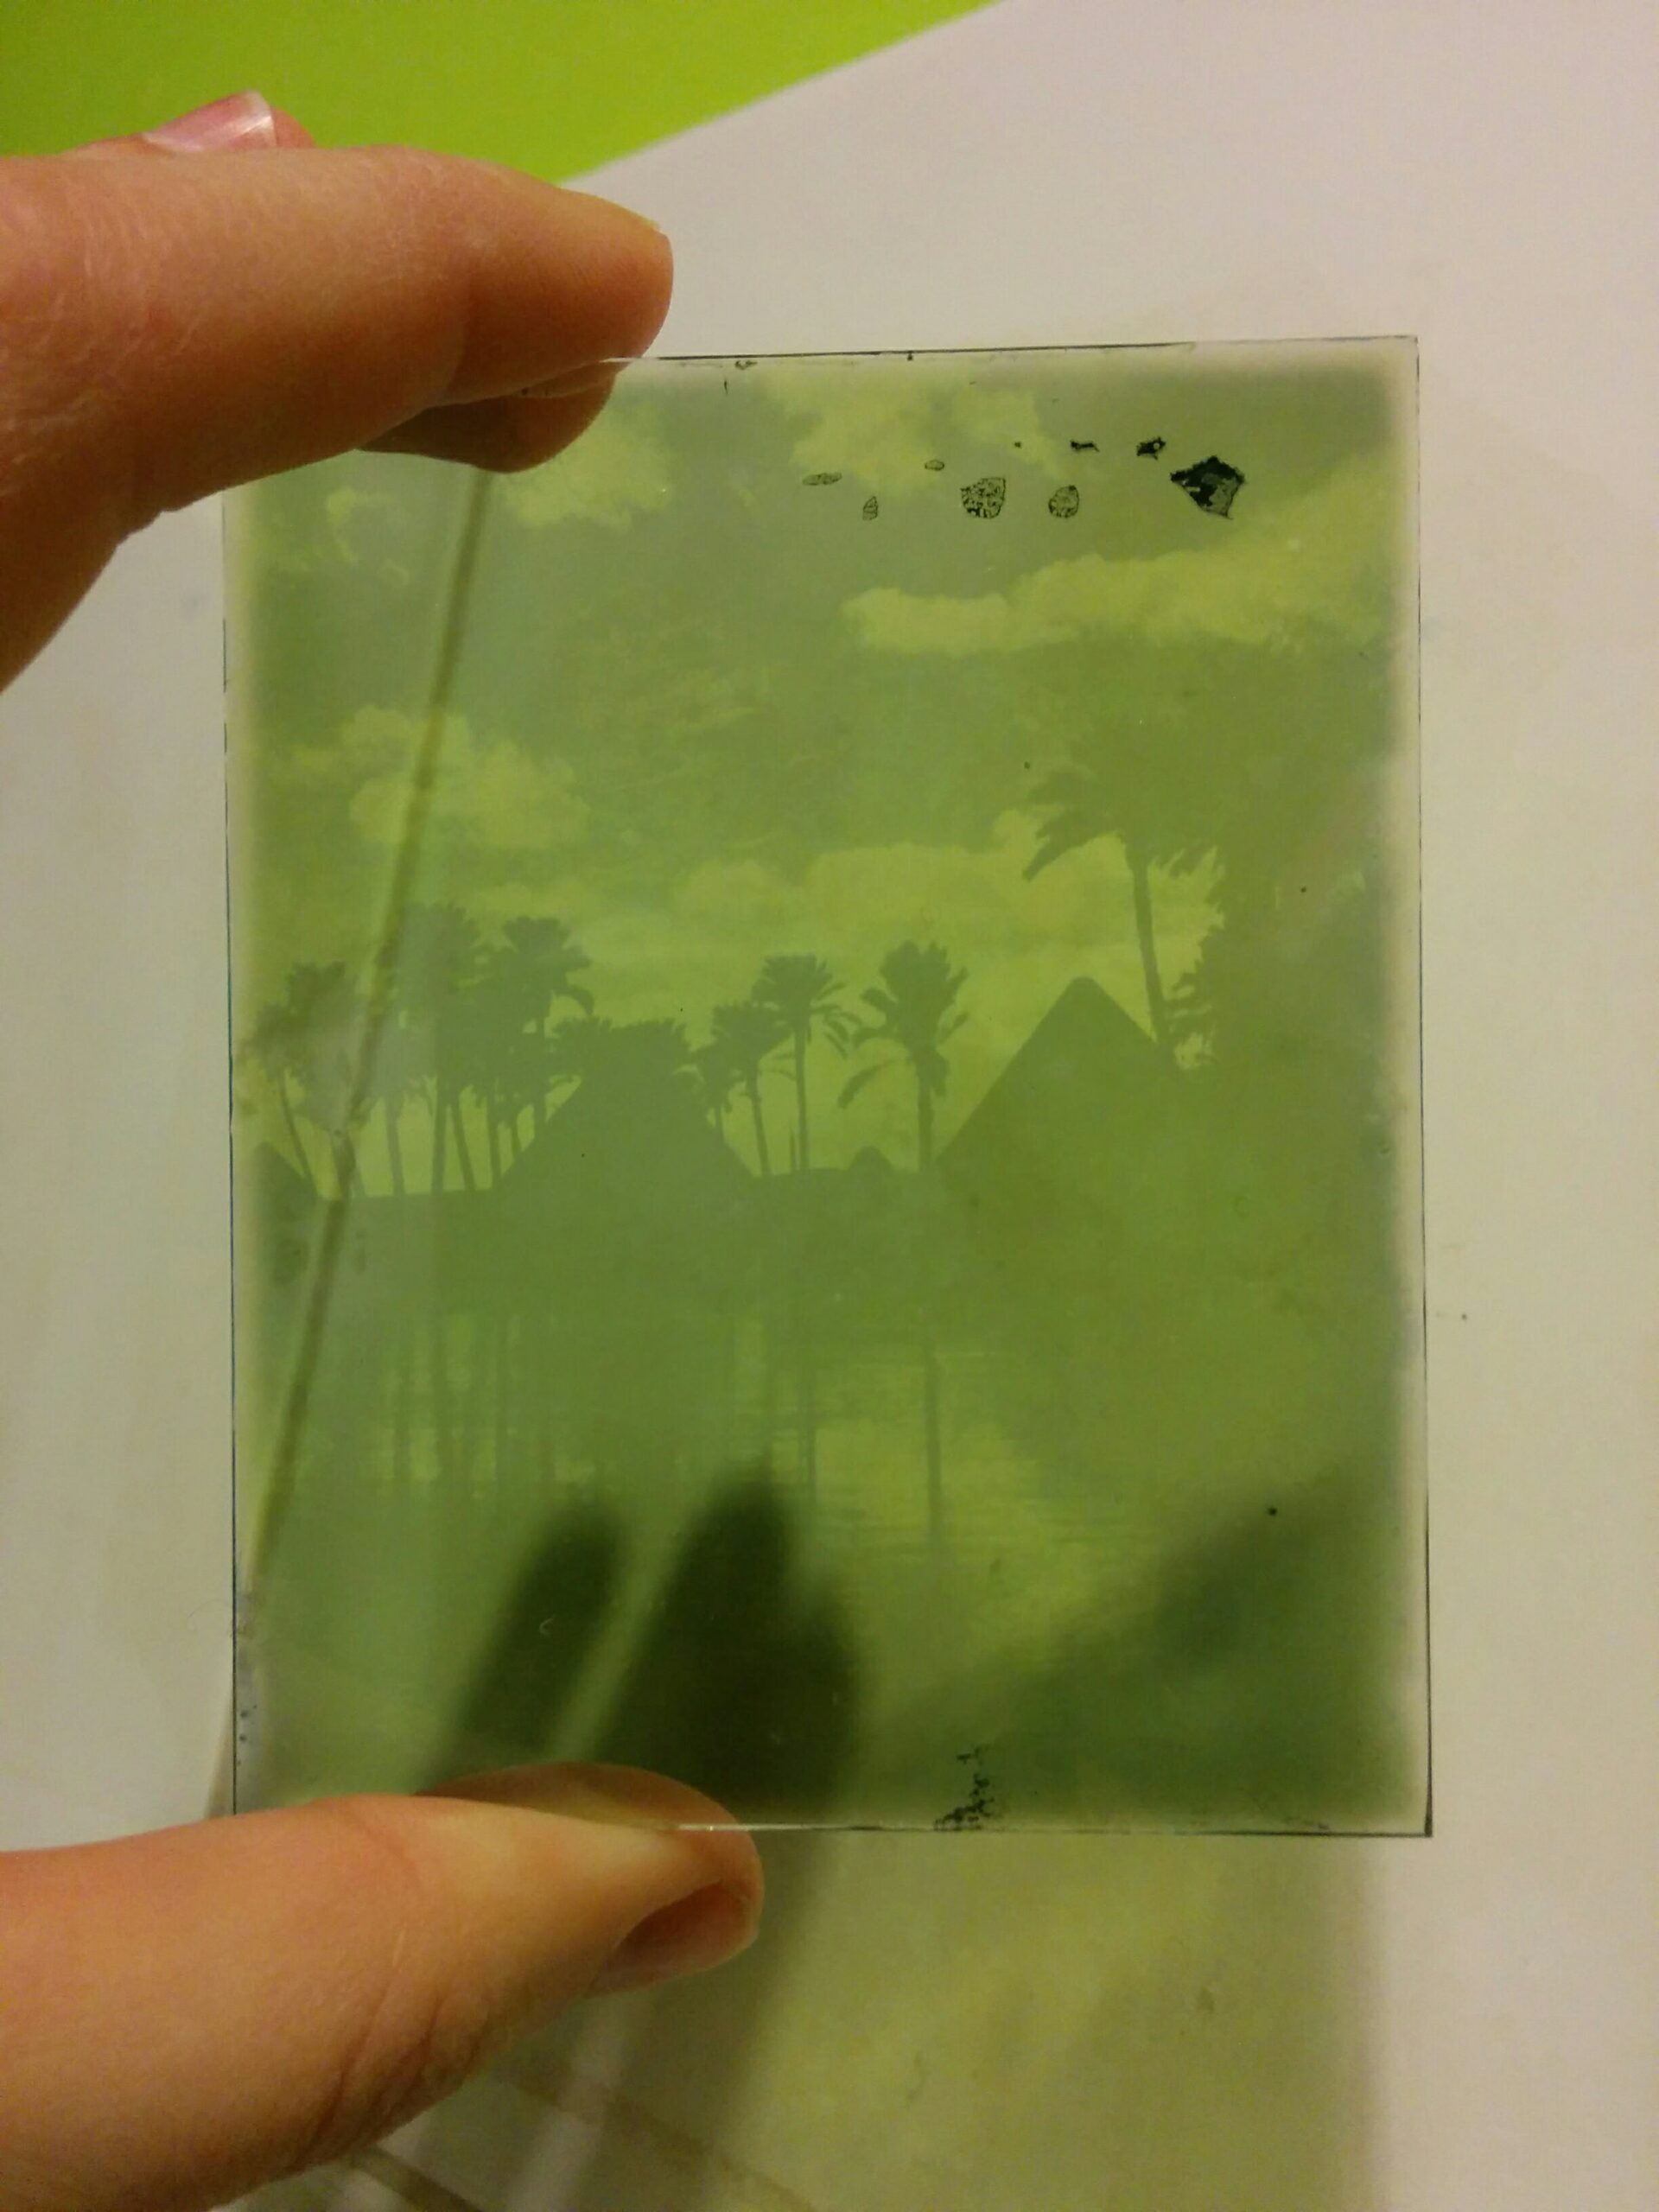
Last picture shows a gelatin crystal that did not dissolve well. Make sure you prepare correctly your gelatin.
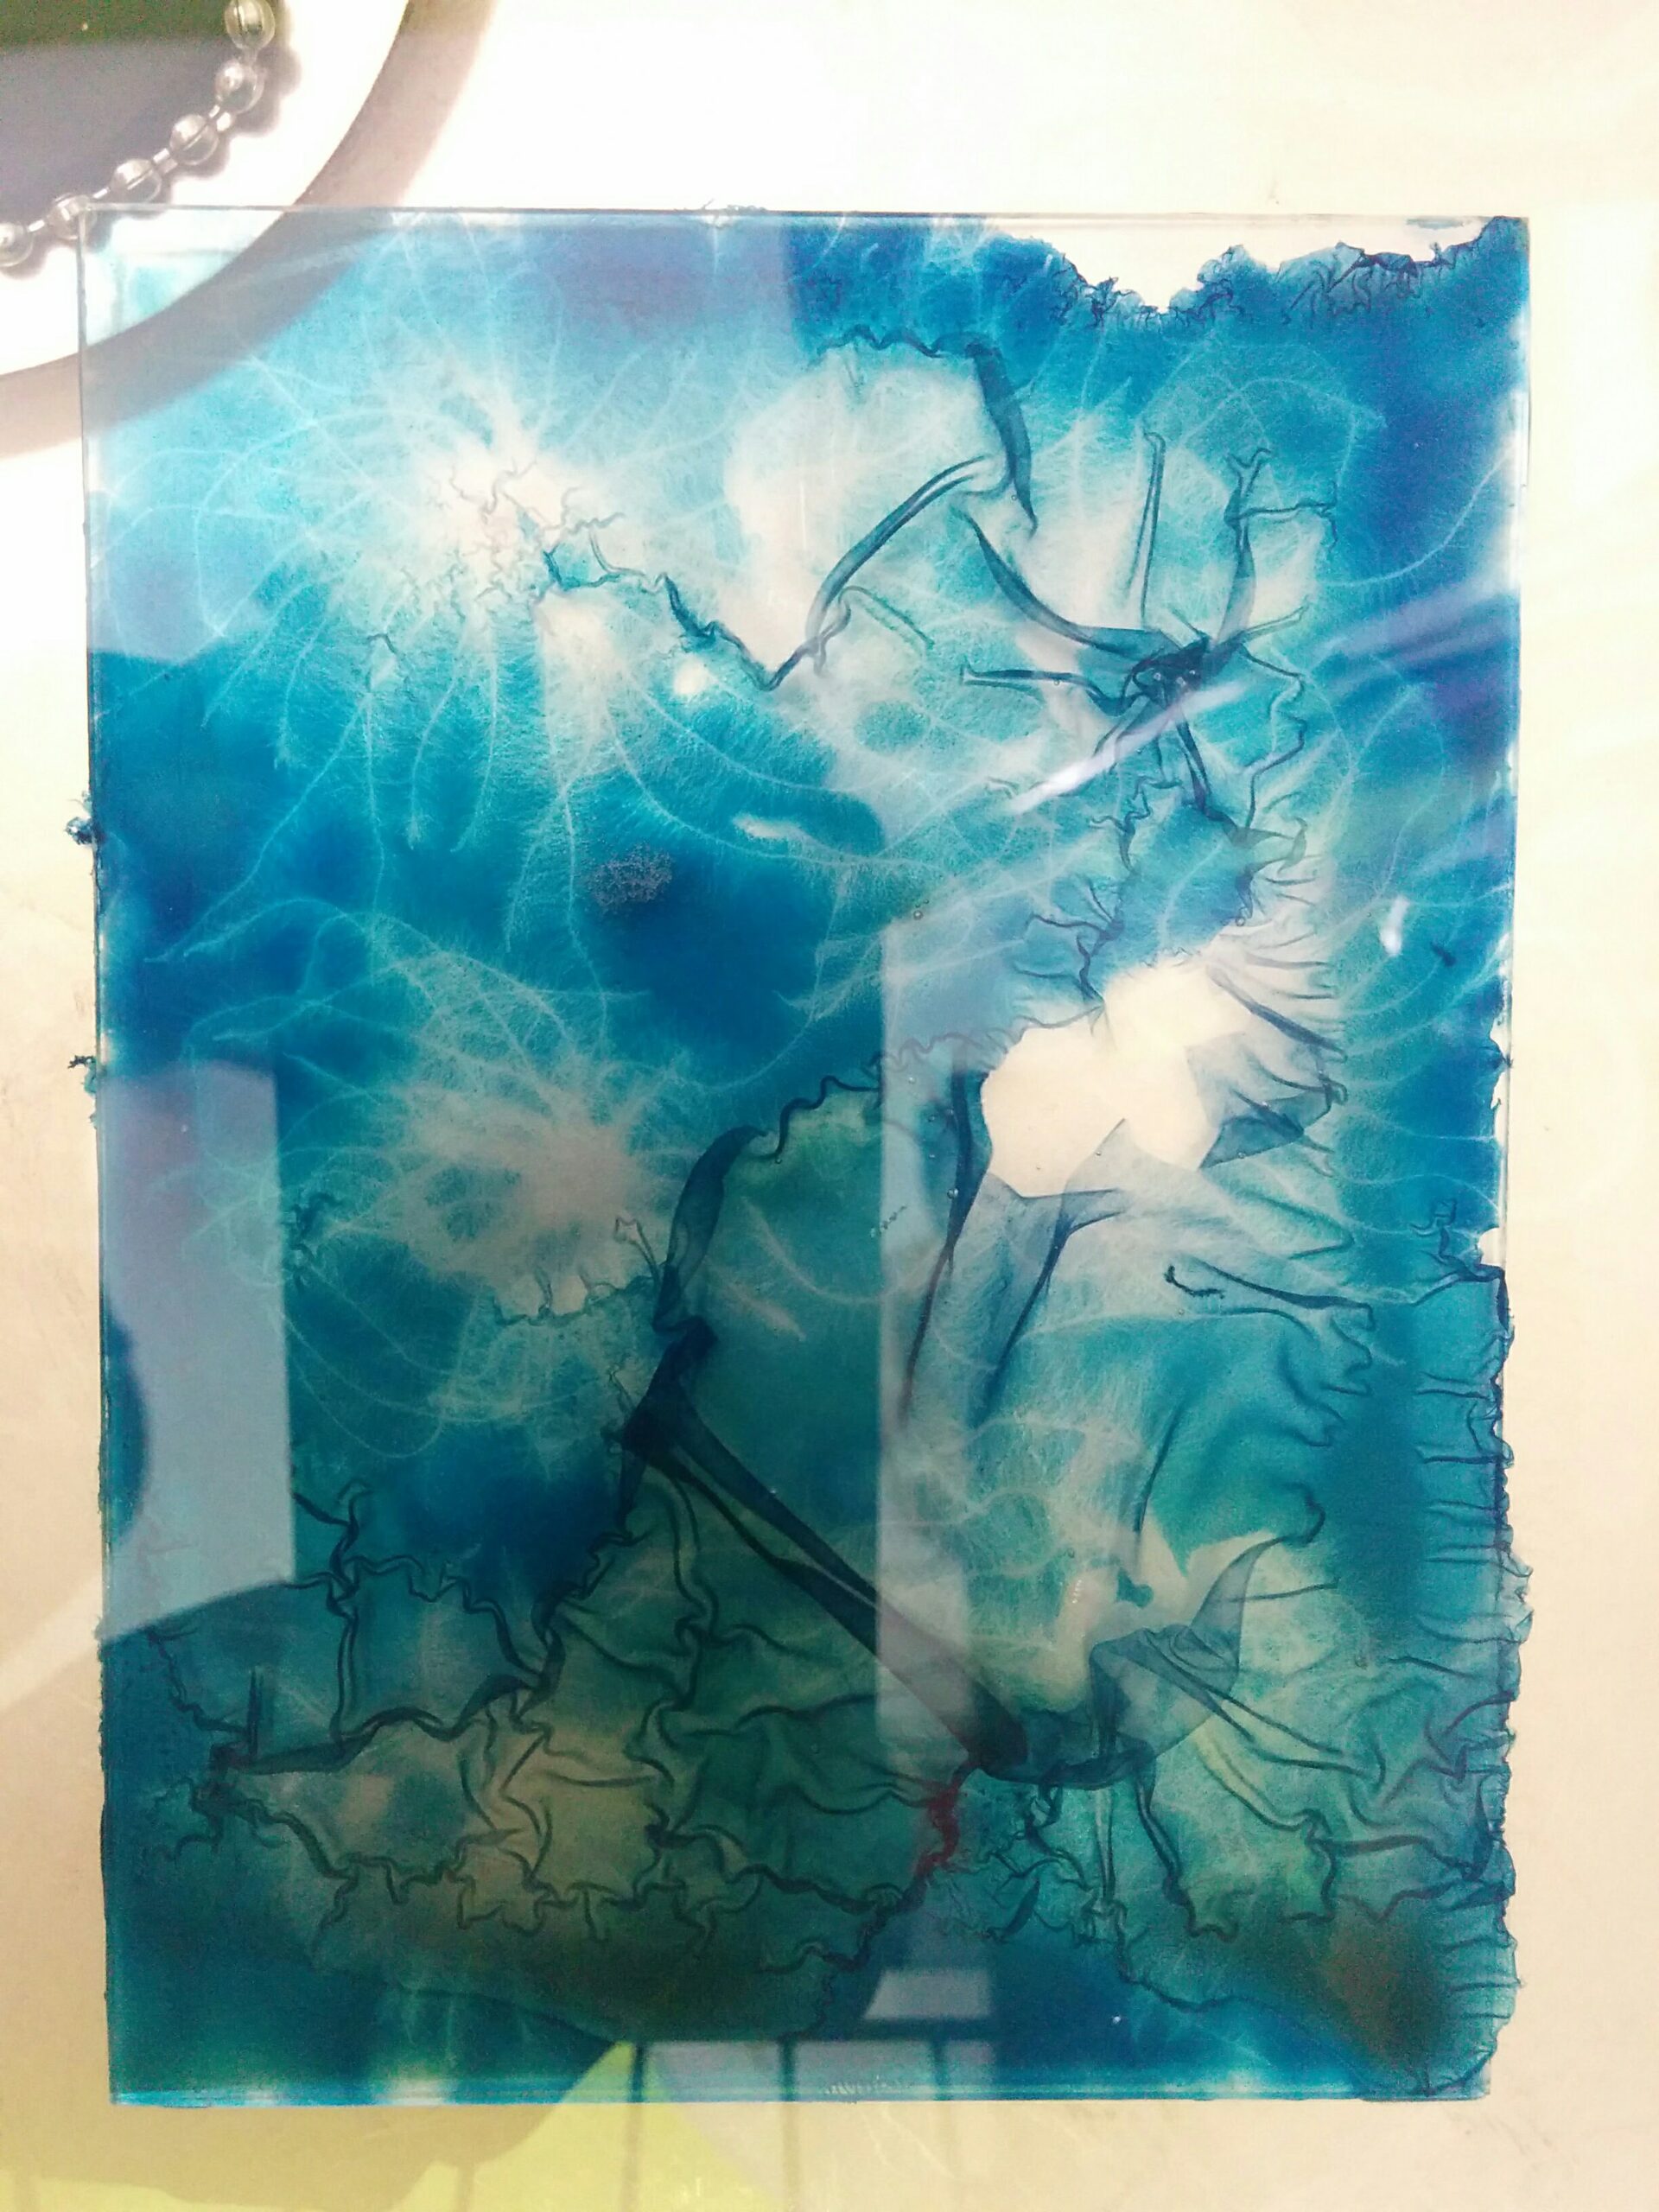
10. Gelatin lift
This one will make some of you happy. Unlike the gelatin fragility (see previous post), this is the whole surface of gelatin that will say « goodbye glass plate, I’m off ».
What happened here : I probably cleaned the plate with something else than soap, window cleaner maybe, fancy alcohol. If you’re lucky, and if you’re using a strong gelatin, you can delicately take the gelatin and put it on a piece of paper. If not, well… hot water and start over.


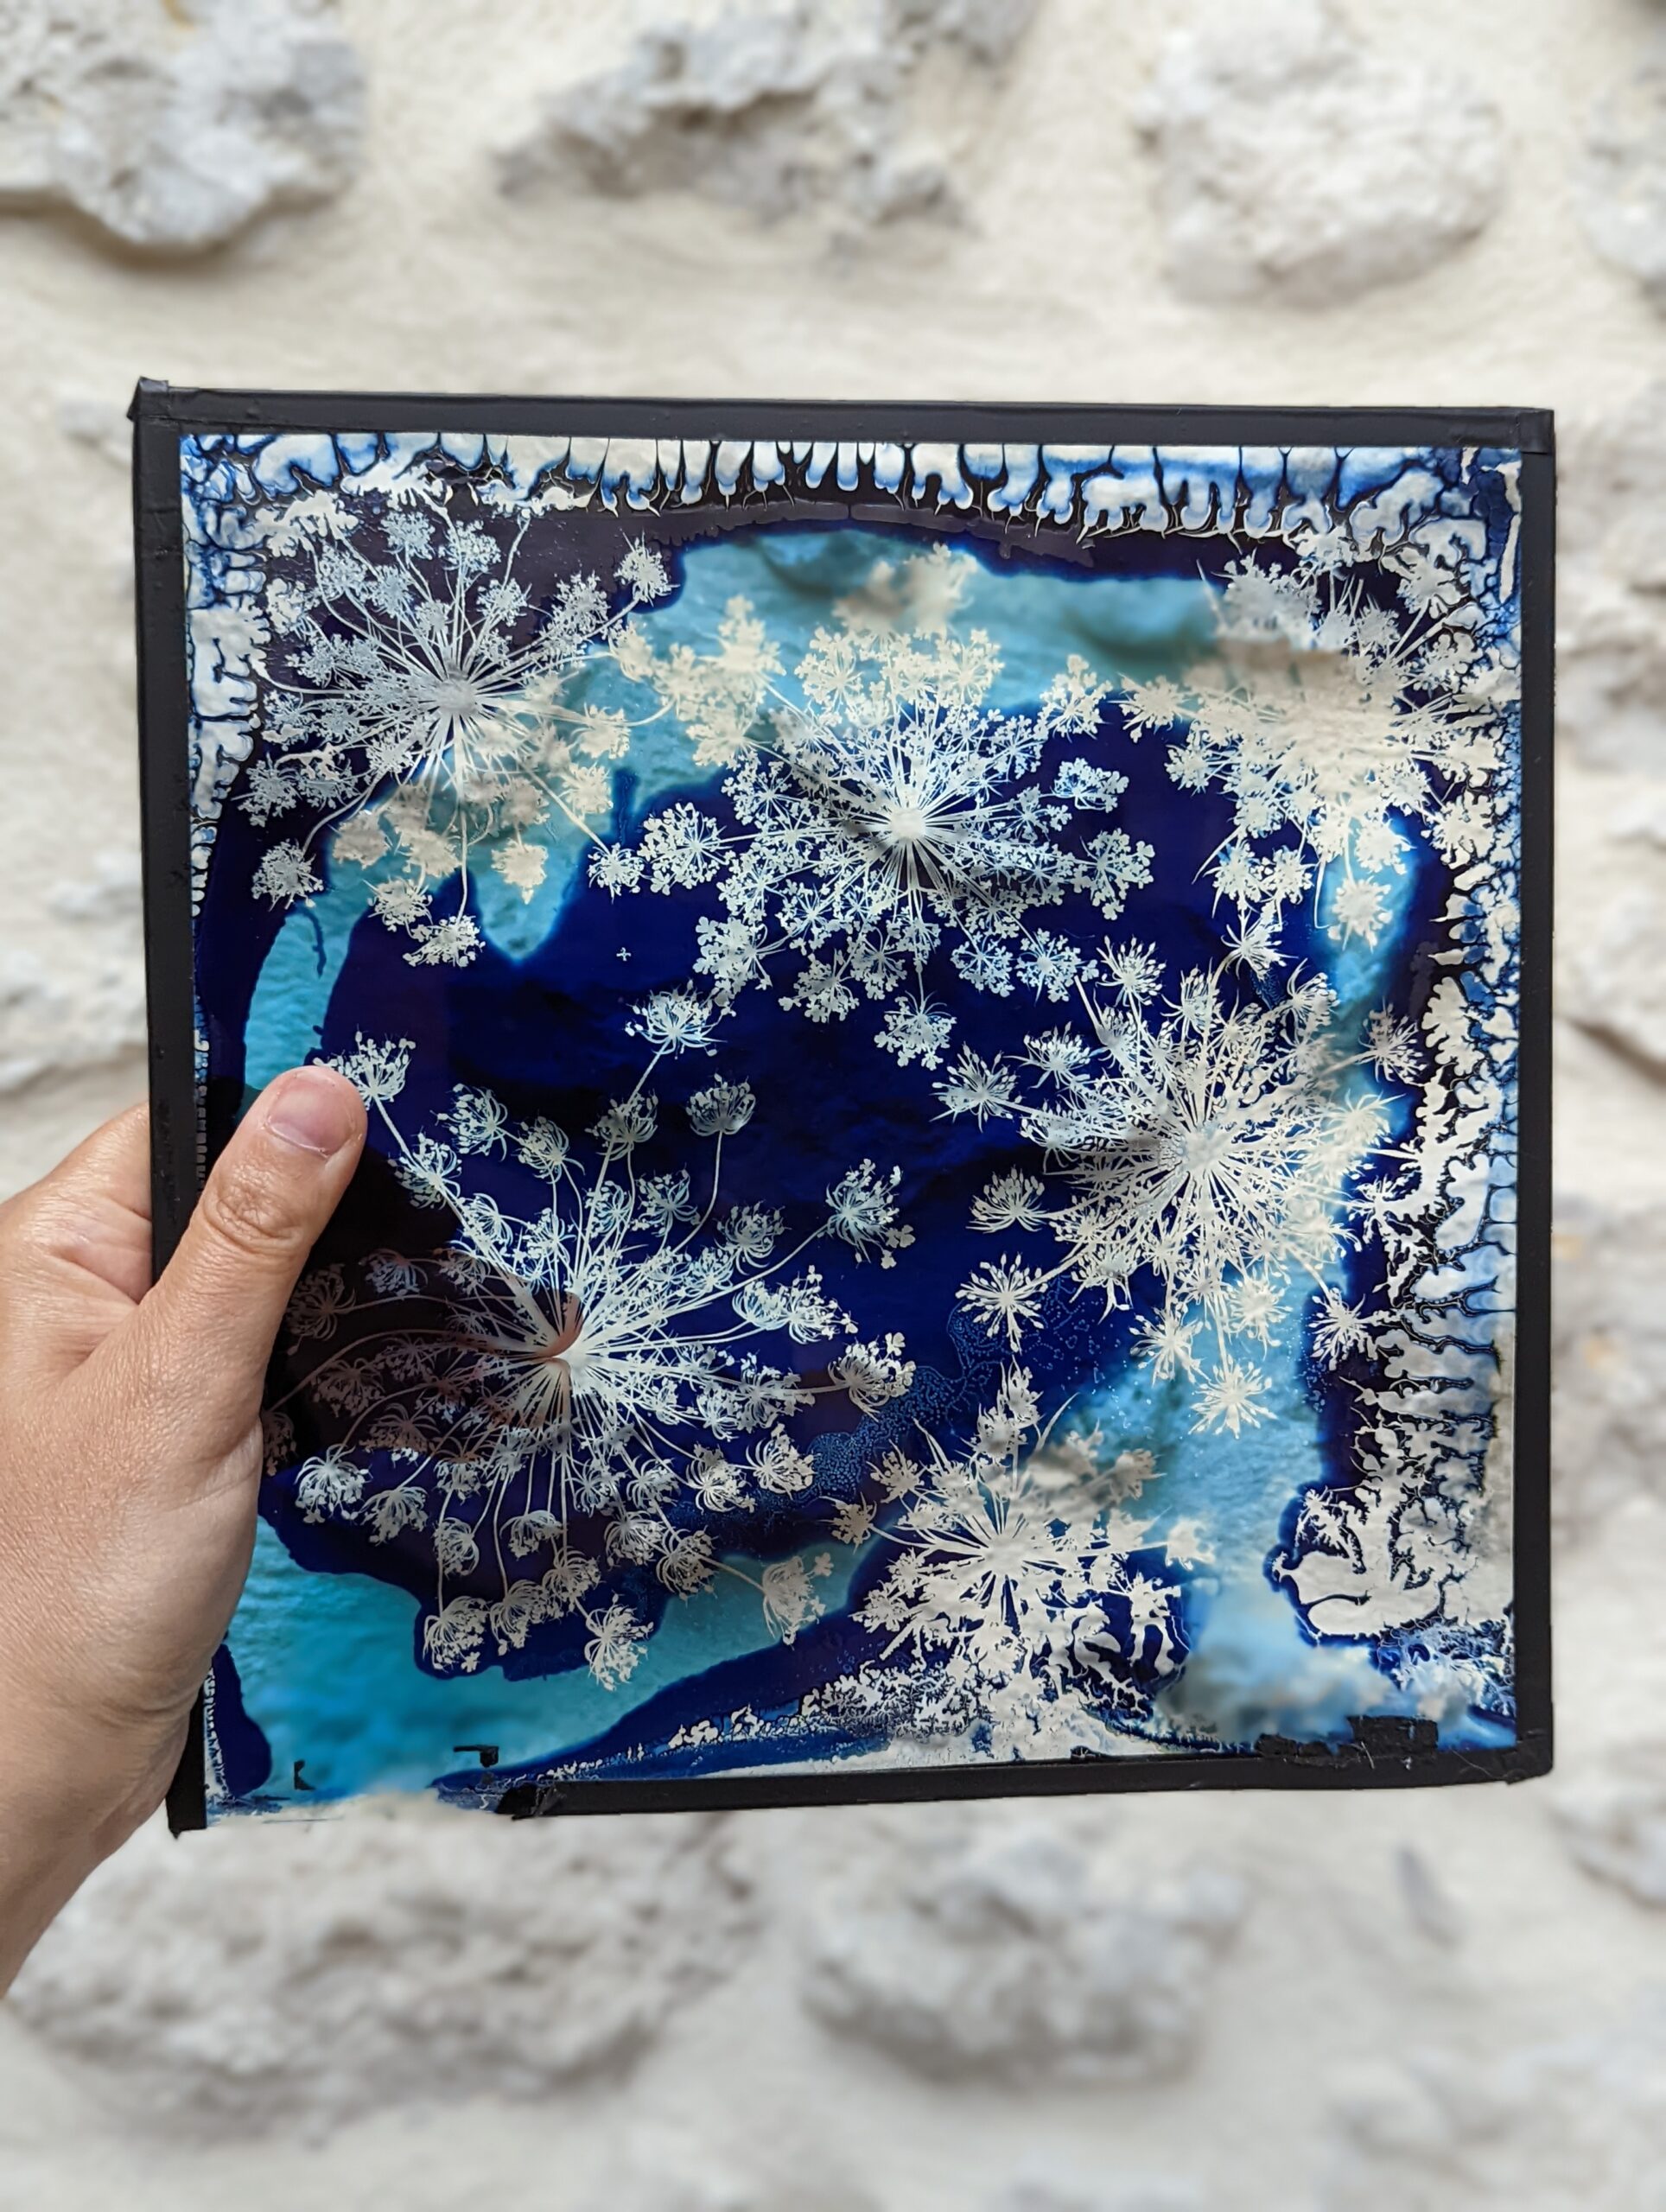
11. Water damage
My last cyanotype on glass failure is really epic. Last year, I had the pleasure to show my work in Belgium, in an outdoor photo festival. So I prepared my cyanotype on glass with extra care, waterproof duck tape instead of the nice one I usually use, silicon joints, I was sure the glass plates could endure any weather. What a fool I was… The first week end, it rained, a lot. I had made these prints few weeks before so the gelatin probably had still a bit of moisture inside. The rain went between the glass plates (the one with the gelatin and the one that protects it), and it started melting. The next day, the sunlight finished ruining it. Let’s say it was living art.