
On November 10th 2019, I gave a talk at the Salon de la Photo in Paris about cyanotype on glass.
These are the slides I showed, and extra content. The purpose is not to give a step-by-step guide for this process but share some info, tips and my personal journey with cyanotype on glass. And as I’ve had a lot of requests for guidance, I decided to translate the slides into English.
It’s been a learning curve; I know it’s exciting to try things out and experiment, which is why I wrote this post: to share knowledge and avoid getting lost in the weeds. Hope it helps…
A friendly reminder: classical cyanotype on paper is one of the easiest photographic processes. It’s fun, pretty, and you can do it with kids. But there’s more to this process than heavy brush strokes and Atkins-esque photogrammes (which are fine).
Learning the basics, is important. Then you can let your creativity go wild.
Using a digital negative with a fine tuning of the curve, will give you incredible prints if you take the time to do it properly.
There are no « Solution A and B »: these are chemicals with names, properties and hazards.
Hydrogen peroxyde just speeds up oxydation, you don’t really need it, just wait a few hours. Cyanotype is destroyed in an alkaline environment and needs to be in contact with the air to regenerate (which needs to be taken to consideration when you mount your finished cyanotype on glass). Etc.
You can go far with cyanotype.
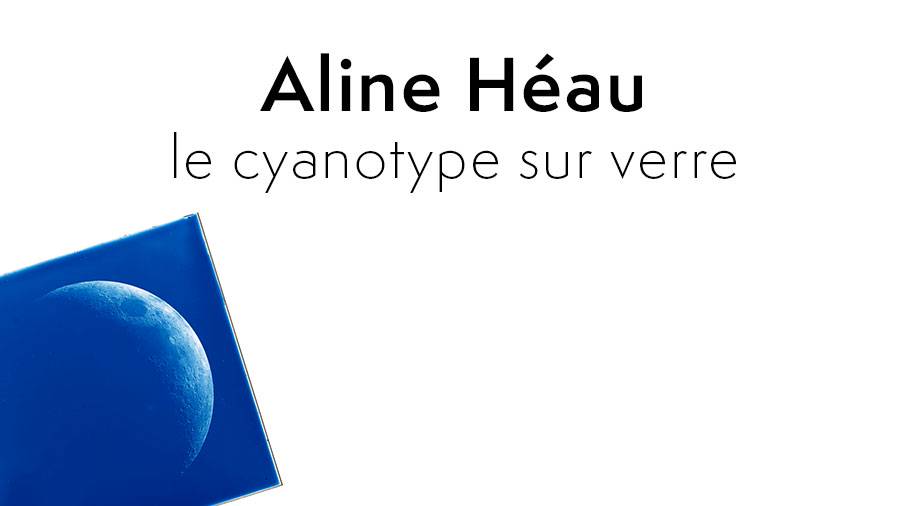
My name is Aline Héau, I’m a French photographer and I’ve been doing cyanotype on glass since 2016. You can see more of my work on my website and follow me on Instagram.

I also have a large collection of old and anonymous photographs, Le Chronoscaphe, which led me to learn more about history of photography and its processes.
Why cyanotype on glass? Part I
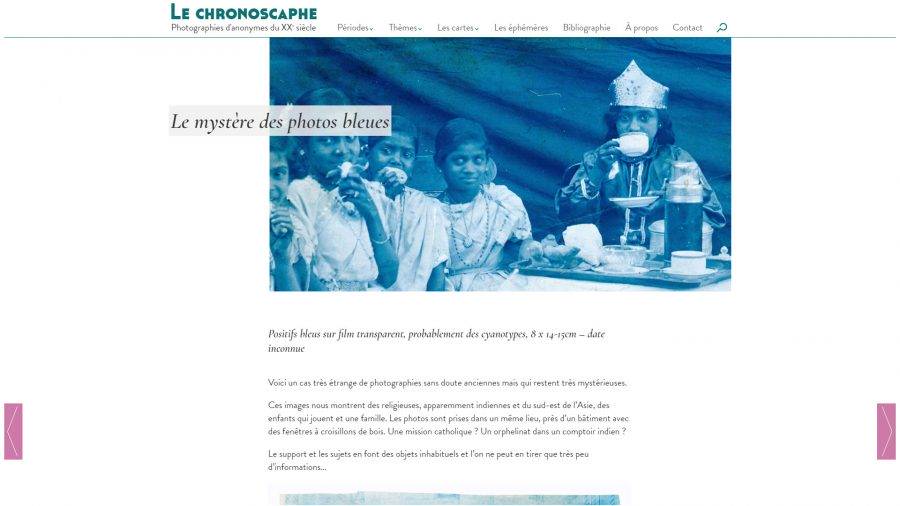
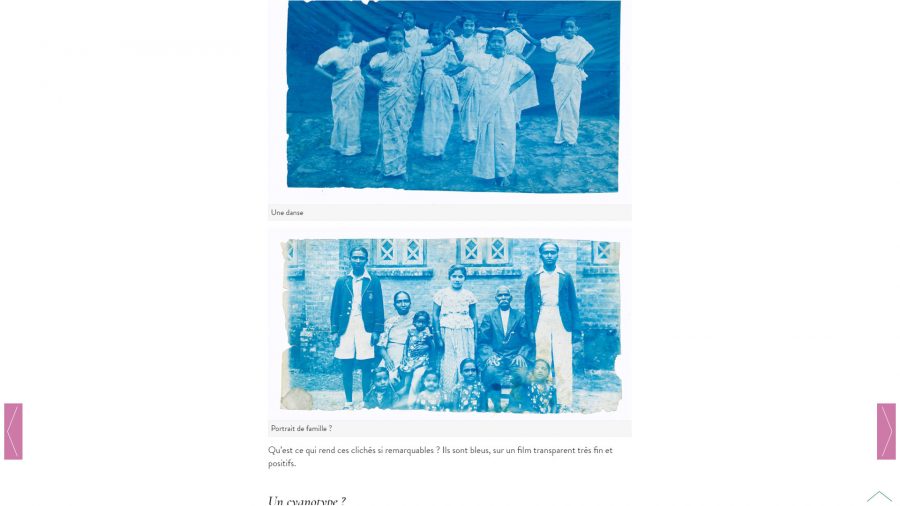
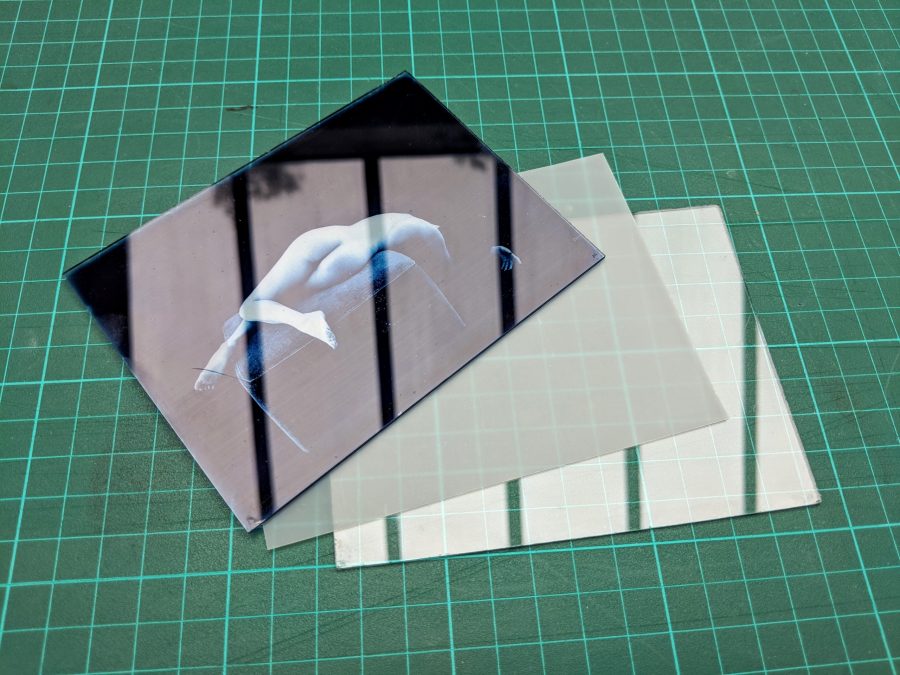
In my collection, I have an interesting piece: blue pictures on a thin transparent « paper ». Not paper. Not plastic. I still don’t know what it is. To get a blue image, cyanotype comes first to mind. It could also be a silver print, toned.
Anyway, the non-porous surface was left me wondering… I had to try it myself.
History
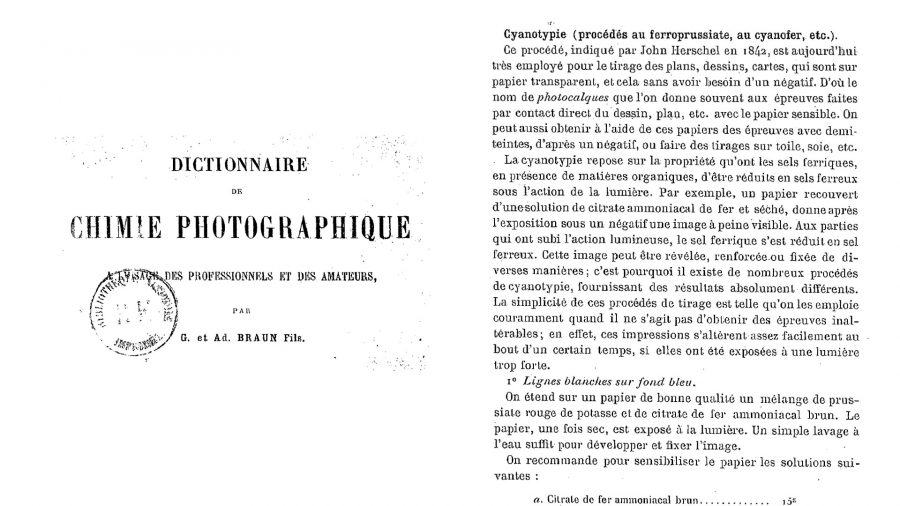
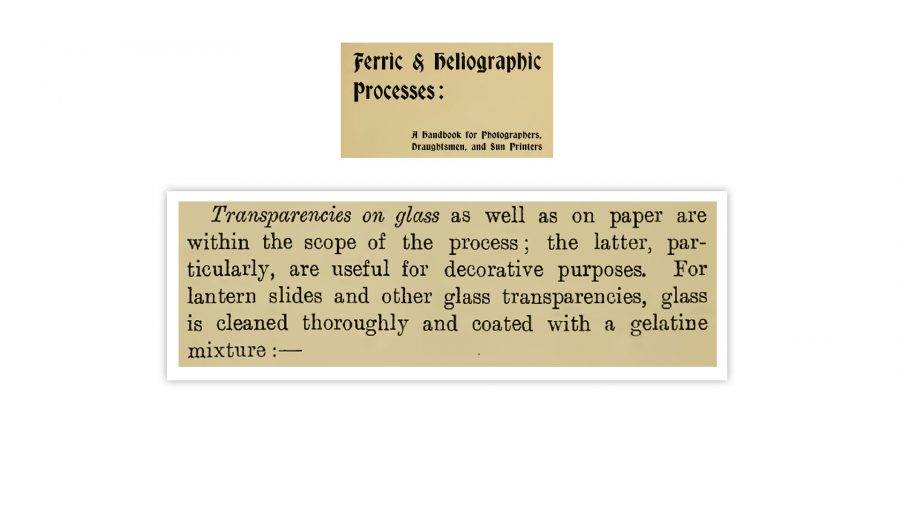
I’ve been digging through old books, to see if they talk about cyanotype on glass.
They do.
So it’s a thing, but not a common thing. Gelatine is the binder that’s usually mentionned. Albumen and collodion can also be used, but I didn’t explore these.
Methods
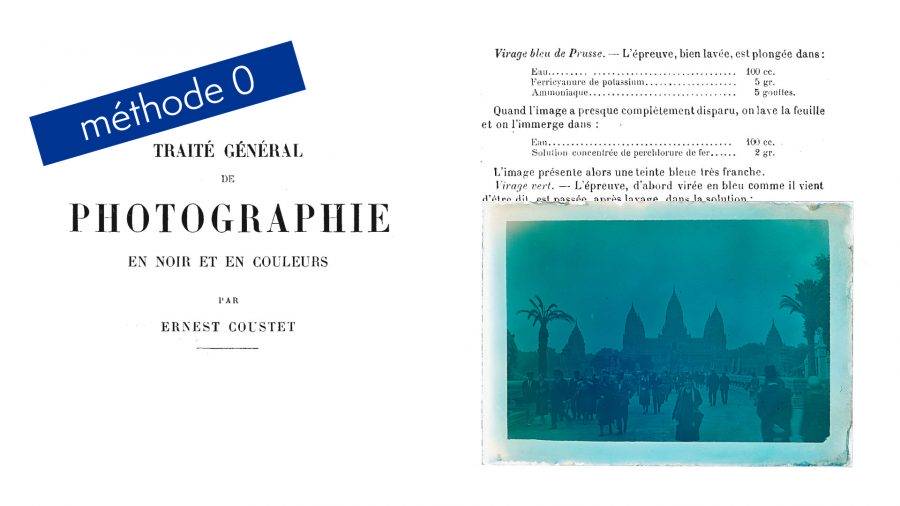
I call it method #0 because it’s skirting the edge of the subject: silver print toning. I have a few of those in my collection. It’s a positive print, a slide, on glass, which was quite common in the early 20th century. You could hang it in a metal frame in a window. By toning it with iron after bleaching the print, you get Prussian blue, like with cyanotype.
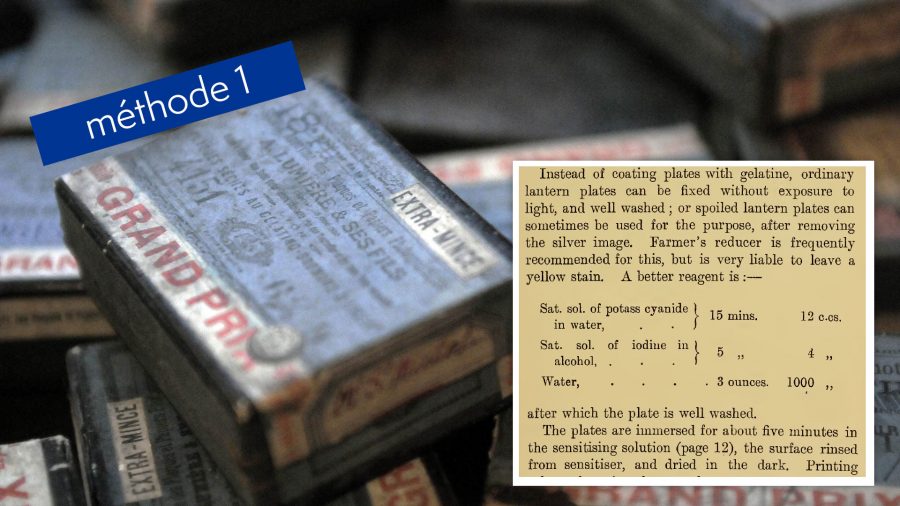
Method #1 is a funny idea: by recycling unused dry plate, you already have a clean gelatine surface. The plate is immersed in fixer to remove the silver, then in a cyanotype solution so the gelatin swells up with the chemicals.
I tried. Not bad but not great. It’s difficult to avoid stains.
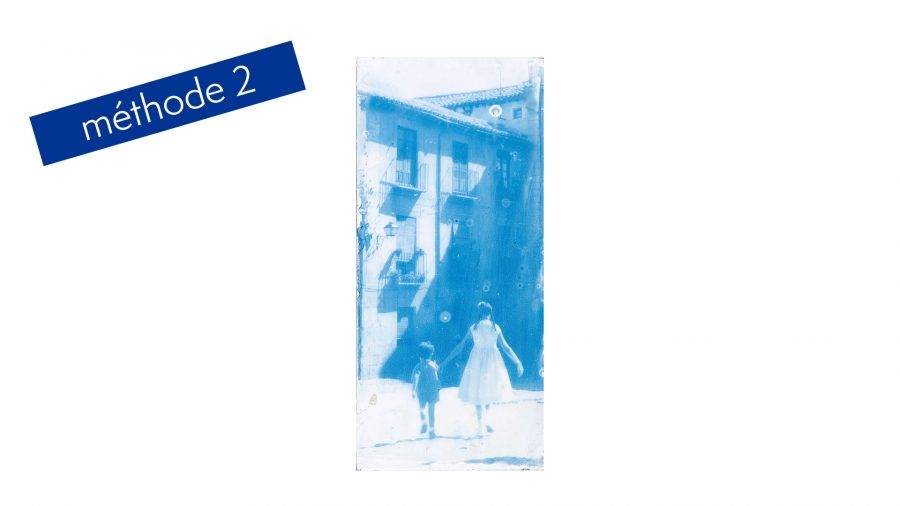
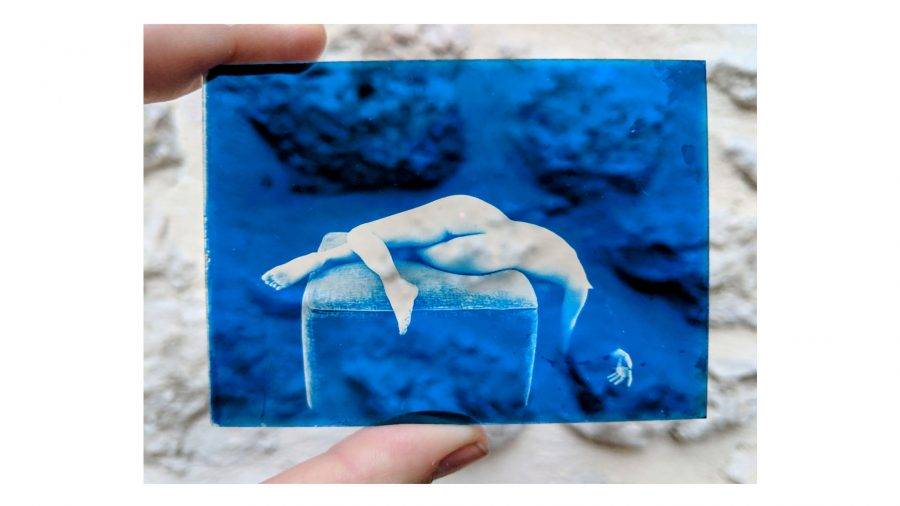
Method #2, here we are, cyanotype on glass with a homemade gelatin binding.
Gelatin
There are a few things to know about gelatine.
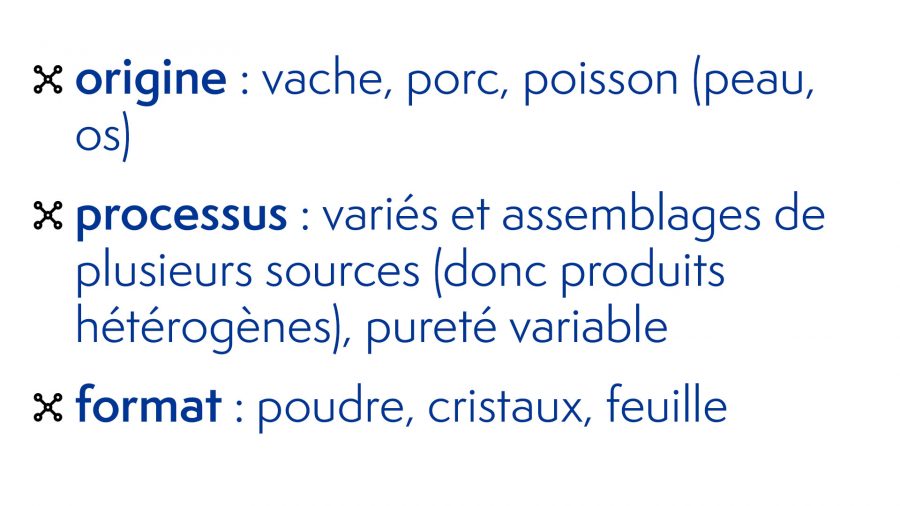
Keep in mind that gelatine is an organic product. You can make it from the skin or bones of cows, pigs or fish. Not all gelatine is made in the same way or has the same level of purity. The best thing to do is to find a brand you’re comfortable with and stick with it. I wasted months when I changed brand of gelatine; it was sticky, I couldn’t find the right ratio, it reacted differently… it was hell.
You can find gelatine in sheet, crystal or powder form. The preparation will depend on the form you use (like you do for cooking, gelatin needs first to be soaked then heat).
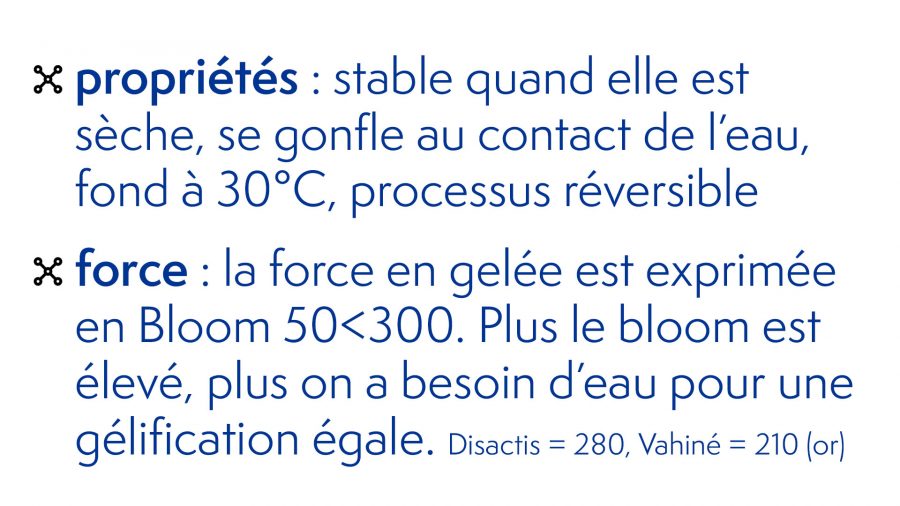
Gelatine has amazing properties: it’s stable when dry, swells when you put it in water, melts at around 30°C, and the process is reversible!
Gelatine comes in different strengths, measured in Bloom degrees. Bloom degrees go from 50 to 300. The higher the Bloom degree, the more water you need to achieve the same gelling effect..
Check your product’s instructions.
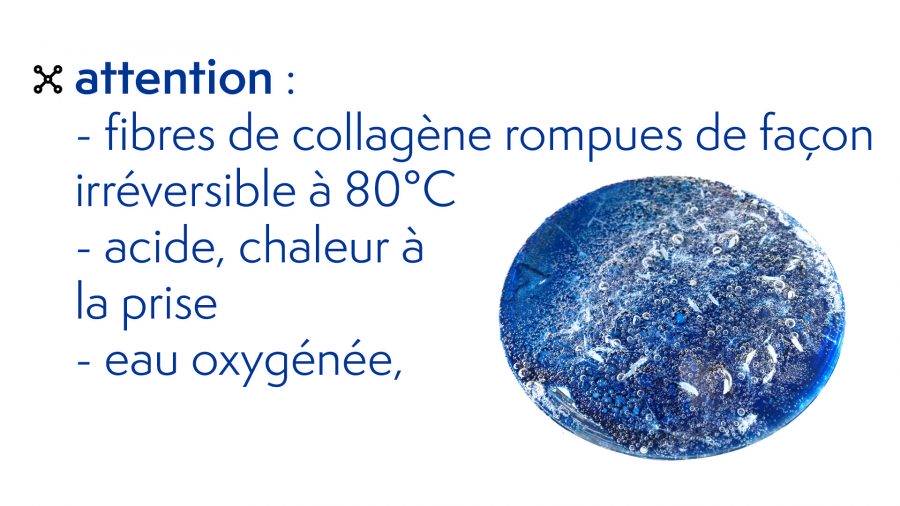
Warning: collagen fibres in the gelatine will irreversibly break at 80°C. Do not overheat your gelatine, especially when you’ve added in the cyanotype solution.
Gelatine does not react well with acid.
Gelatine reacts even less well to hydrogen peroxyde. Unless you want it to look like Gremlin skin.
See above the bubble from the reaction.
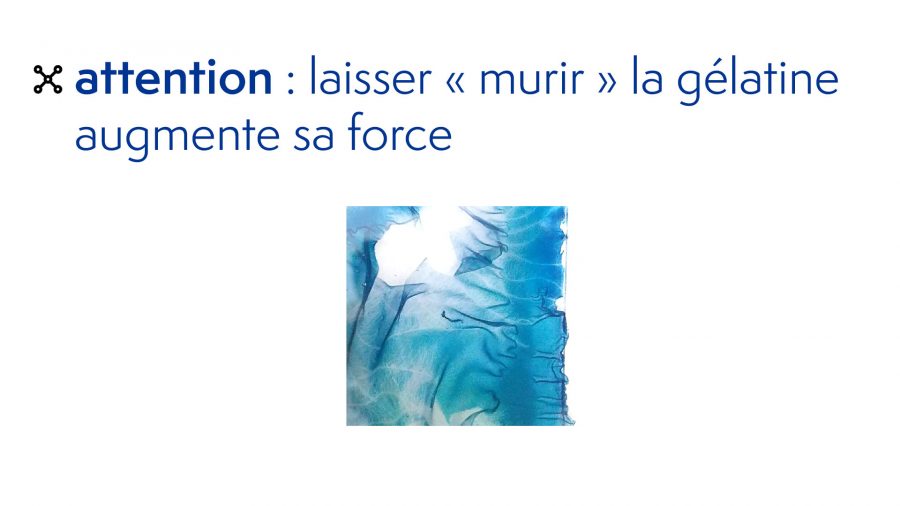
You can use your gelatine-cyanotype mix right after you’ve prepared it. It works, but could still be fragile. You might also get bubbles if you use a magnetic stirrer. Let your gelatine rest for a few hours and get back to its solid, state and then use it. Don’t wait too long though.
Glass
NEEDS TO BE CLEAN. Using washing up liquid is fine.
Your hands
NEED TO BE CLEAN. Wear gloves.
Gelatine loves glass. Gelatine hates grease (because of the water, obviously…).
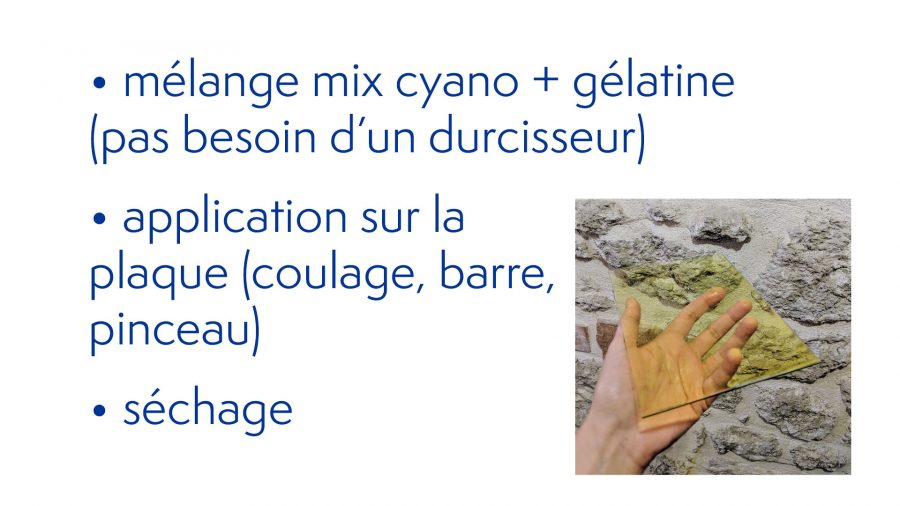
Mix your cyanotype chemicals with the gelatine and water. The ratio will be different depending on the brand so you’ll need to figure out how liquid you want it to be. You don’t need a hardener. Keep it in a bain-Marie at around 40°C.
Coat your glass plate (either pouring onto the glass, or using a glass rod, or a brush…). If your glass plate is cold, the gelatine will solidify instantly, so warm the glass beforehand.
Let it dry in a clean room; don’t use a fan so as to avoid getting dust on the gelatine.
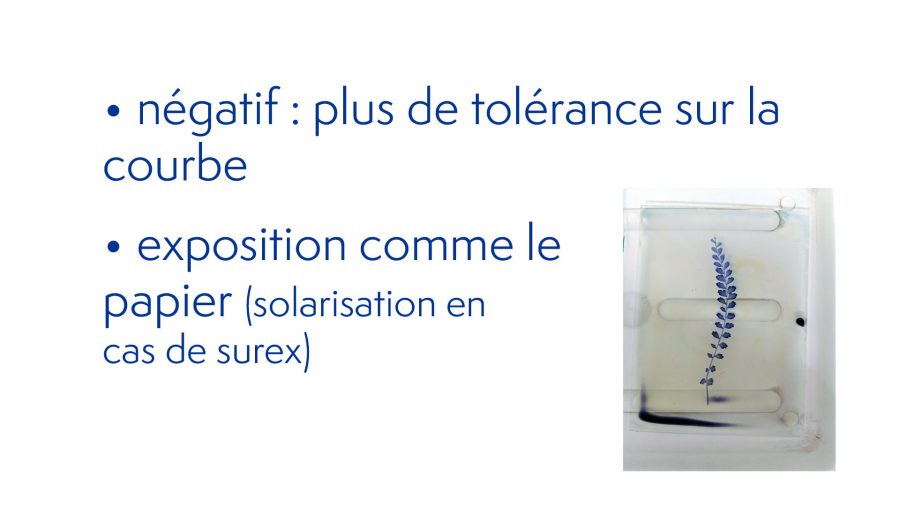
If you use a digital negative, cyanotype on glass is more flexible than paper in terms of the curve. You won’t need to make many adjustments.
Exposure time is the same as for cyanotype on paper.
Avoid using sun exposure, especially on a hot and humid summer’s day. Your gelatine will not like that…
Unless you’re into blisters!
In a general way, using a UV unit will give you better control over your exposure.
Rinse in cold water. In the summer, make sure the water is really cold. Obvisouly, don’t rinse it with a strong water flow. Be gentle.
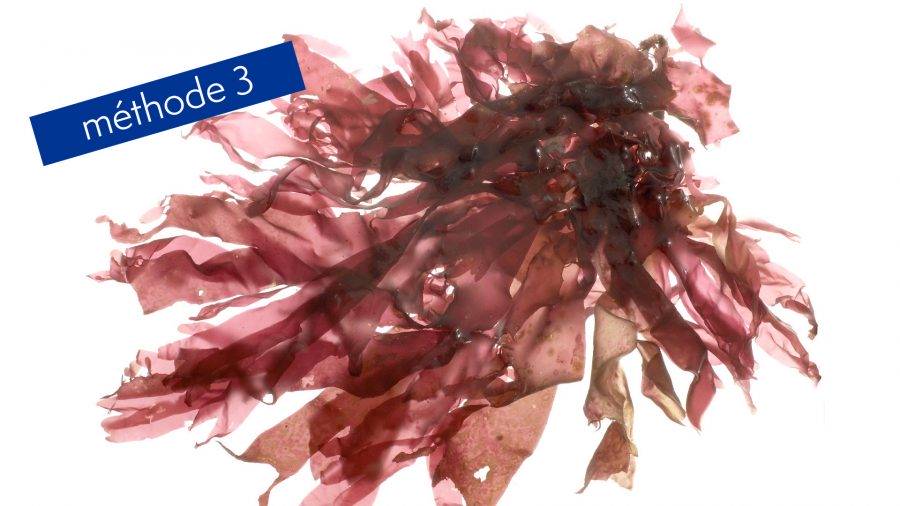
Method #3: if you’re willing to avoid animal by-products, there are a few binding alternative. I’ll show you how to use agar-agar
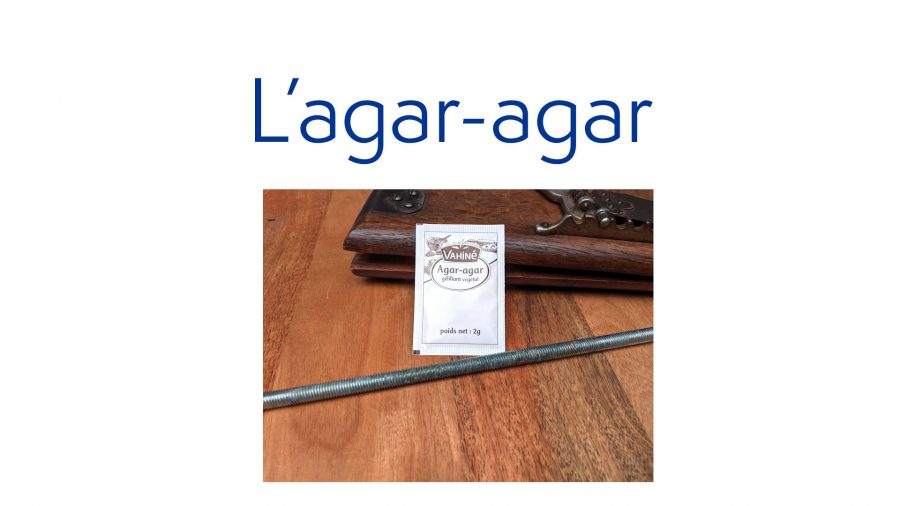
Agar-agar
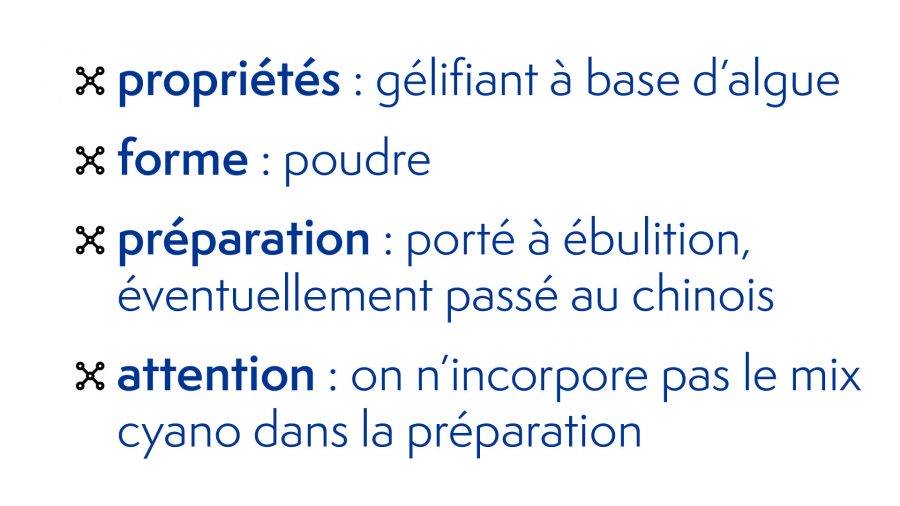
Agar-agar is a gelling agent made from algae. It comes in powder form. The preparation is very different from gelatine: you need to boil the powder in water, and might need to strain it as well. You cannot let it cool down too much because it will solidify quickly. This means that you’ll need to use it when it’s hot, very hot. Be careful.
And obviously you won’t mix it with the cyanotype solution.
Coat the glass with the agar-agar, let it dry and then you’ll add your cyanotype solution.
Finishing touch
You print is fragile, it needs to be protected. I’ve made a quick tutorial to show a nice way to mount your cyanotype on glass.
You can also make an orotone.
Why cyanotype on glass? Part II
There are lots of benefits to printing on glass.
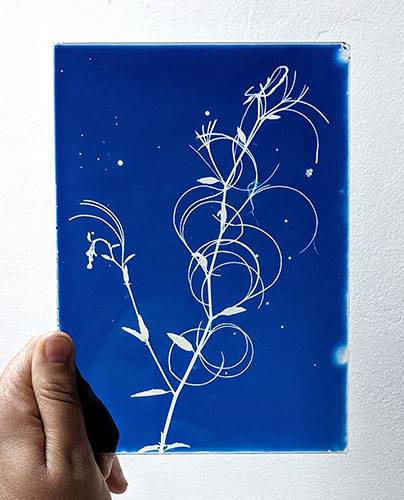
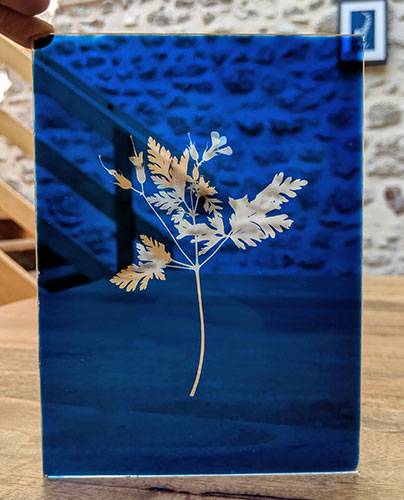
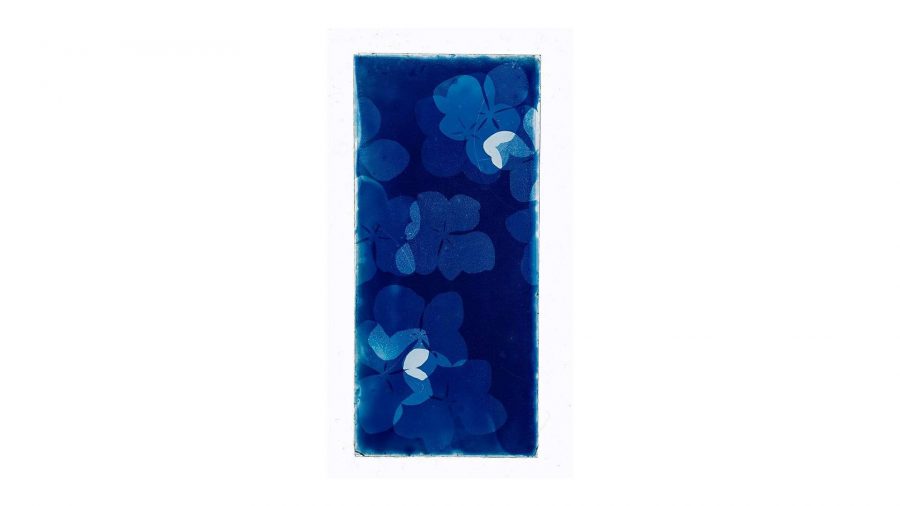
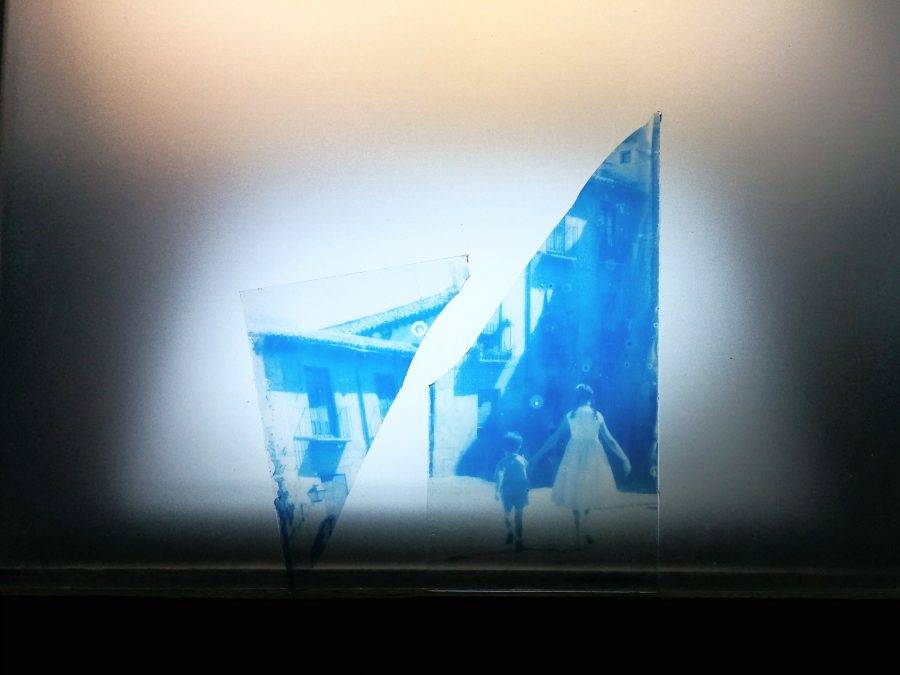
The transparency is amazing, similar to stained glass. This colour doesn’t get old.
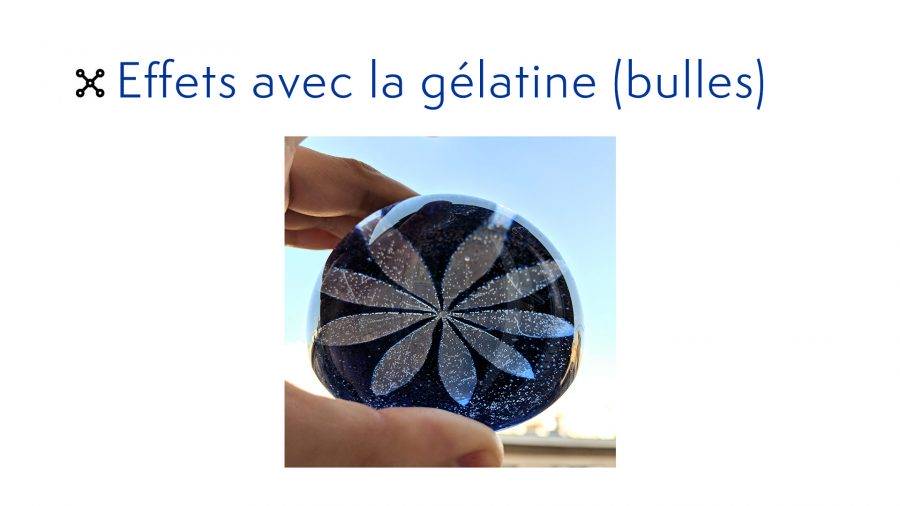
Bubbles, not easy to control but easy to avoid 🙂 (1 drop of isopropyl alcohol will help remove them)
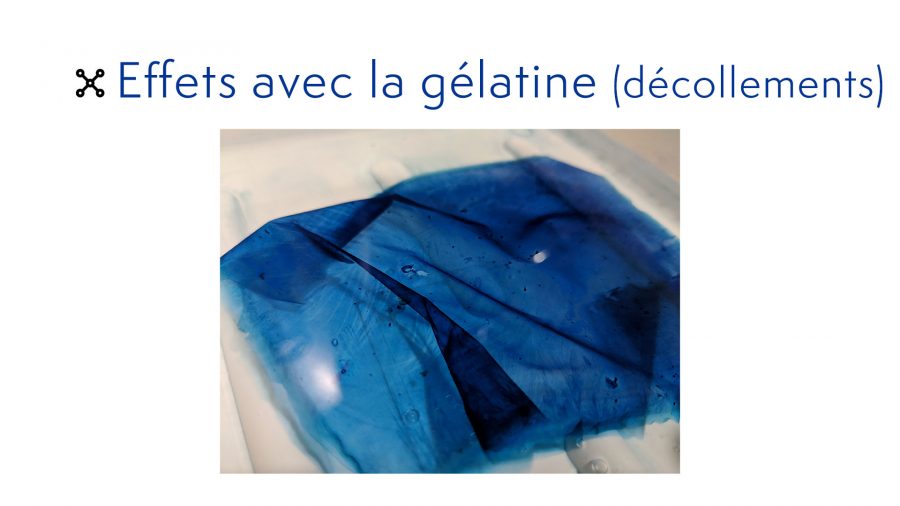
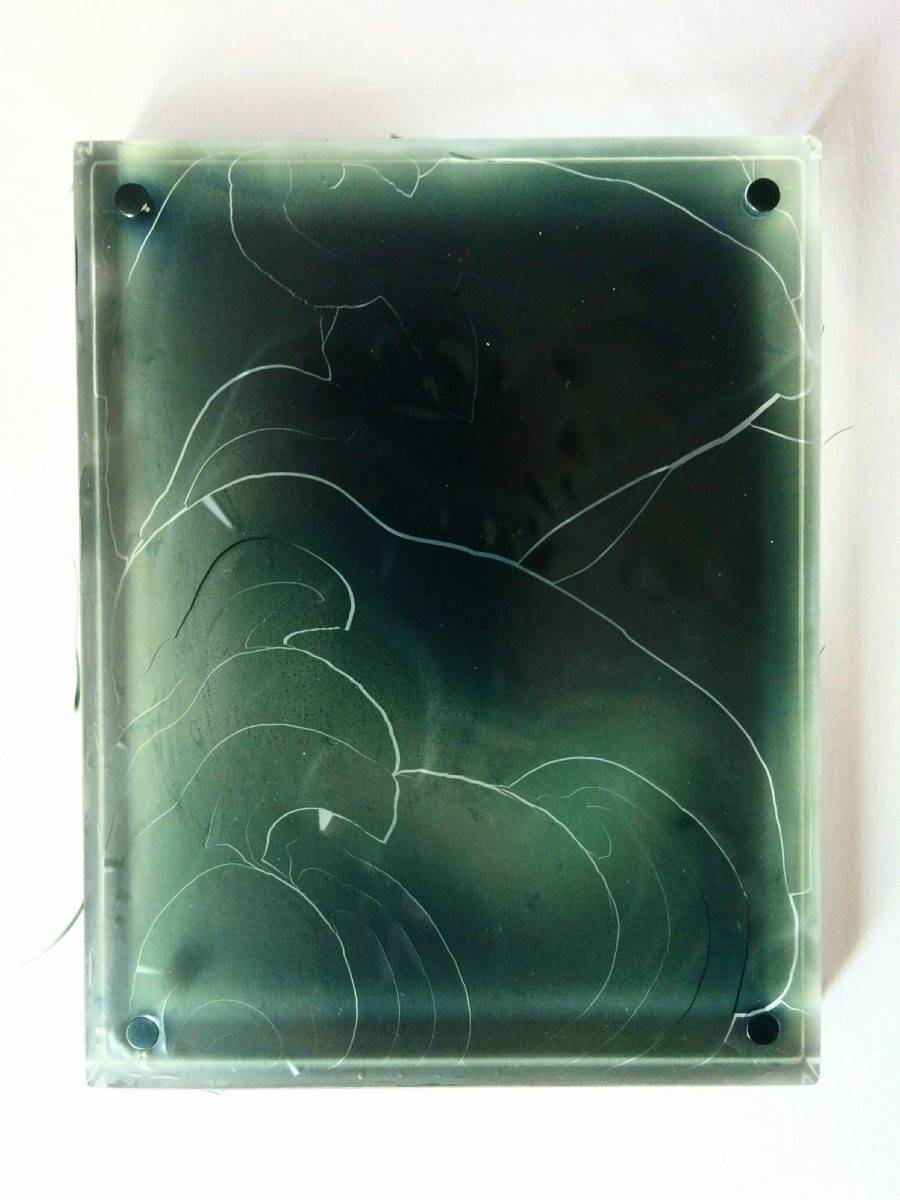
Gelatin lift: if you wash the plate with anything other than washing up liquid, the gelating might detach itself like this.
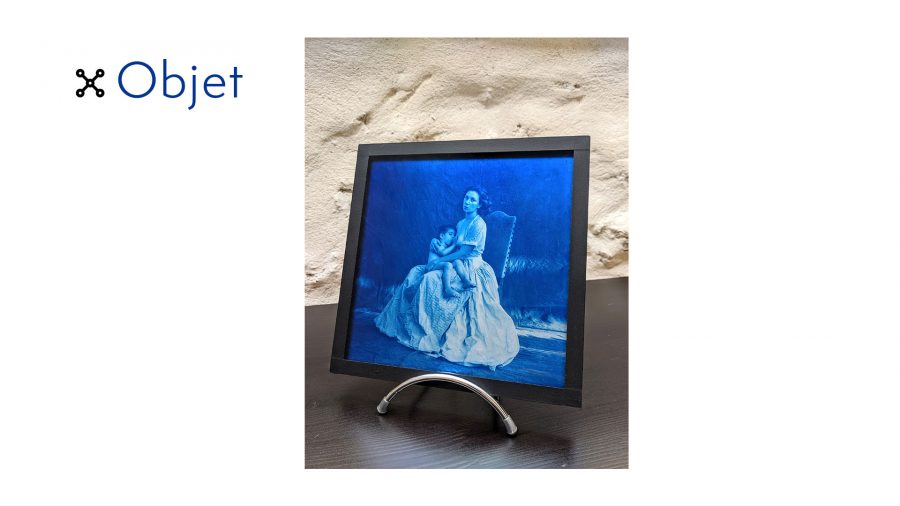
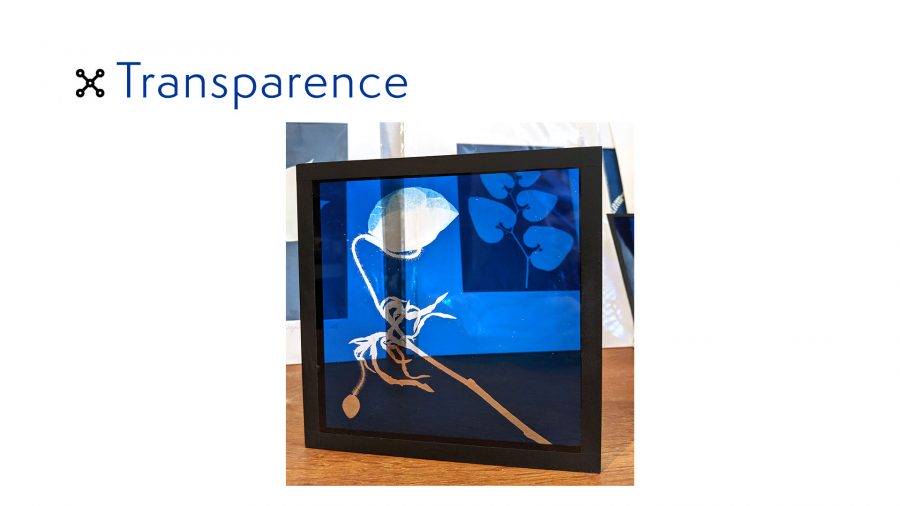
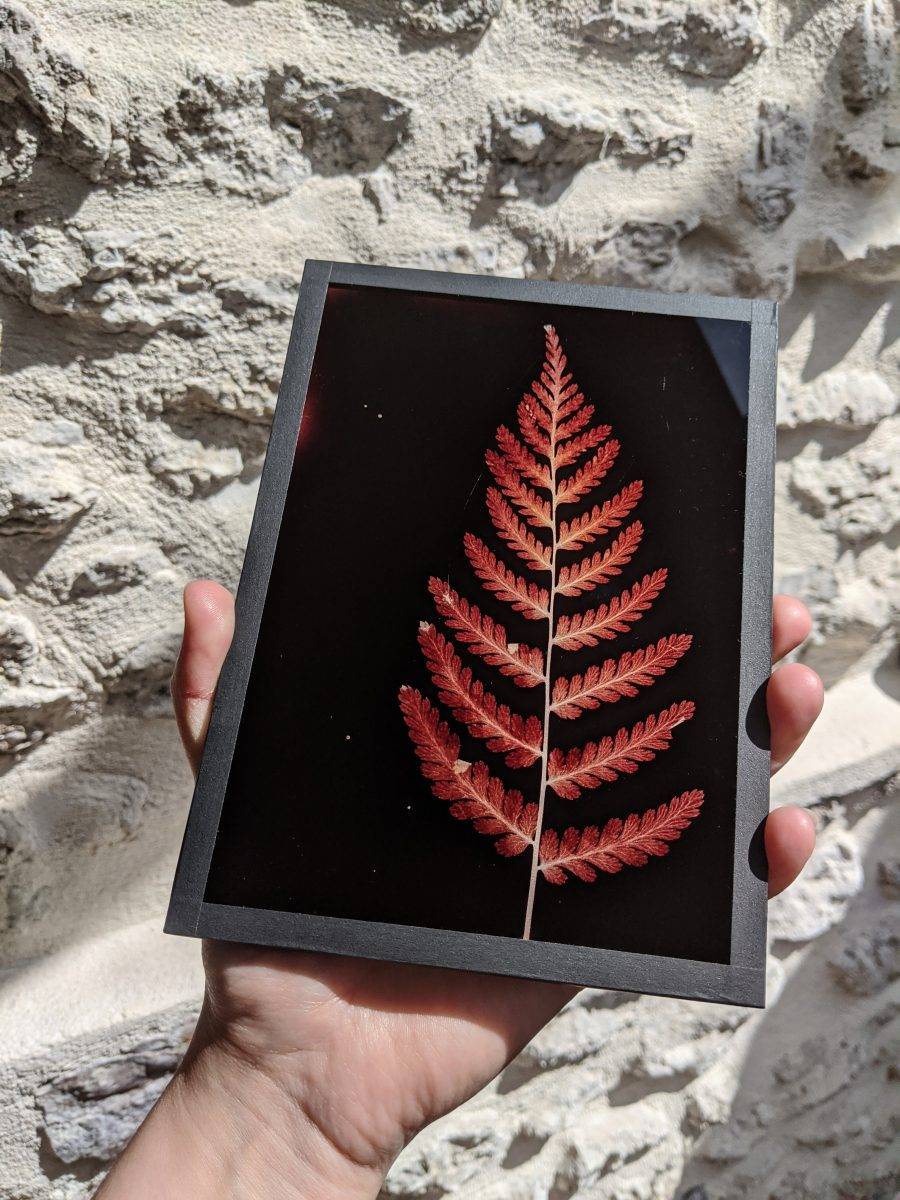
Your prints will become beautiful objects.
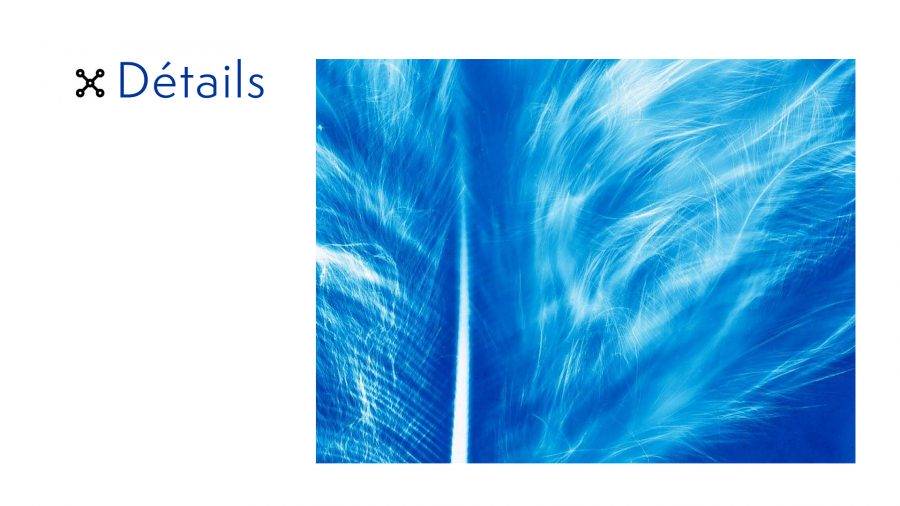
You’ll get sharper details on glass than on paper.
And toning can give great results but can also be very messy…
Variations
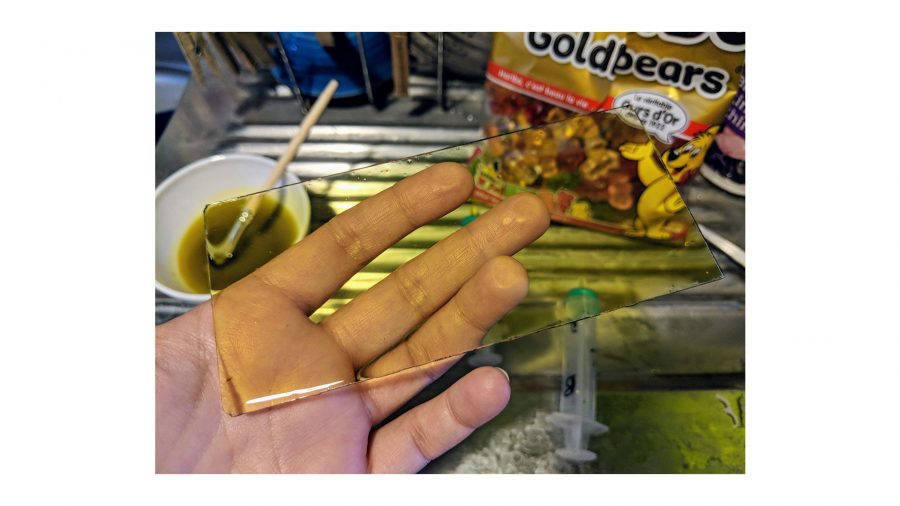
Cyanotype using gummy bears, because why not. No, really you don’t need to try this.
Piling up the plates can add depth.
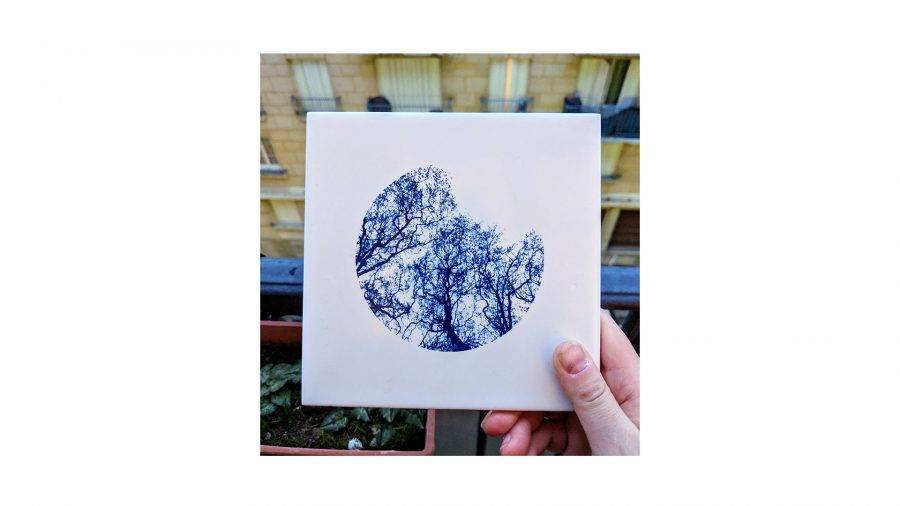
You can use the same methods to coat ceramic tiles.
Or why not create a supple transparent print on acetate?
I don’t know yet what I’m gonna do with that, but someday I will!
Not all non-porous surfaces are gelatine-friendly.
Preserving your cyanotypes
So far my cyanotypes on glass have kept well, much better than my paper prints, no colour fading, no mould. I kept some for months in full sunlight or outdoors for several months, and they were perfectly fine.
I think the main enemy is water. My plates are « sealed » with light washi paper tape. They are like iPhones – they shouldn’t be in water for too long! In any case, moisture is no friend to photography.
I’ve never had to regenerate the blue, but should I ever need to, I’ve made sure that my cyanotype can be unsealed.
Disadvantages
There are a lot: you get results pretty quickly, but the process is difficult to master. It took me years to get flawless plates; you need to practise a lot, be very patient, handle the plates gently and work in a clean environment.
It might also take a few practice runs to get the right gelatine to water ratio, as it depends on the Bloom degree, form and brand.
I’ve made a post about most of the problems i have encountered.
Just keep trying.
Not all photographic subjects will work well with this process. Make sure that the image you choose works well in black and white. If not, it will be worse in blue…
And remember that your print is fragile. Handle with care…
Since I gave this talk, I’ve perfected another method. This one gives a deep, clean and solid blue. But I’ll keep this recipe just for me…
I’ve printed hundreds of glass plates, and for most of them I removed gelatine in hot water. I’ve done it over and over, sometimes I despaired because I didn’t understand why it wasn’t working.
Cyanotype on glass is a tricky process.
Experimentation and patience are the key. Check out my website, all of my crazy experiments are on it, and follow my Instagram account to keep up with my work.